
Some bridal bouquets look gorgeous in real life but disappear in photos—especially against a detailed dress, a dark suit, or a busy background. If you want a bouquet that reads clearly in portraits, ceremony shots, and those fast-moving candids, the secret is choosing a concept built for contrast, shape, and texture.
Below are 10 unique bouquet ideas that consistently stand out on camera, plus practical ways to plan, style, and budget for them without sacrificing the “wow” factor.
What Makes a Bouquet Pop in Photos (Before You Pick a Style)
Photogenic bouquets usually share three things: a strong silhouette, intentional contrast, and a finish that suits your venue. Here’s what to look for as you choose any of the ideas below:
- Clear shape: A defined outline (crescent, fan, teardrop, structured round) reads better than “soft and undefined,” especially in full-body shots.
- Contrast: Light bouquet on a light dress needs dark foliage or bold blooms; deep bouquet on a dark suit benefits from pale accents.
- Texture: Mix smooth petals (roses, tulips) with something airy (sweet pea, cosmos) or structured (anthurium, orchids) so the camera catches dimension.
- Scale: Petite bouquets can look lost in wide shots; oversized bouquets can overwhelm smaller frames. Match bouquet size to your height and dress volume.
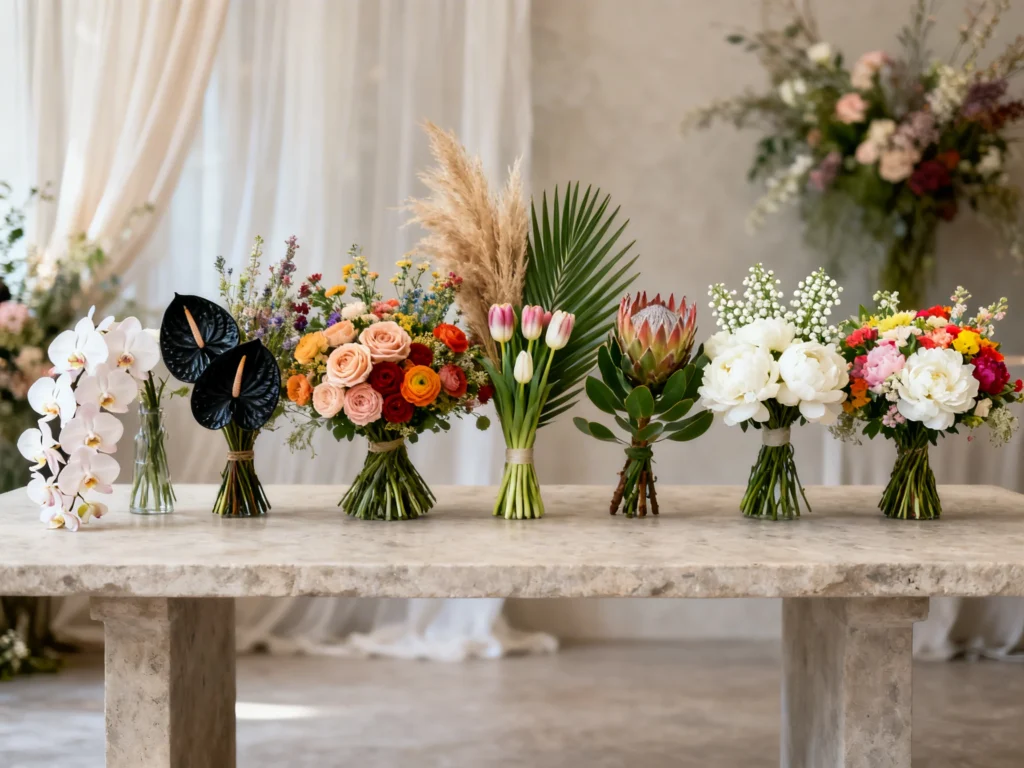
10 Unique Bridal Bouquet Ideas That Stand Out in Photos
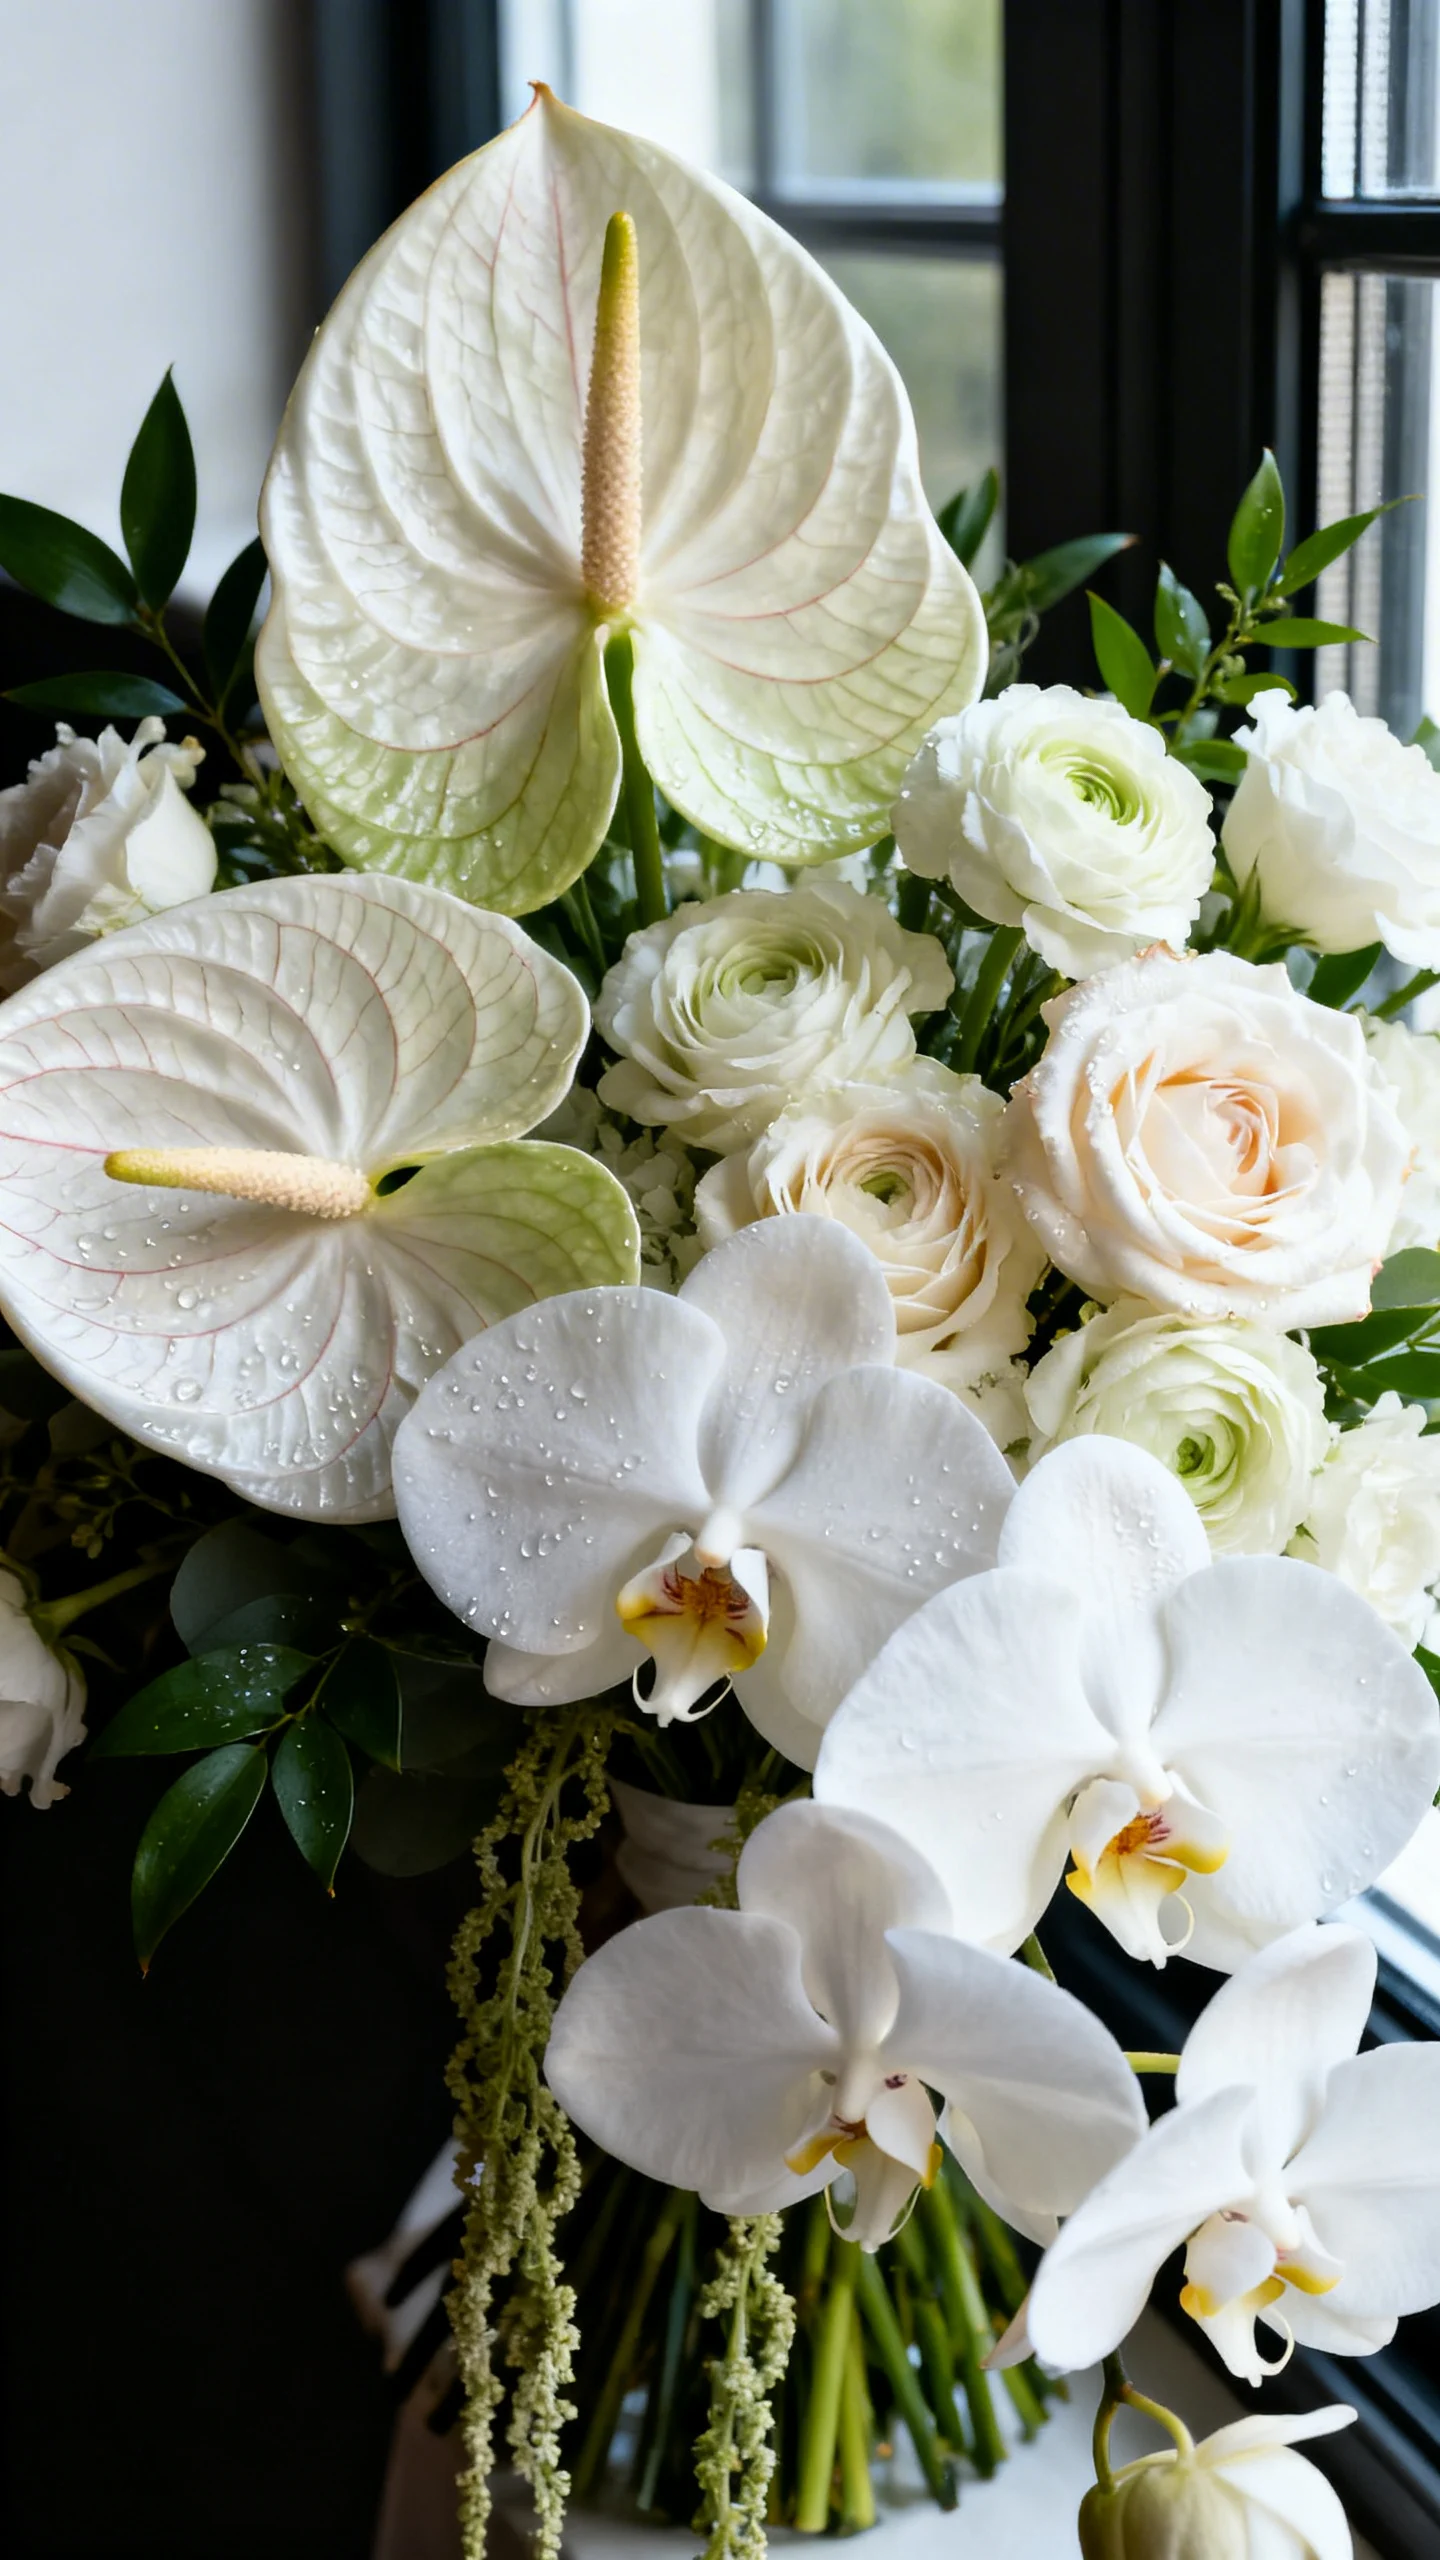
1) Monochrome “One Color, Many Textures” Bouquet
Why it works: A single color family photographs as intentional and editorial, while mixed textures keep it from looking flat. Think all-white with orchids + ranunculus + anthurium, or all-blush with garden roses + carnations + sweet pea.
Best ways to use it: Perfect for modern venues, city weddings, and minimalist gowns where you want the bouquet to feel like design, not decoration.
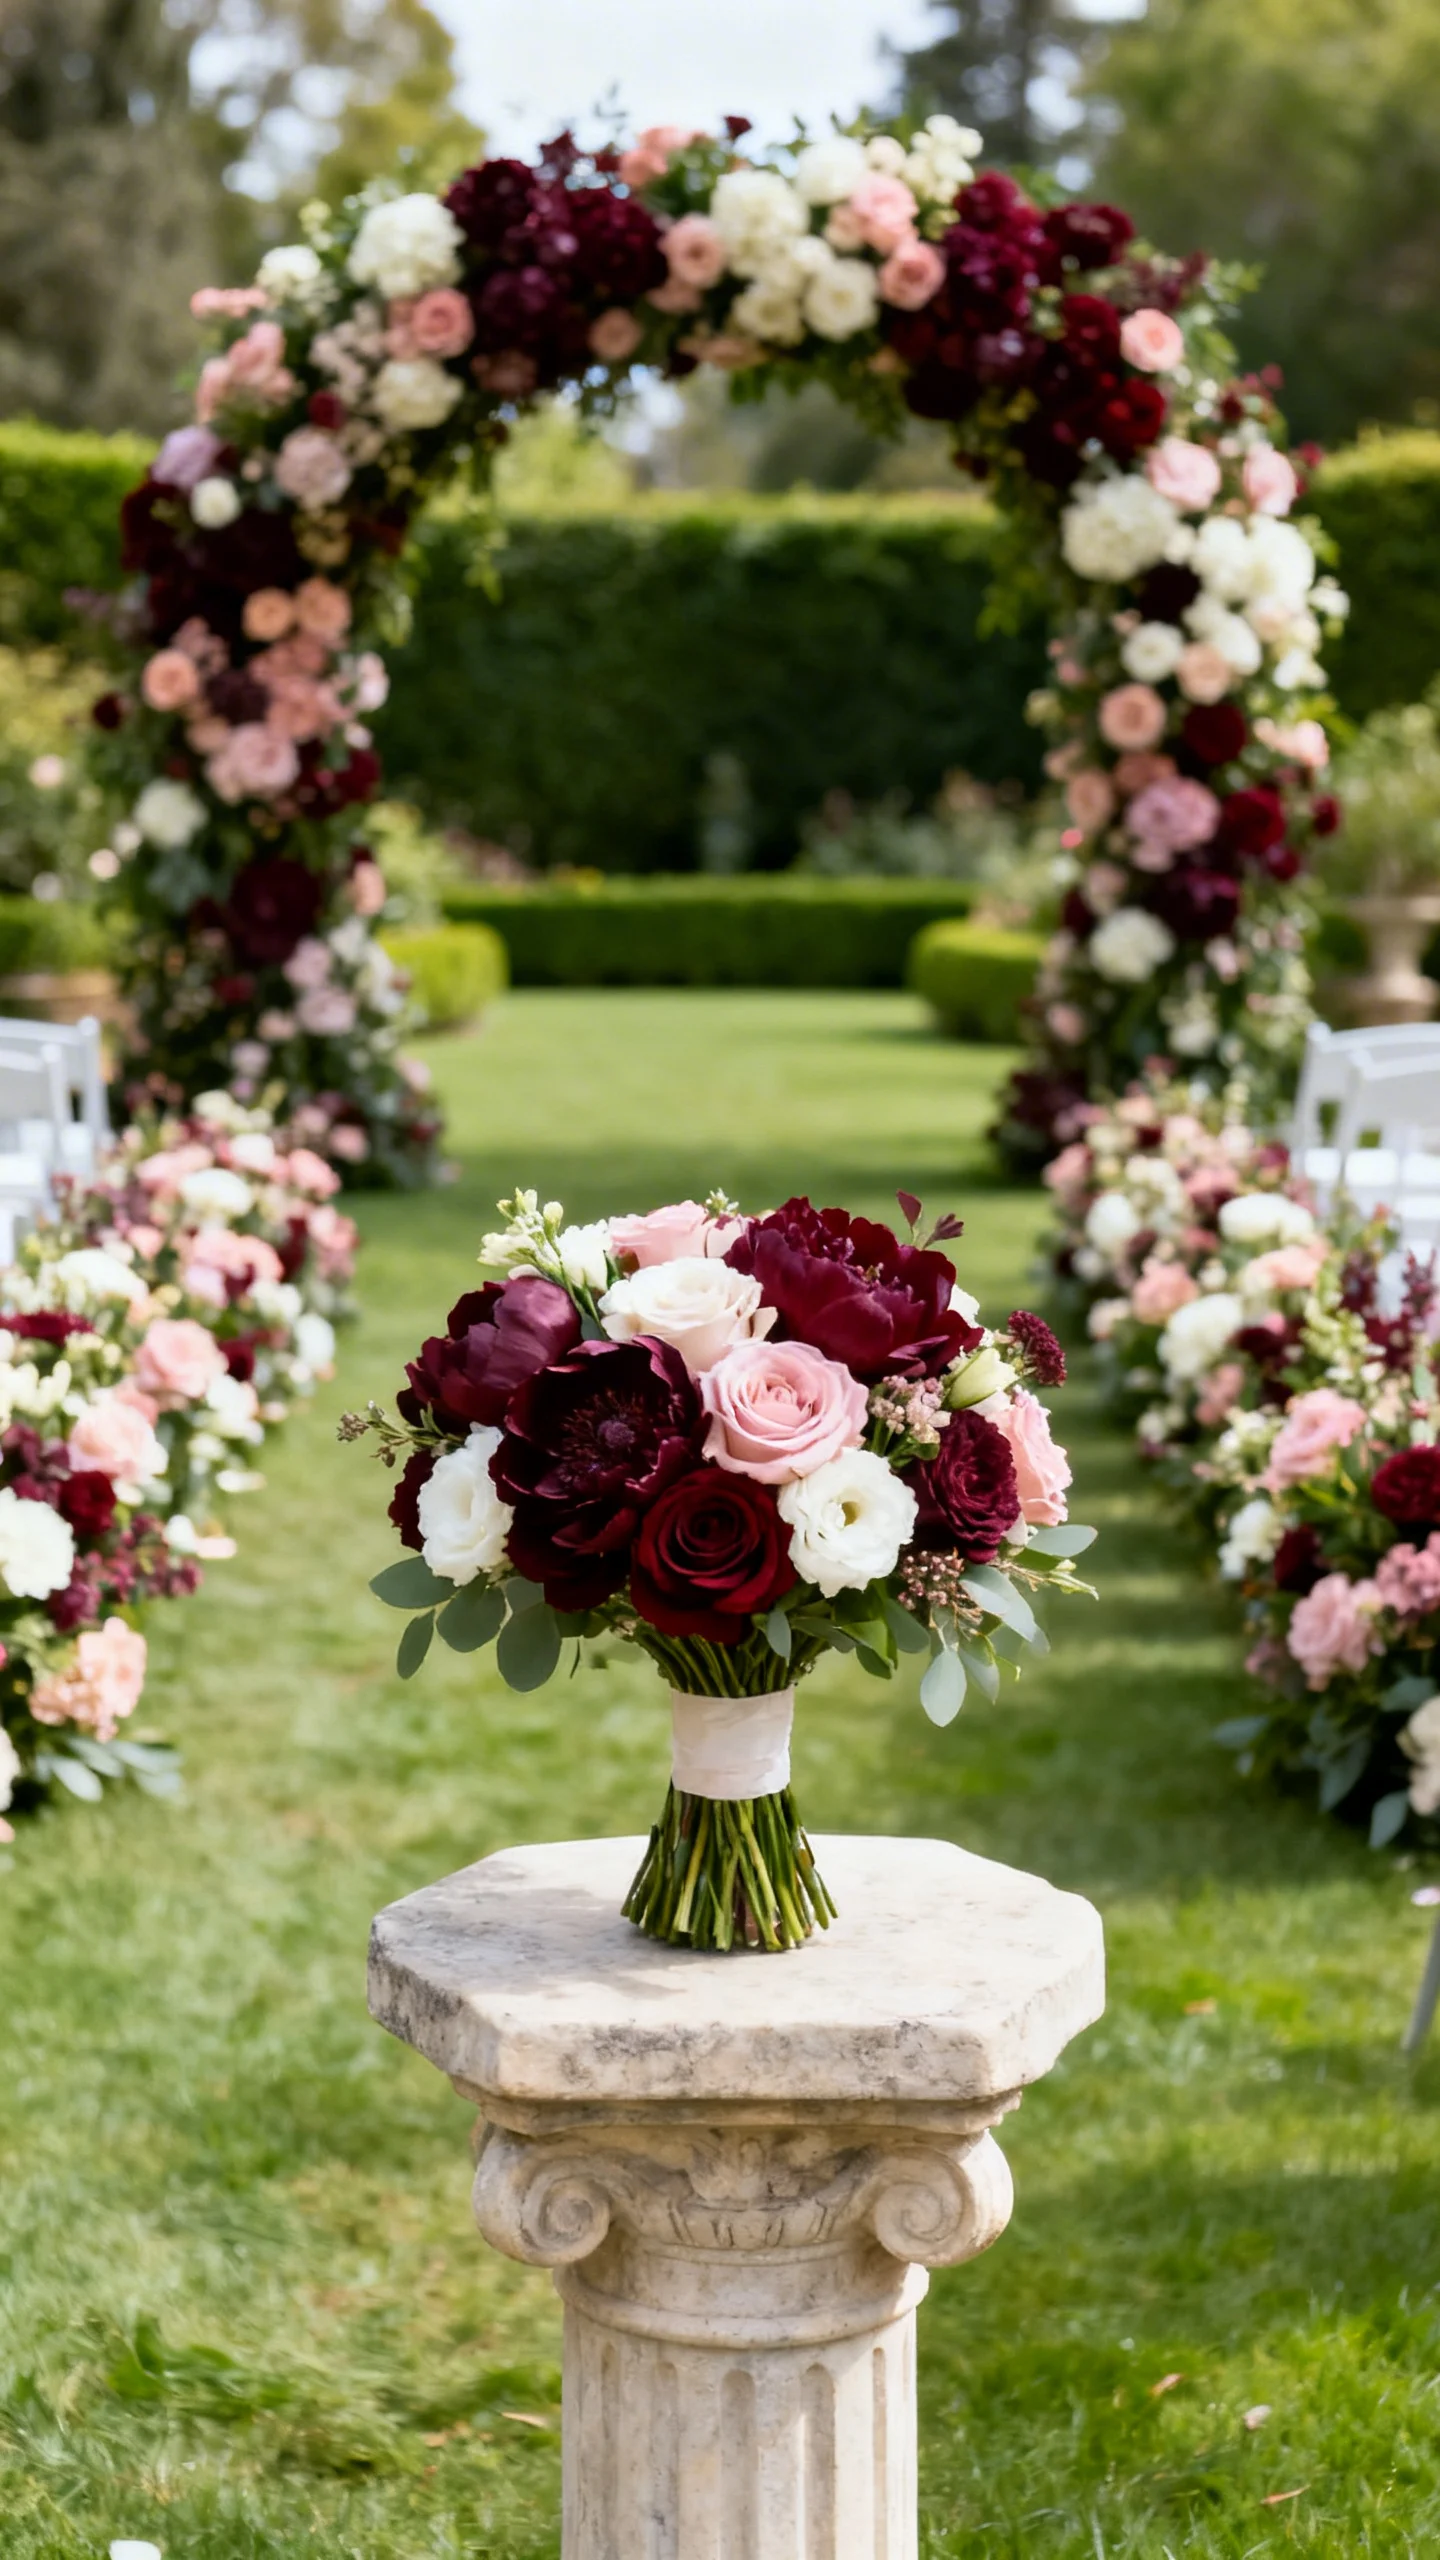
2) Dramatic Dark + Light Contrast Bouquet
Why it works: High contrast reads instantly in photos, even at a distance. Pair creamy blooms with near-black accents (scabiosa, hellebore, deep dahlias) or deep greenery.
Best ways to use it: Ideal for fall/winter weddings, candlelit ceremonies, or anywhere you’re worried white flowers will disappear against a white dress.
3) Sculptural Anthurium + Orchid Statement
Why it works: Glossy, architectural blooms catch light beautifully and create a bold silhouette. Even a smaller bouquet looks impactful.
Best ways to use it: Works for sleek, contemporary styling and black-tie vibes. Ask your florist for a “minimal stem count, maximum shape” design.
4) Asymmetrical Meadow Bouquet (But With a Defined Outline)
Why it works: The airy, garden feel looks romantic in motion and close-ups—just make sure it has a purposeful shape so it doesn’t read messy on camera.
Best ways to use it: Great for outdoor ceremonies and editorial portraits. Include one “hero bloom” (like a peony or dahlia) to anchor the design.
5) Cascading Greenery-Forward Bouquet
Why it works: Cascades create instant drama and elongate the frame. Greenery adds contrast and movement, and it often photographs richer than pastel petals.
Best ways to use it: Beautiful with simple dresses, sleek silhouettes, and venues with stone, wood, or modern architecture.
6) Compact “Posy” with Unexpected Ingredients
Why it works: A tidy, round bouquet reads clearly in every angle—then you make it unique with a twist: berries, herbs (rosemary, basil), chamomile, tiny seed pods, or even mini artichokes.
Best ways to use it: Perfect for courthouse weddings, micro-weddings, and bridesmaids’ bouquets that still look special in photos.
7) Color-Blocked Bouquet (Two to Three Bold Hues)
Why it works: Color blocking looks graphic and intentional, which translates incredibly well on Pinterest and in professional photography. Think hot pink + orange + chartreuse, or cobalt + white + greenery.
Best ways to use it: Great for spring/summer celebrations, modern venues, and couples who want their florals to feel like fashion.
8) Fan-Shaped Bouquet
Why it works: The fan silhouette frames the torso and creates a strong line in portraits—especially helpful if you want a bouquet that looks “designed” from far away.
Best ways to use it: Stunning for city weddings, art gallery venues, and chic satin gowns. Ask for layered textures (palm, anthurium, orchids) to emphasize the fan.
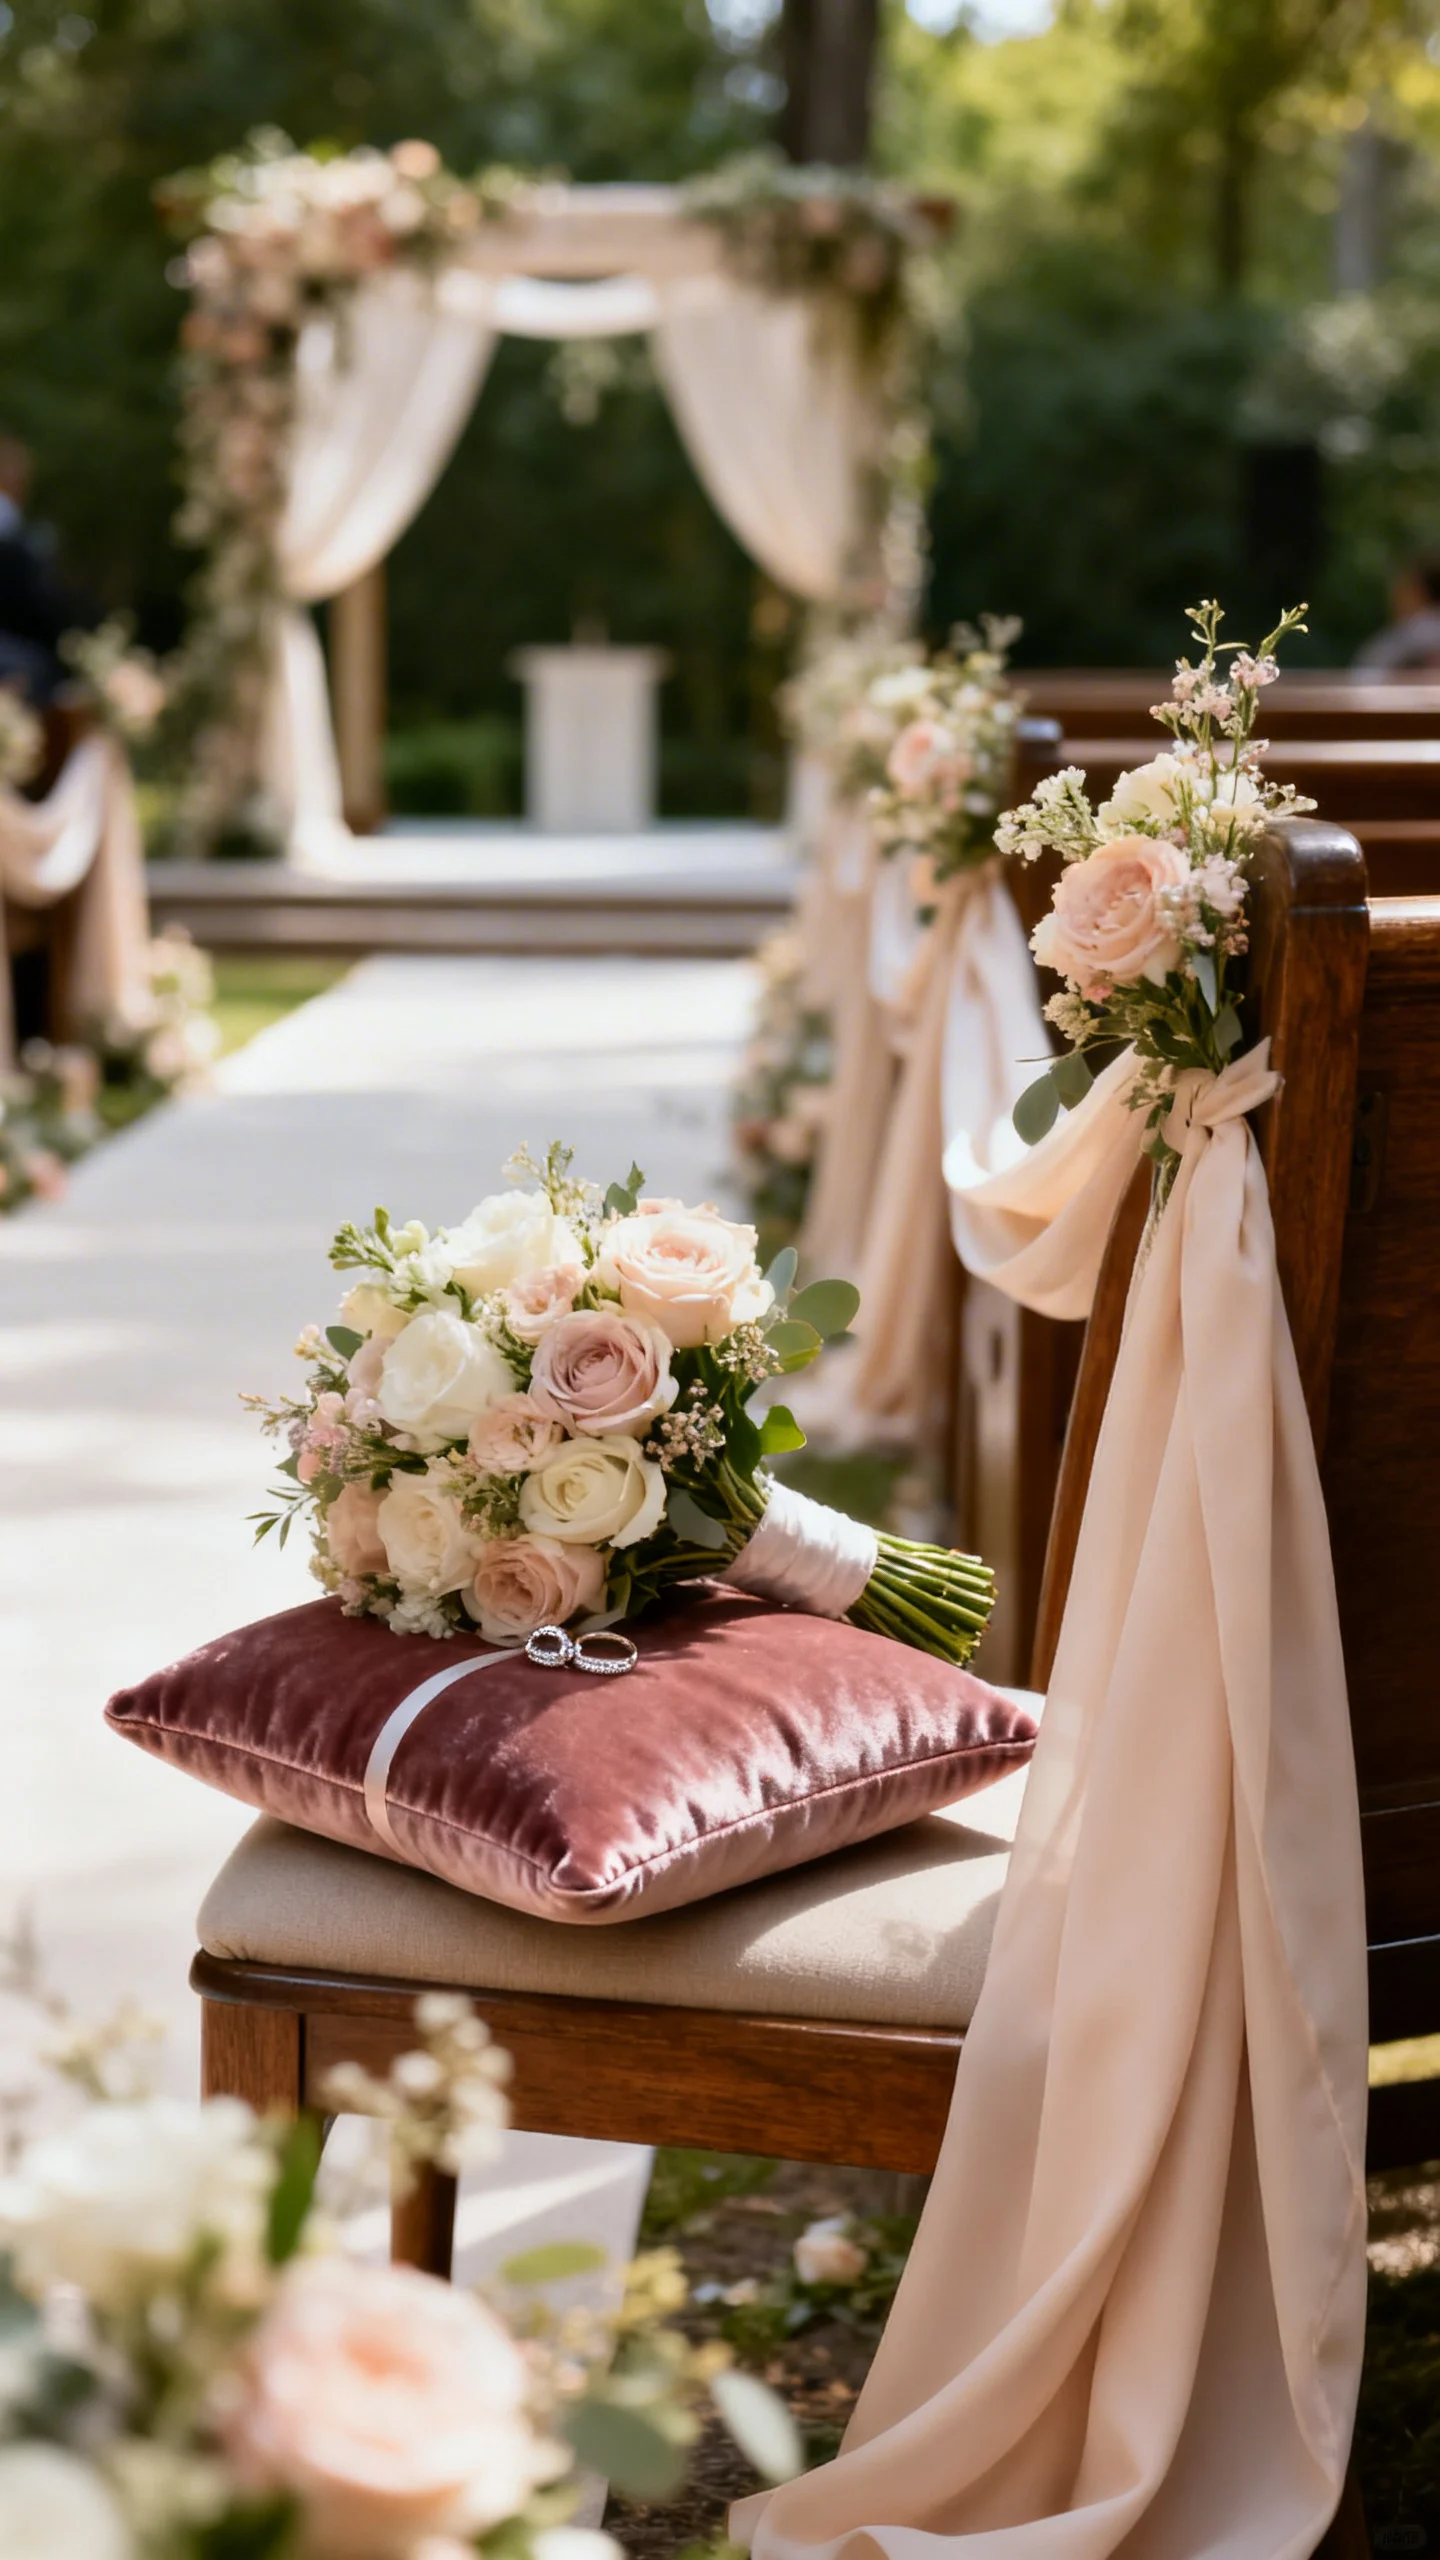
9) Wildflower-Inspired Bouquet with a Ribbon Moment
Why it works: Long ribbons add movement and photograph beautifully in breezy outdoor settings. They also make the bouquet feel bigger without adding many stems.
Best ways to use it: Choose two to five ribbons in varying widths and textures (silk + velvet). Keep them long enough to show in full-body shots, but not so long they tangle around your hands.
10) Dried + Fresh Mix for Texture and Longevity
Why it works: Dried elements (pampas, bunny tail, palm spears) add volume and shape, while fresh blooms keep it lively. This mix reads tactile and dimensional in photos.
Best ways to use it: Great for destination weddings (dried travels well), late summer/fall palettes, and couples who want to preserve the bouquet longer.
How to Choose the Right Bouquet Idea for Your Dress, Venue, and Photos
Use these quick match-ups to avoid a bouquet that feels “pretty” but photographs underwhelming:
- Detailed lace or beading: Go structured (fan, monochrome, sculptural) so the bouquet doesn’t compete with the dress texture.
- Simple satin or crepe: You can handle more drama (cascade, bold color blocking, high-contrast dark + light).
- Outdoor garden venues: Choose stronger contrast or a defined silhouette so you don’t blend into greenery.
- Moody indoor venues: Add lighter blooms or reflective textures (anthurium, orchids) to catch available light.
Photo tip: Ask your photographer if your first-look spot or ceremony backdrop is “busy.” If yes, pick a bouquet with a clear outline and fewer tiny filler flowers.
Budget-Friendly Tips (Without Losing the Look)
- Use fewer premium stems, more intentional shape: Sculptural bouquets often require fewer blooms because the silhouette does the work.
- Swap pricey flowers for look-alikes: Peonies can become garden roses; ranunculus can mimic that layered, romantic look.
- Let greenery carry volume: A greenery-forward cascade can look luxurious while keeping floral stem count controlled.
- Lean into ribbons: Ribbons add impact for relatively little cost. Ask your florist to wrap and finish, or DIY the ribbon tie (practice first).
- Prioritize your bouquet, simplify attendants: Keep bridesmaids’ bouquets smaller or more uniform so yours stands out in group photos.
Common Mistakes to Avoid
- Choosing all one texture: Even a monochrome bouquet needs mixed surfaces (smooth + ruffled + airy) to photograph with depth.
- Too much filler: Baby’s breath and tiny blooms can read “busy” and make the bouquet look shapeless from a distance.
- Ignoring stem length and proportion: Short stems can look like you’re clutching the bouquet too high; overly long stems can look awkward in portraits.
- Forgetting the back of the bouquet: You’ll be photographed from all angles. Ask for a 360-degree finish.
- Ribbons that stain or fray: Test ribbon colorfastness (especially dark velvet) against a white dress.
Styling and Planning Advice for a Bouquet That Photographs Like a Dream
- Share your priority shots: Tell your florist if you want the bouquet to shine in full-body portraits, overhead flat-lays, or ceremony candids.
- Plan your “holding” practice: Hold the bouquet at about belly-button level, angled slightly forward. Too high hides your bodice; too low shortens your posture.
- Choose a handle wrap that complements jewelry: Satin wrap feels classic; raw silk feels modern-romantic; velvet reads luxe in fall/winter.
- Ask for a small “photo touch-up kit”: A few spare blooms, ribbon pins, and floral tape can save the day if anything shifts.
Final Takeaway: Pick a Bouquet With a Strong Silhouette and Intentional Contrast
If you want a bouquet that stands out in photos, start with shape (fan, cascade, structured round), add contrast (light vs. dark, matte vs. glossy), and finish with texture (airy + sculptural + ruffled). The most memorable bouquets aren’t always the biggest—they’re the most intentional.
Choose one of the ideas above, match it to your dress and venue, and you’ll have a bouquet that looks as stunning in your album as it does in your hands.
FAQ
How far in advance should I decide on my bouquet style?
Ideally 3–6 months before the wedding, especially if you want a specific silhouette like a fan or cascade. This gives your florist time to plan mechanics, source seasonal alternatives, and align your bouquet with the rest of the floral plan.
What bouquet shape is most flattering in photos?
A slightly elongated shape (soft teardrop or gentle cascade) tends to photograph very flattering because it lengthens the torso. If you prefer classic, a structured round bouquet is universally photogenic—just add texture so it doesn’t look flat.
How do I keep my bouquet from wilting before photos?
Keep it in water as long as possible, store it in a cool, shaded place (never in direct sun), and assign a trusted person to handle it between moments. Ask your florist about hardy blooms for warm-weather days and request a hydration wrap for the stems.
Can I DIY a unique bouquet and still have it look professional?
Yes—choose a simple, defined concept like a monochrome posy or a compact bouquet with herbs and a ribbon finish. Buy a few extra stems for practice, keep the palette tight, and focus on a clean handle wrap so it reads polished in close-up photos.