Doing your own wedding hair on a budget doesn’t mean it has to look like a last-minute Pinterest panic. With the right style choice (and a few pro-level tricks), you can get that polished, “my stylist totally did this” finish—without the salon bill.
Below are five DIY-friendly wedding hairstyles that photograph beautifully, hold up through hugs and happy tears, and work with real-life hair textures.
Top 5
1) Sleek Low Bun With a Clean Middle Part
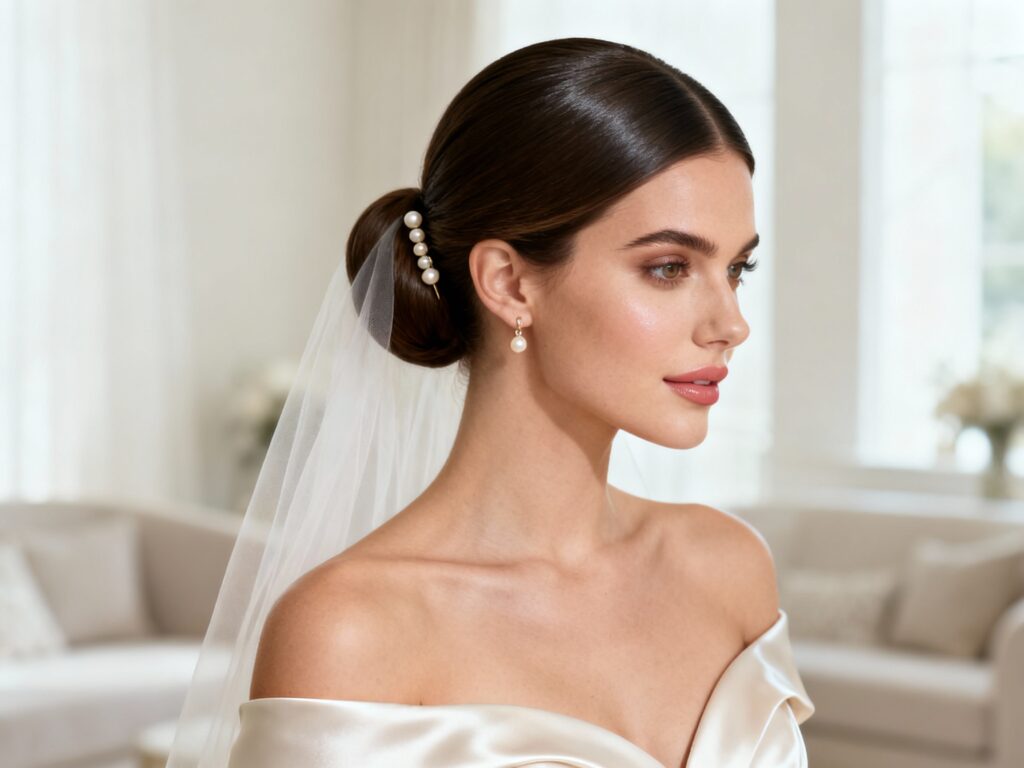
This is the ultimate “quiet luxury” bridal hairstyle and it flatters almost everyone—especially oval, heart, and round face shapes because the center part creates balance. The vibe is modern, elegant, and timeless in photos (hello, snatched profile). Practical tip: smooth a pea-size amount of anti-frizz cream over the surface, then lock the bun with a strong-hold hairspray misted onto a toothbrush for flyaways; place a veil right above the bun for the most secure anchor point.
2) Textured Low Chignon With Soft Face-Framing Pieces
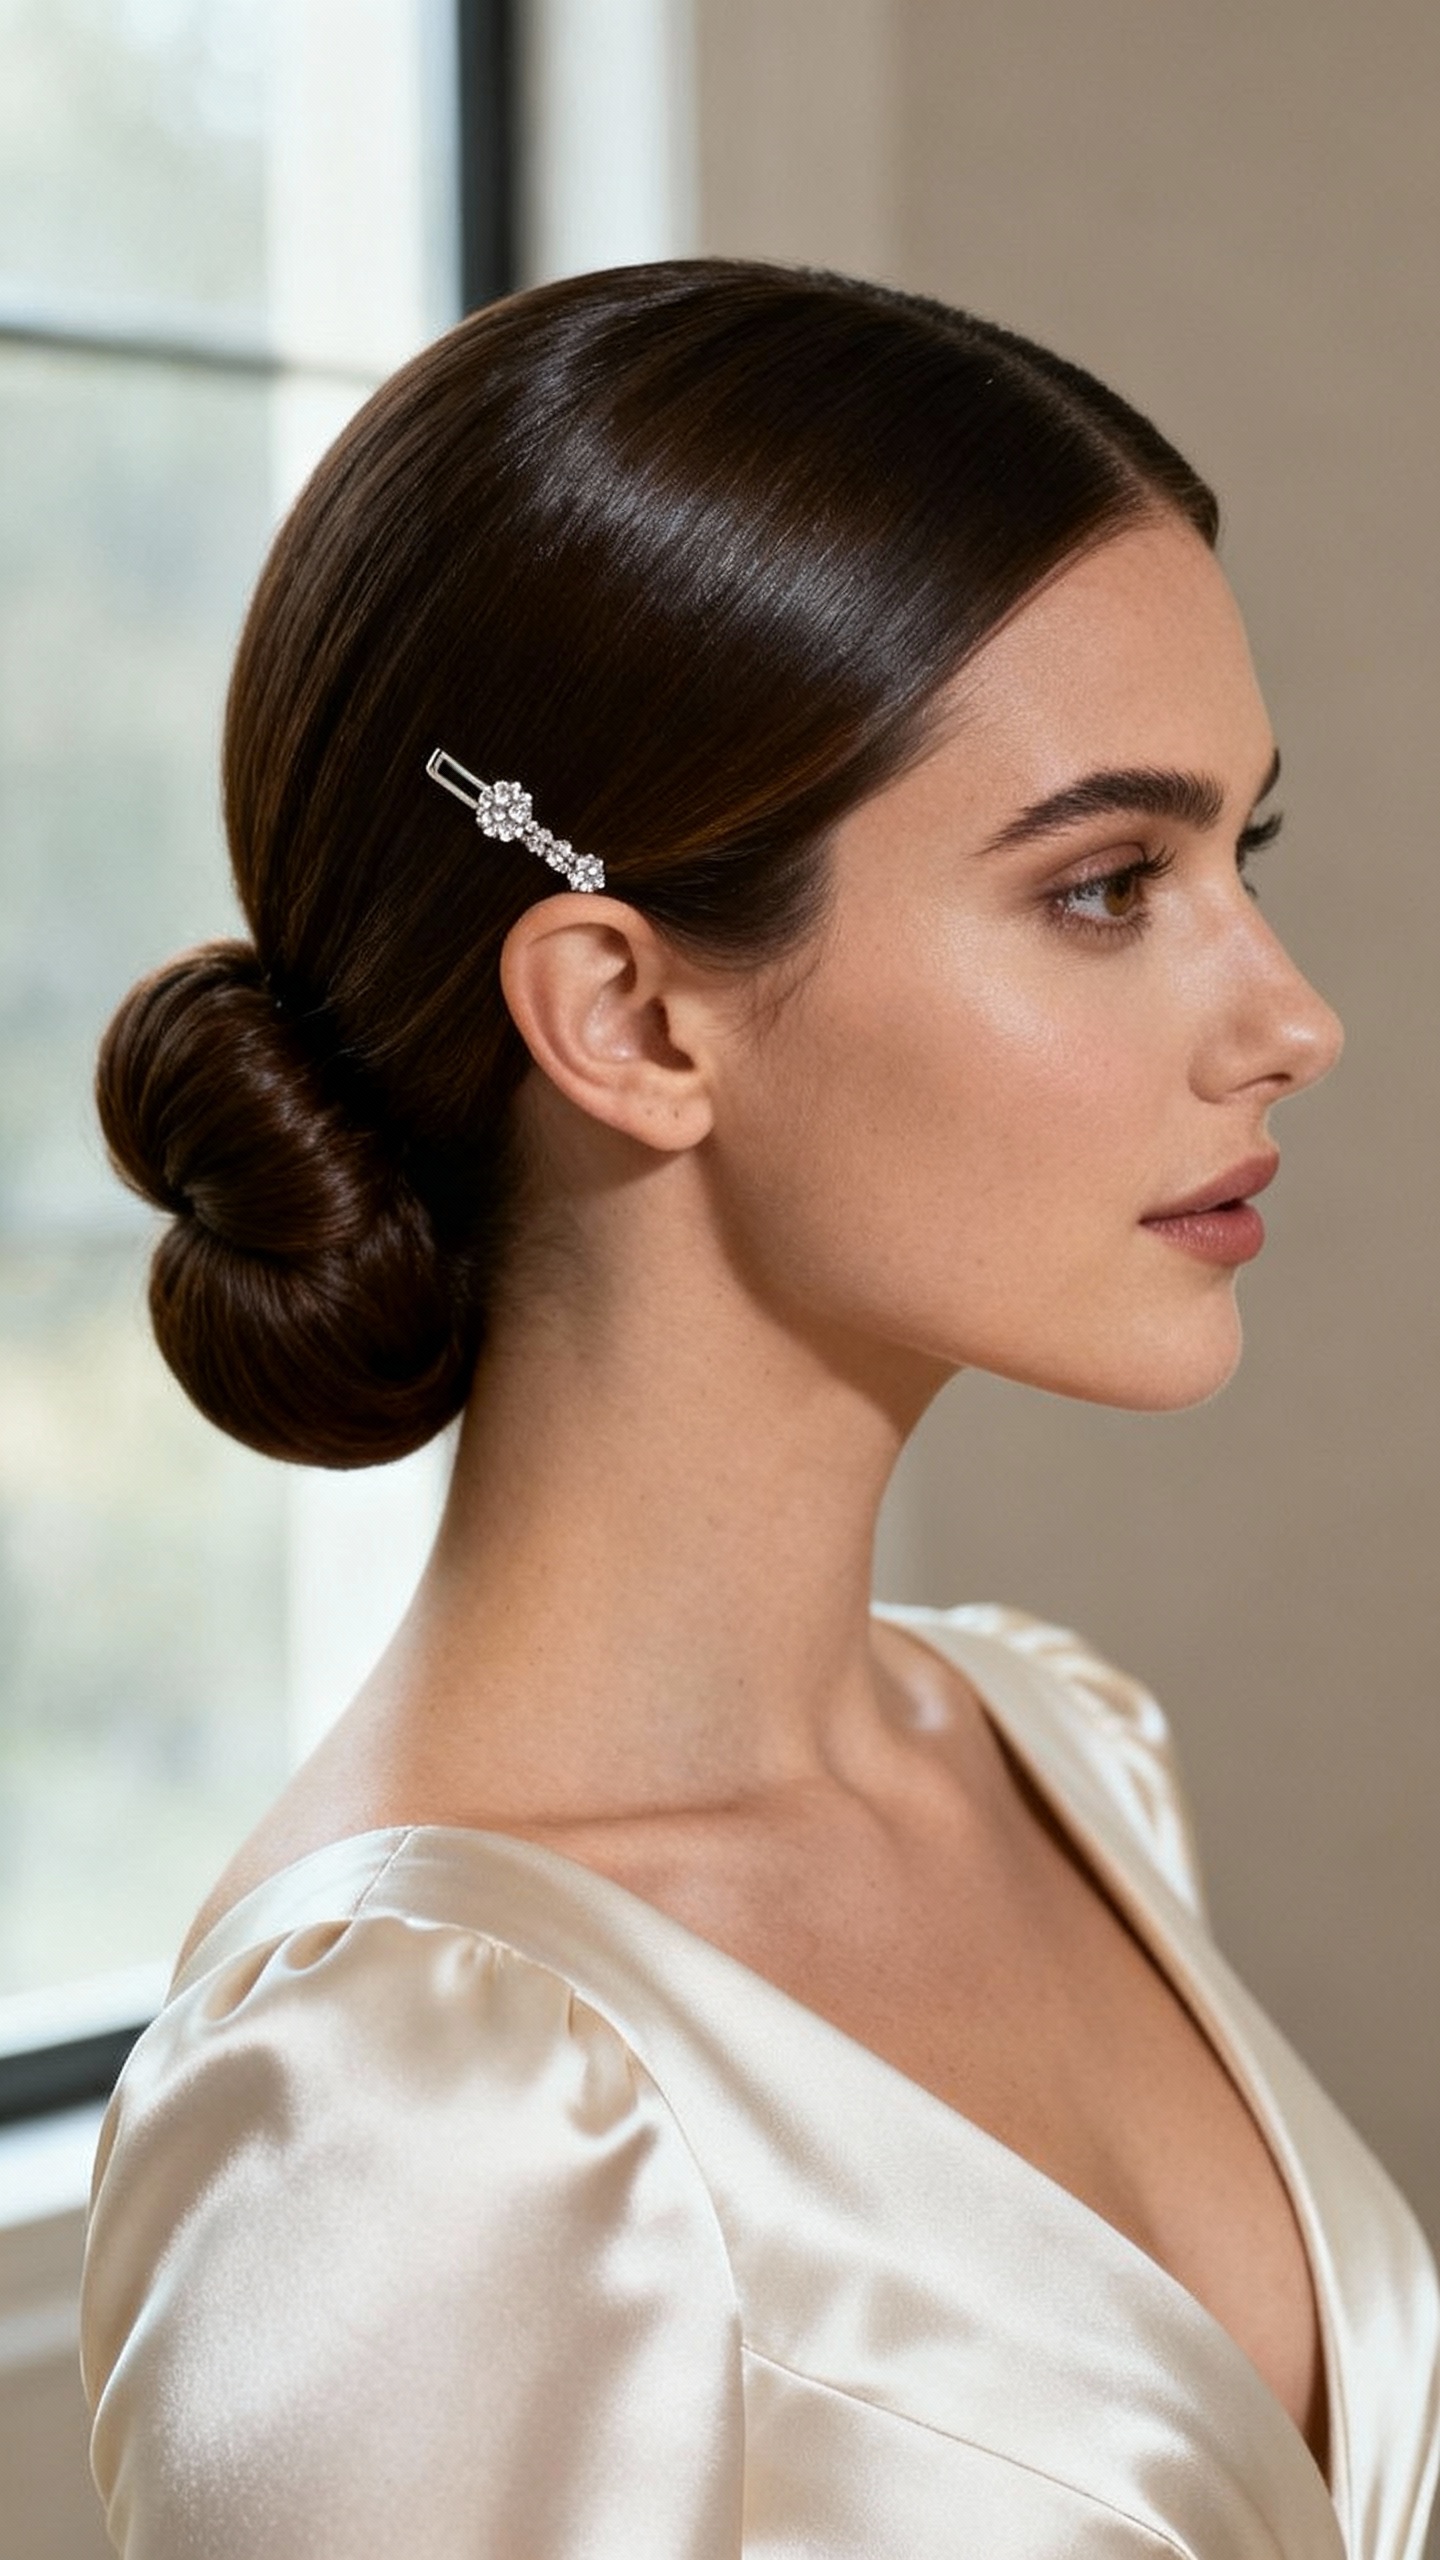
This romantic style is perfect if you want “effortless” but still wedding-level polished, and it’s super forgiving for fine hair or layers. It flatters square and longer face shapes because the softness around the cheeks breaks up strong angles and adds width where you want it. Practical tip: prep with dry texture spray before you gather the hair so the chignon grips, and pin the face-framing pieces with mini bobby pins crossed in an X so they don’t fall into your lip gloss all night.
3) Half-Up Twisted Crown With Loose Waves
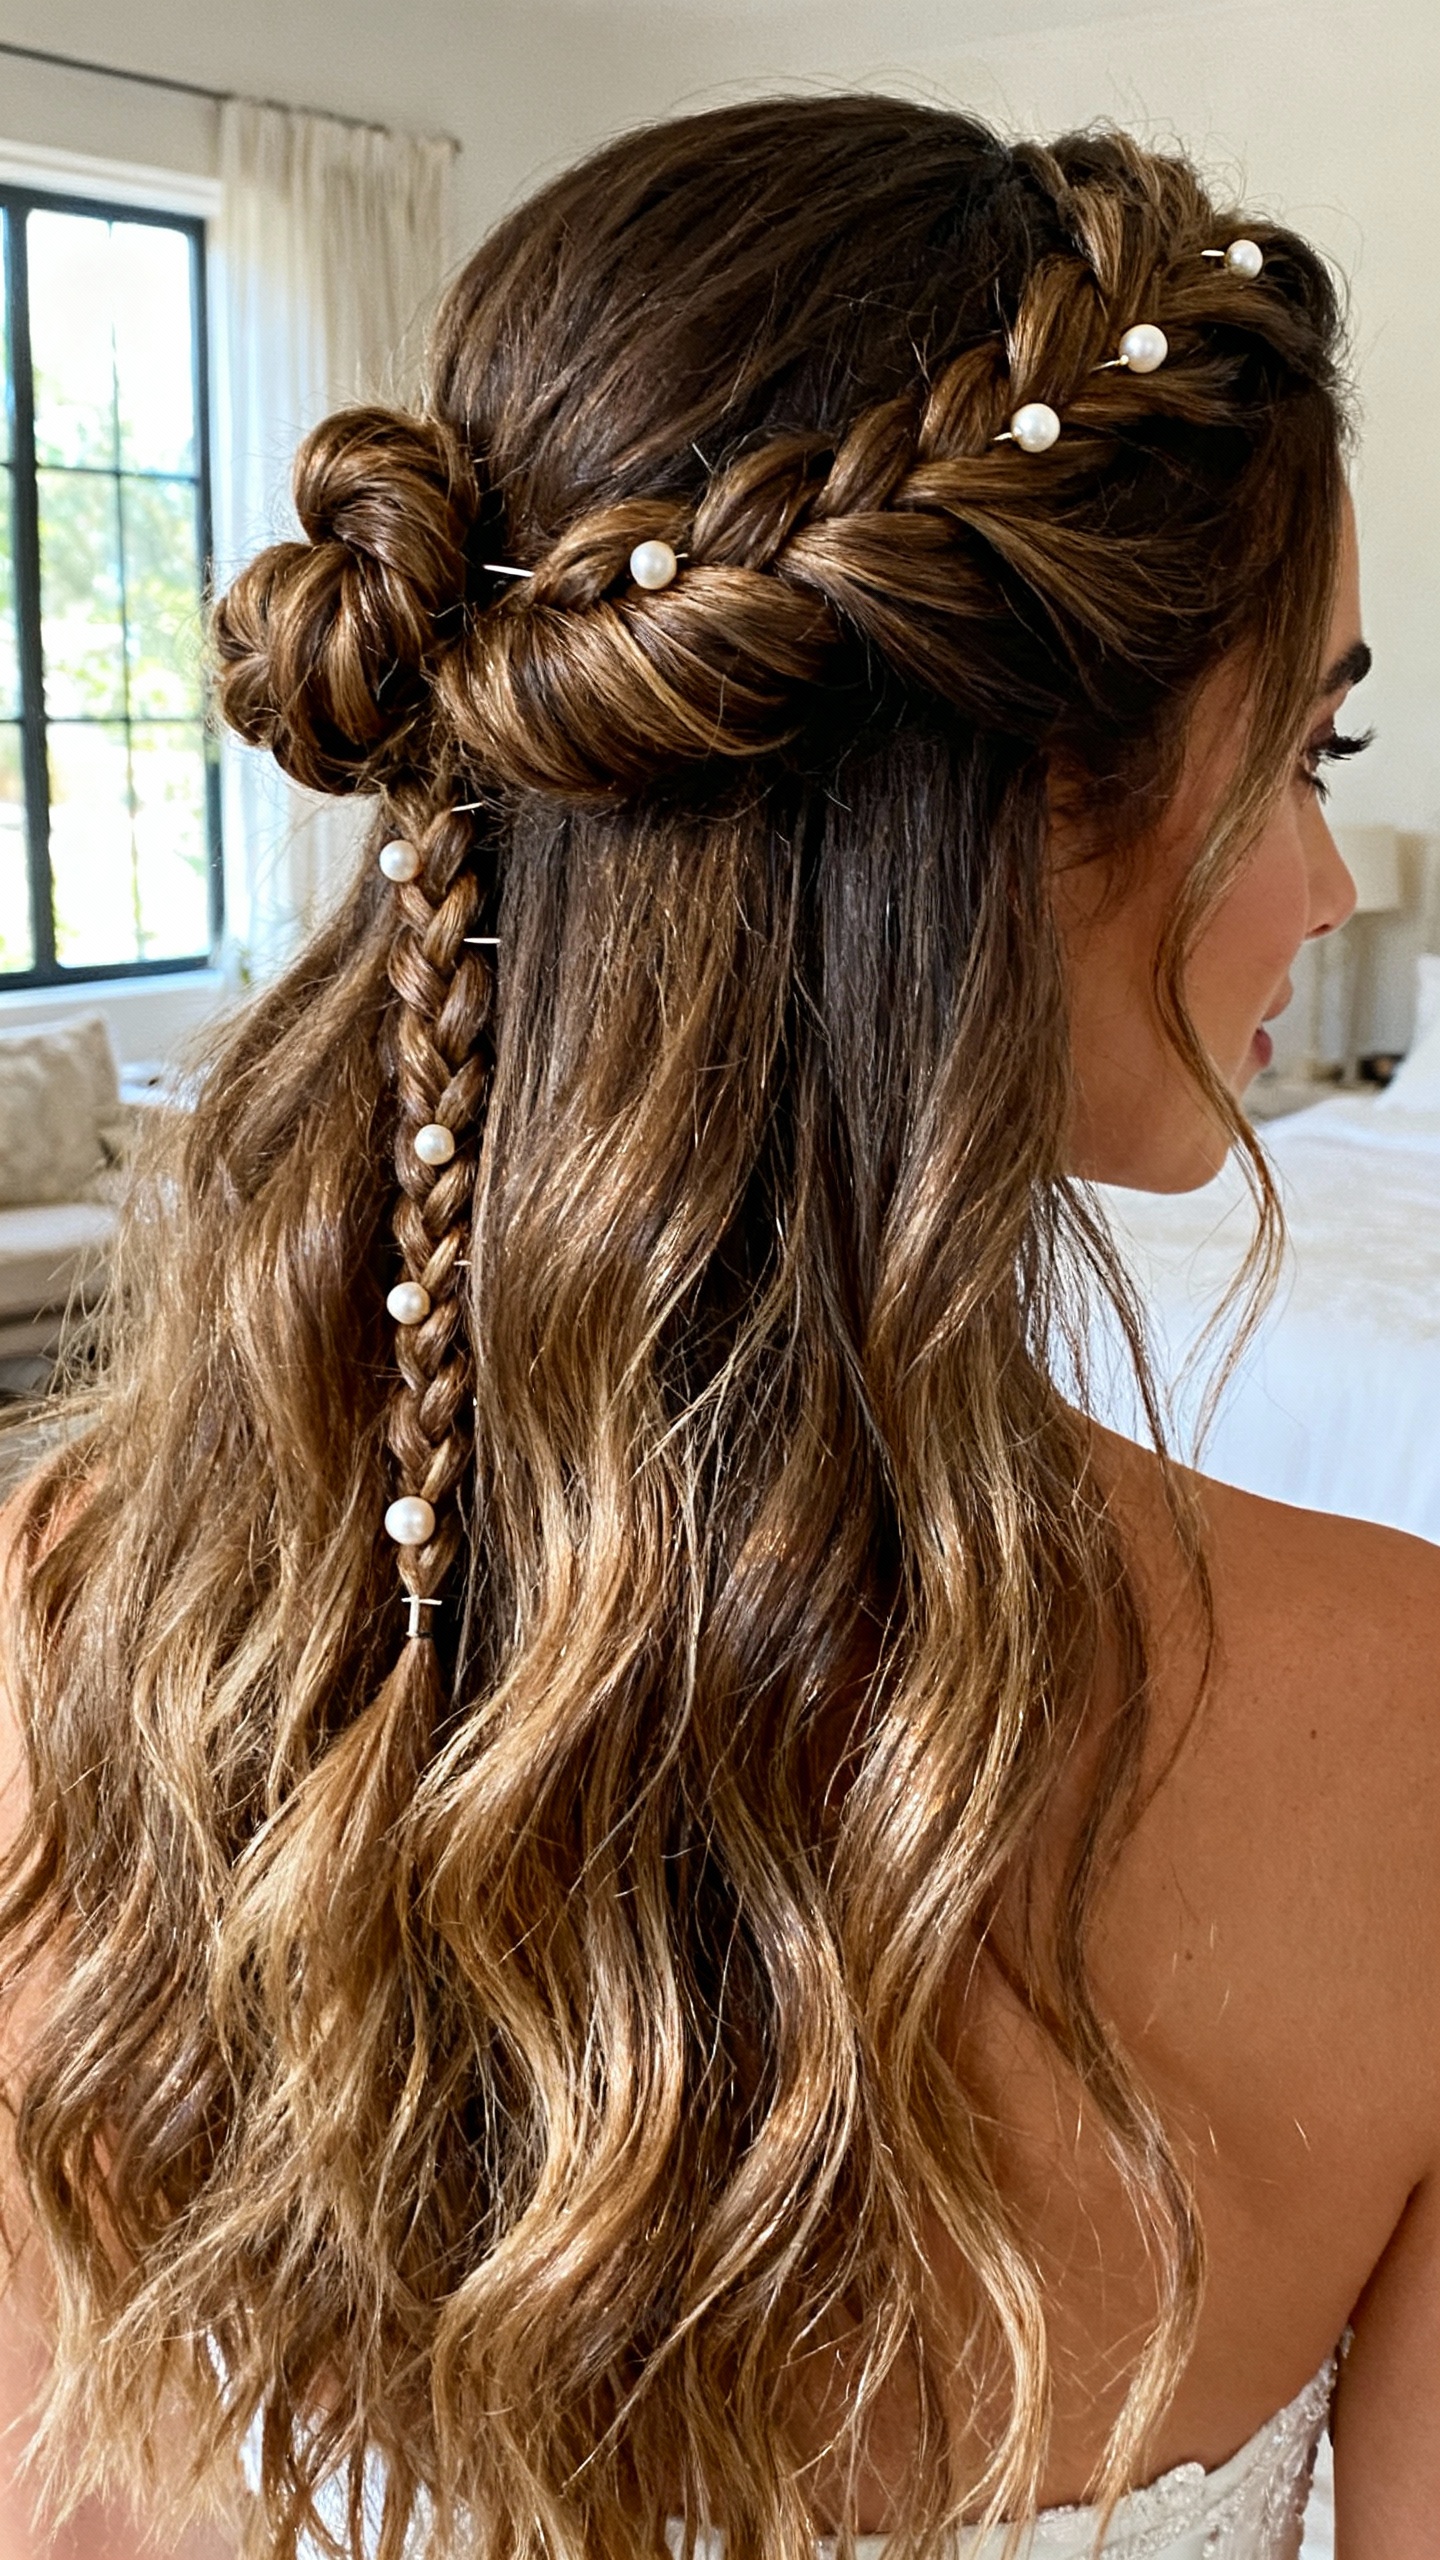
This is the budget bride bestie of “I want my hair down but still bridal,” and it looks amazing on medium to long hair with natural wave, curls, or heat-styled bends. The vibe is soft, youthful, and dreamy—especially with a small pearl comb or floral pins tucked into the twist. Practical tip: curl first, then twist back and secure with a small clear elastic plus pins; if you’re wearing a veil, set the comb just below the twist so the twist hides the attachment and looks intentional.
4) Polished Low Ponytail With Wrapped Base
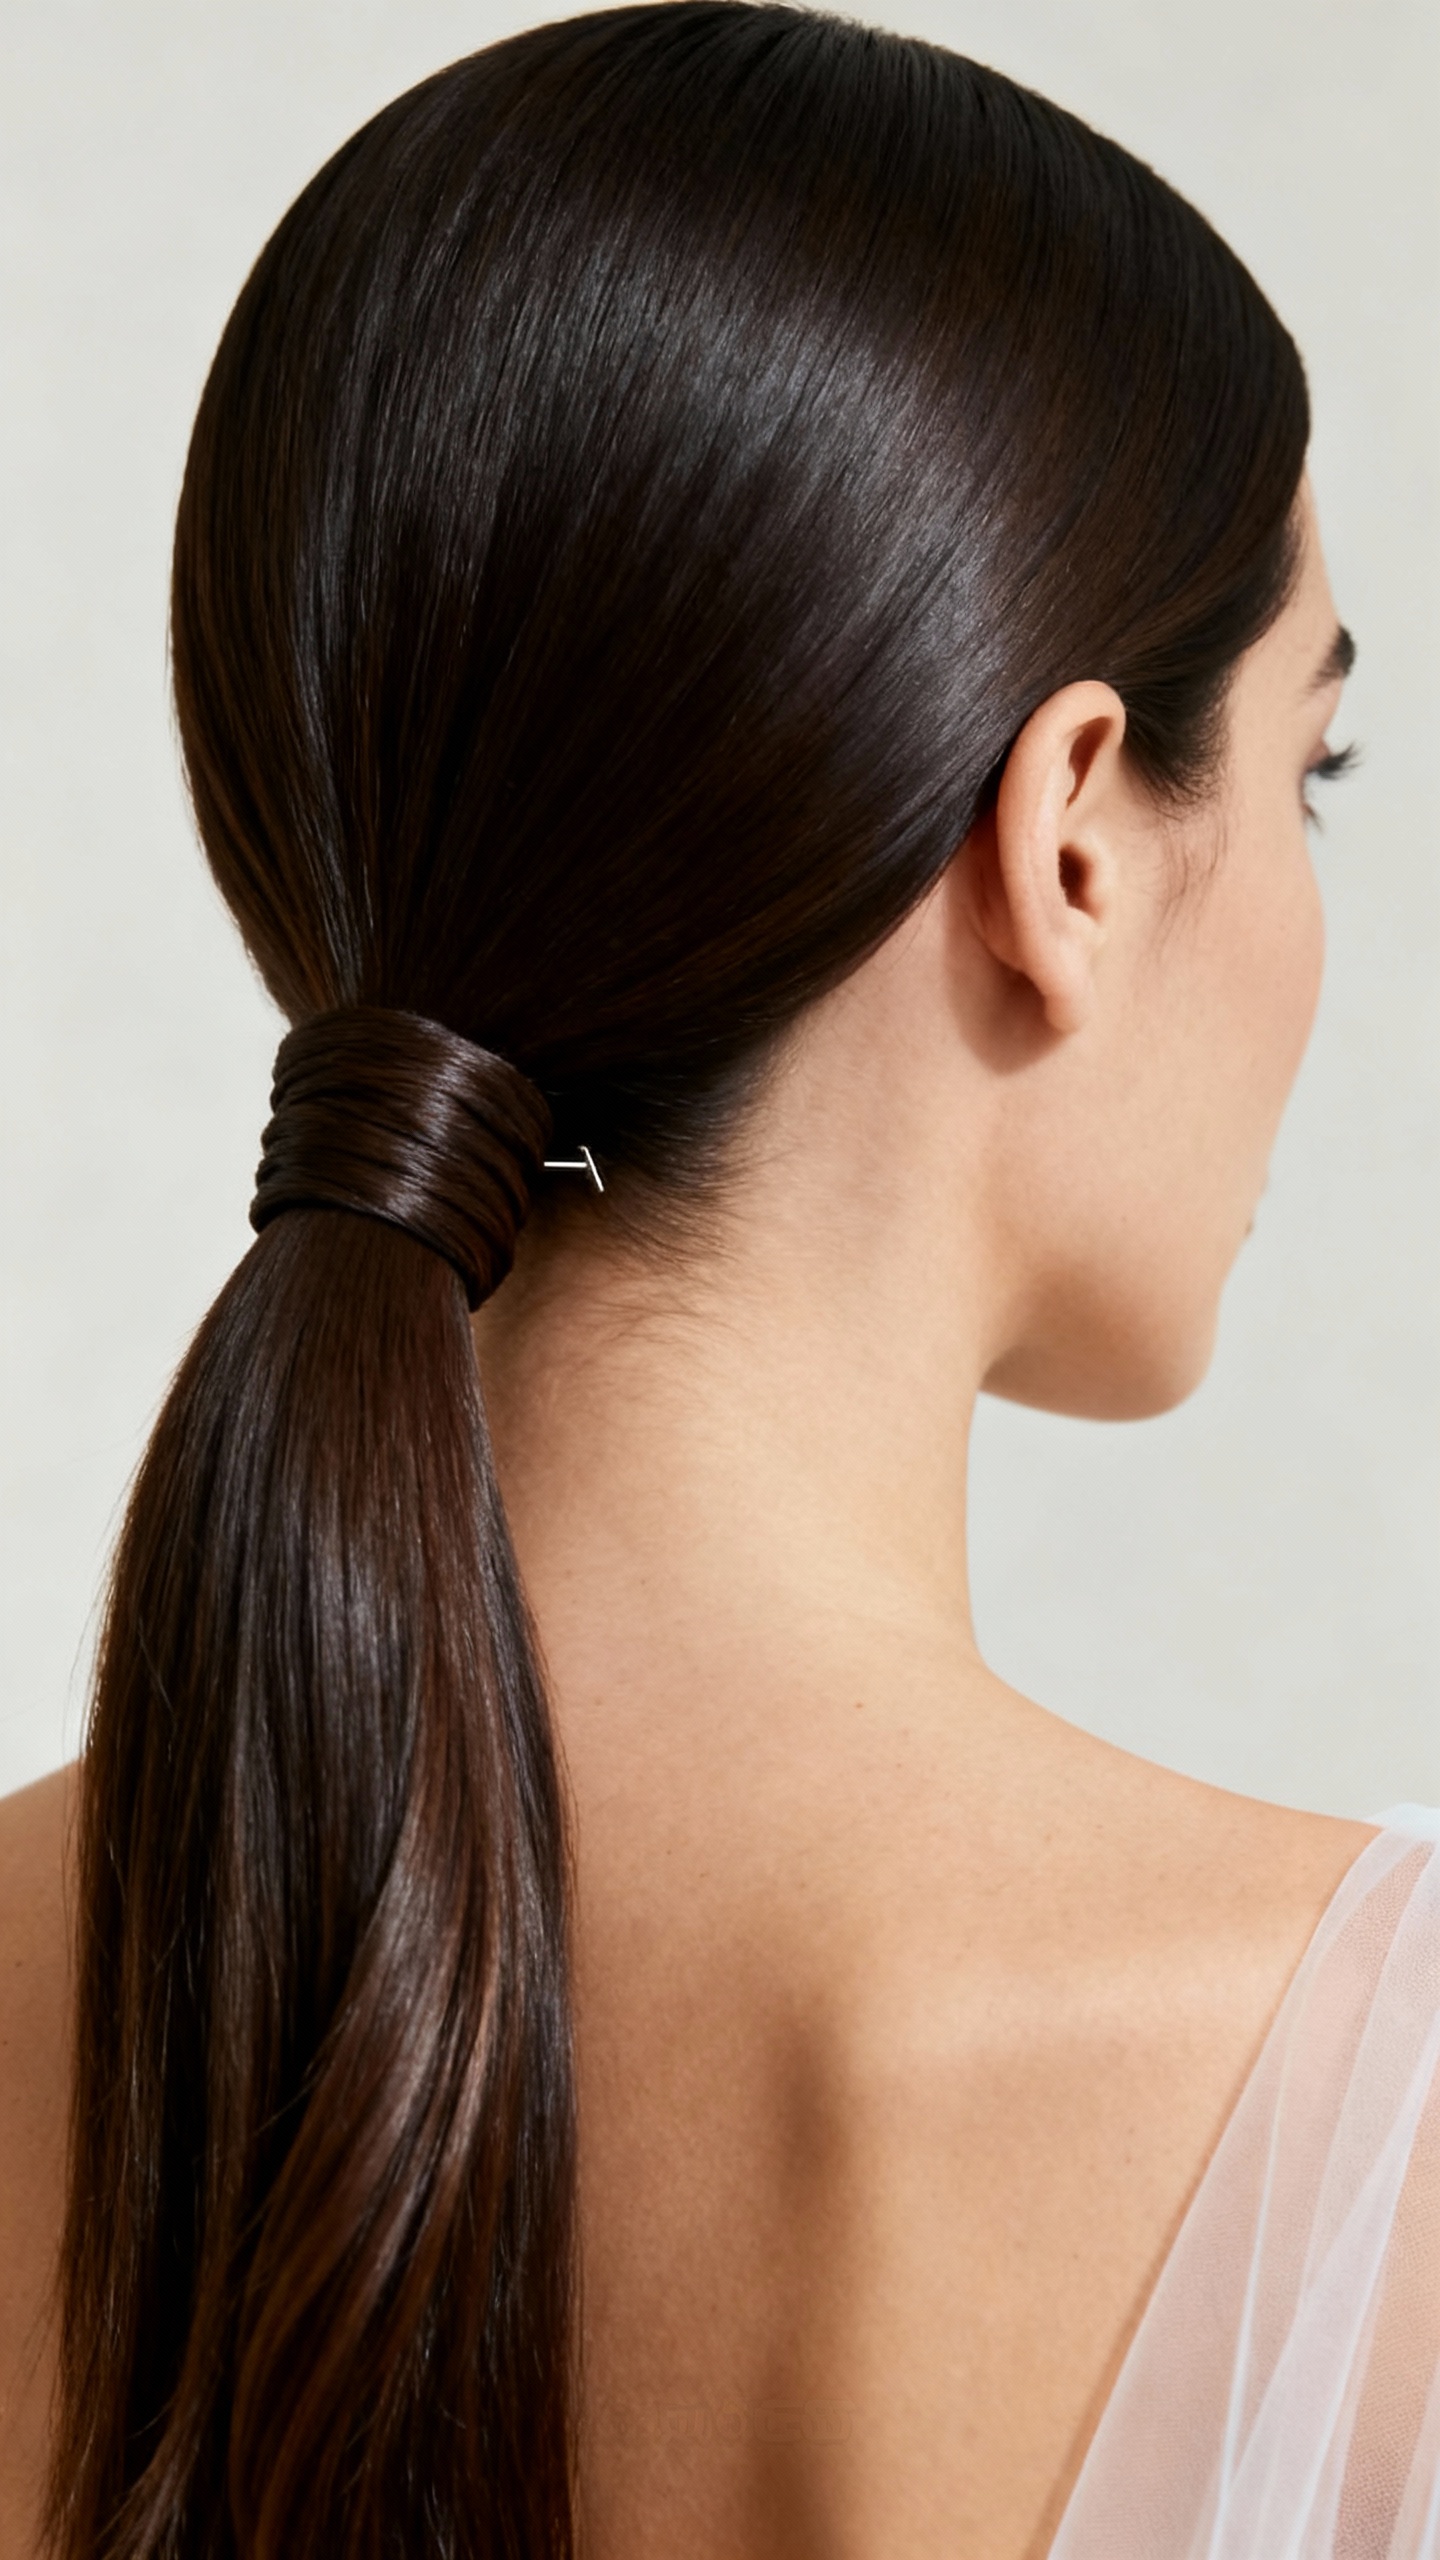
A sleek low ponytail is minimal, chic, and shockingly expensive-looking when you wrap the base, making it perfect for modern brides, courthouse weddings, and fashion-forward bridesmaids too. It flatters round and heart-shaped faces (especially with a soft side part), and works beautifully on straight hair, blown-out hair, or stretched curls. Practical tip: use two elastics—one to anchor the ponytail and a second a half-inch below to keep it “full” and lifted; then wrap a thin section of hair around both elastics and pin underneath for a seamless finish.
5) Braided Low Bun (Braided Pony + Coil)
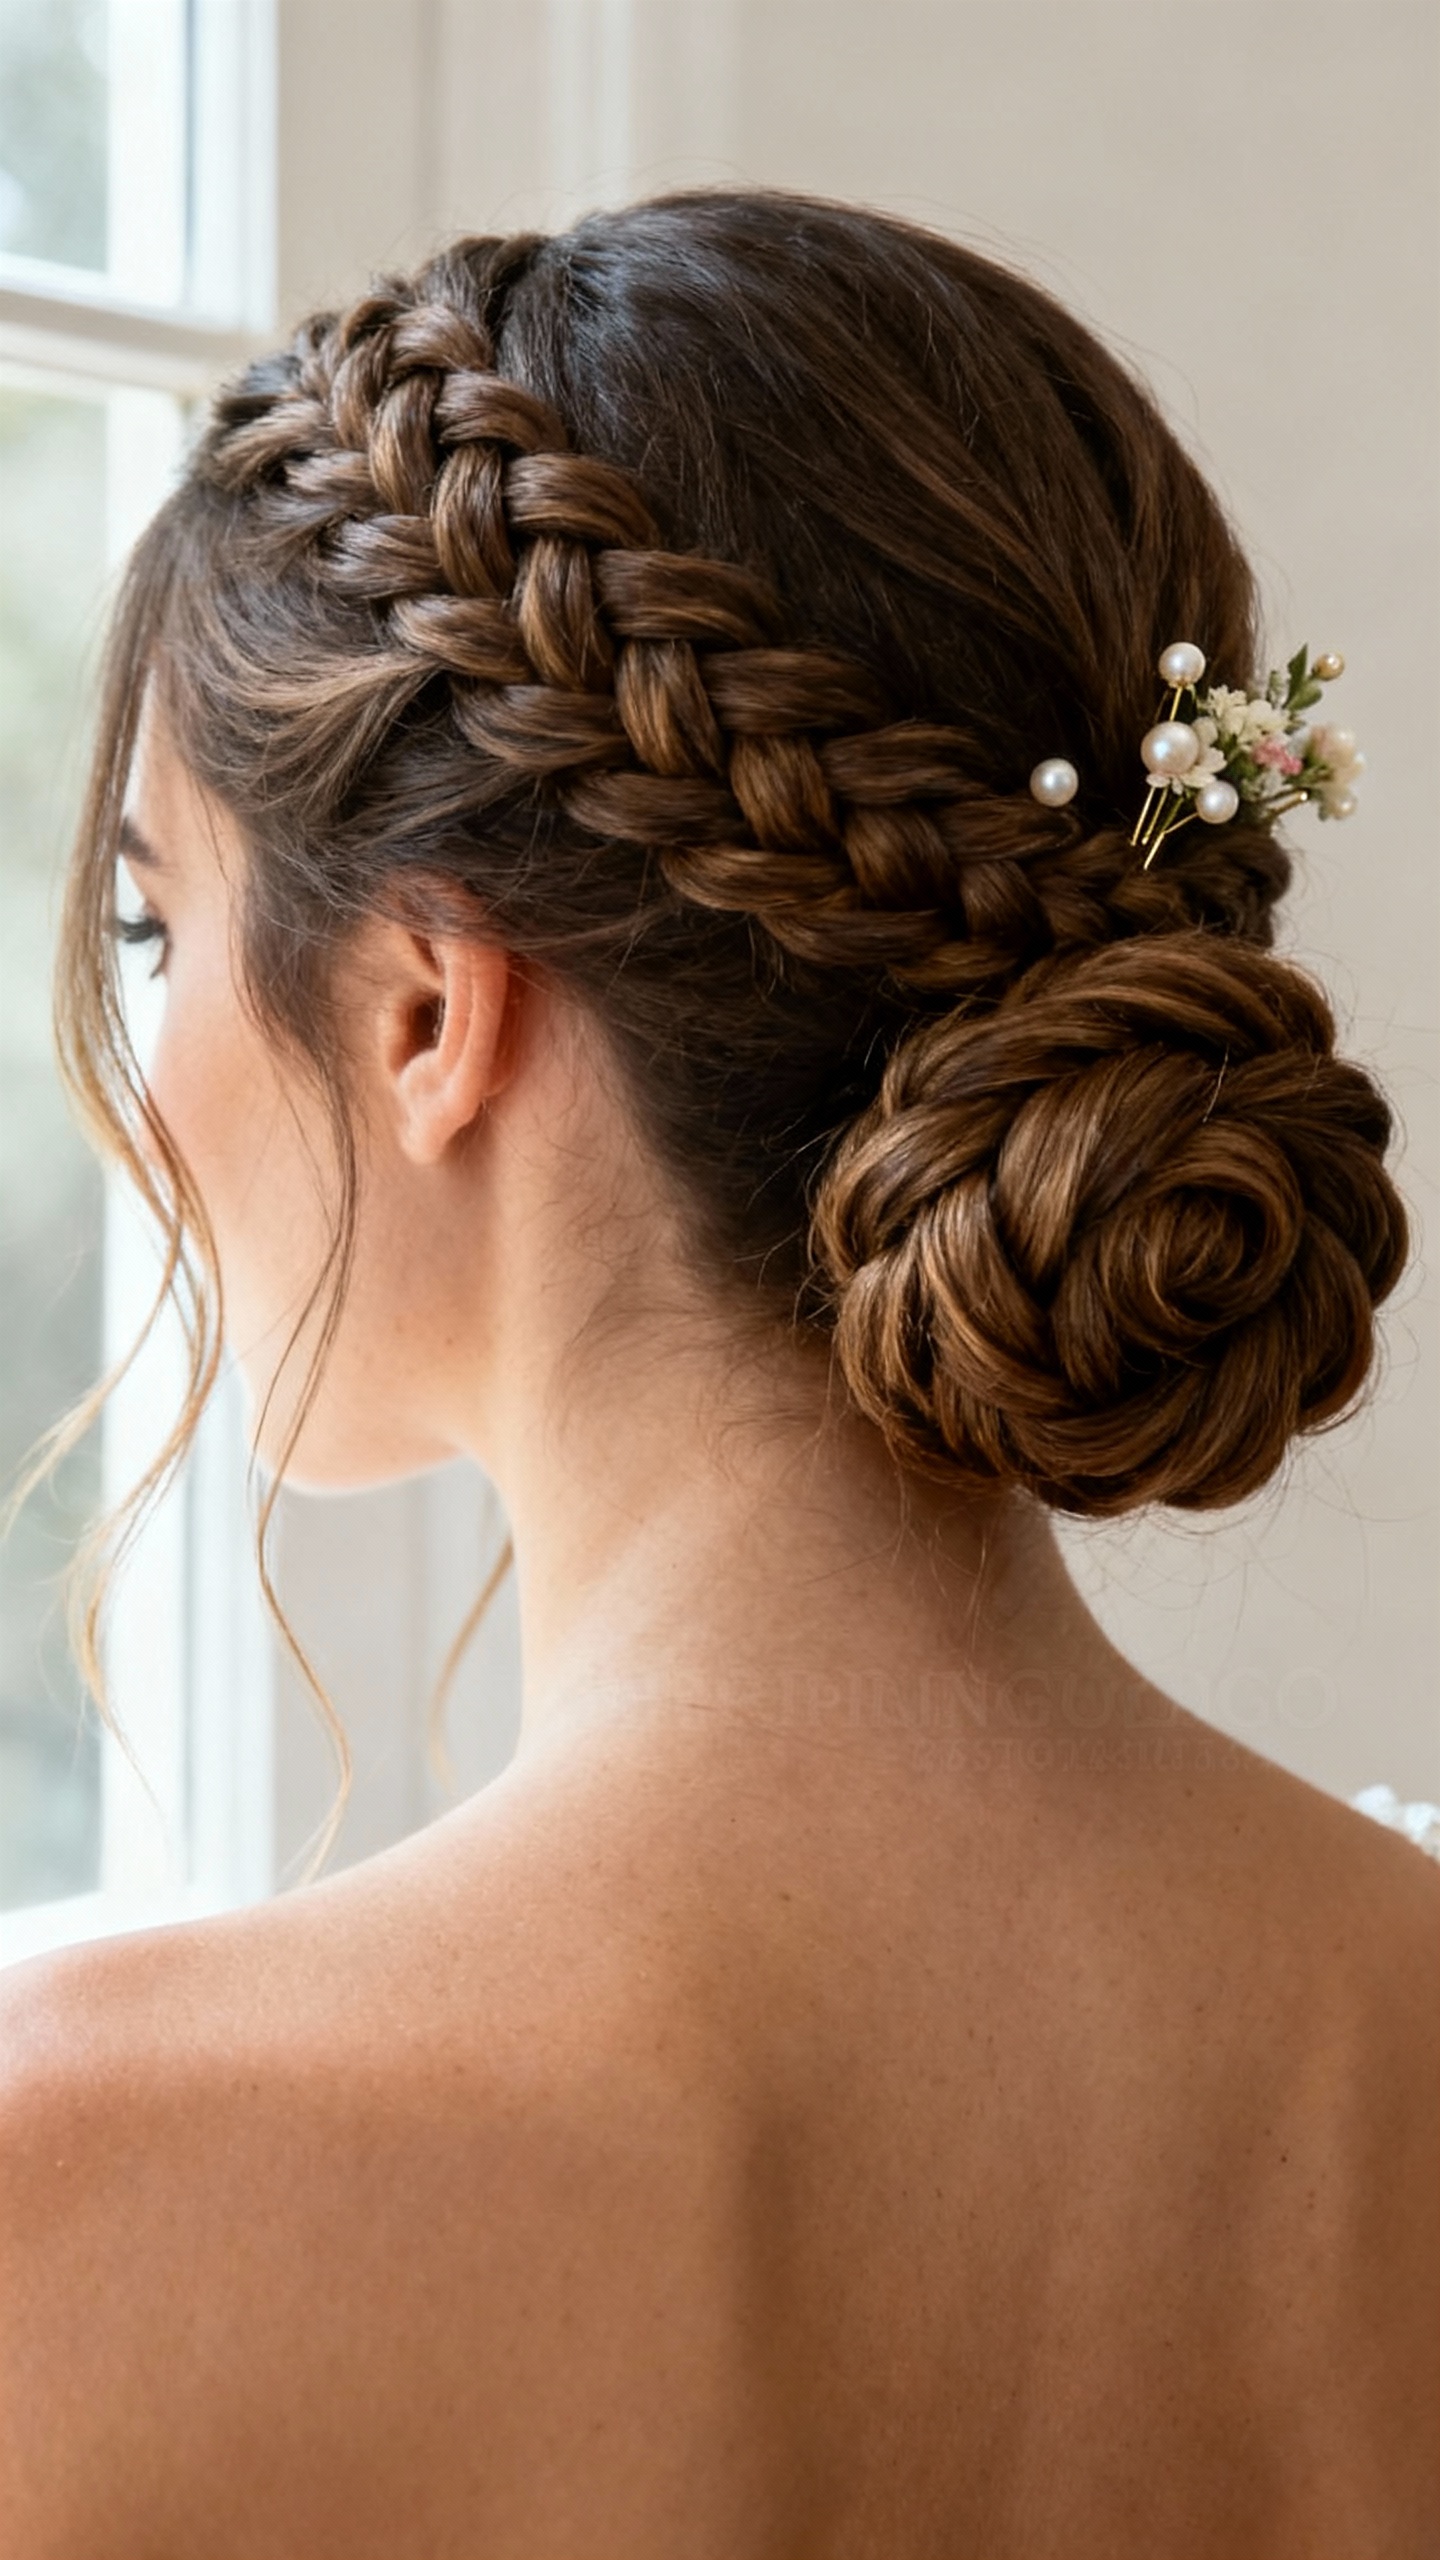
This style reads romantic and detailed, but it’s actually super DIY because braids do the heavy lifting—instant texture, instant dimension, instant “pro.” It flatters most face shapes and is especially great for thick hair or anyone who wants extra hold without a million pins. Practical tip: braid a low ponytail, pancake (gently pull) the braid for fullness, then coil it into a bun and pin along the outer edge; tuck your veil comb above the bun so the braid detail stays visible in photos.
FAQ
How do I make my DIY wedding hair look “not DIY” in photos?
Focus on clean sections, a smooth finish, and symmetry where it matters (parting and placement). Use product intentionally: texture spray for grip, a smoothing cream for shine, and a strong-hold hairspray to lock it in. The last step that changes everything is pin-hiding—slide bobby pins under the hair and crisscross for hold, then cover with a small piece of hair or an accessory.
What’s the best way to attach a veil so it doesn’t slide out?
Backcomb a small section where the comb will sit, then spray with hairspray and let it get slightly tacky before inserting the comb. Anchor the veil comb with two bobby pins crossed over the comb’s top edge (like a seatbelt). Low buns and chignons are the easiest base for veil security because they give the comb something firm to grip.
Do I need hair extensions for these styles?
No, but extensions can help if you want more fullness or length, especially for half-up waves or a larger bun. If you’re staying budget, try clip-ins just for the back sections (you don’t need a full head) or use a bun donut for extra volume in a low bun. For fine hair, texture spray and gentle teasing at the crown can add fullness without extra hair.
What products should I buy if I can only get a few?
Get a heat protectant (if you’re curling), a dry texture spray for grip, and a strong-hold hairspray for longevity. Add a lightweight smoothing cream if you’re going sleek, or a flexible wax stick if you fight flyaways. Also budget for the unglam essentials: a pack of sturdy bobby pins, hair elastics that match your color, and a fine-tooth comb for clean parts.
How far in advance should I practice my wedding hairstyle?
Practice at least 2–3 times, and do one full “wear test” for a few hours to see what drops or frizzes. Take photos from the front, side, and back in natural light so you can adjust the shape. The week of the wedding, write a quick step list (and set out pins/products) so you’re not improvising while your toast is cooling.