
Your seating plan is one of those reception details that looks simple… until you’re 43 sticky notes deep and debating who can sit near Aunt Linda. The good news: a smart dining layout can make your reception feel instantly more elevated, more comfortable, and way more “everyone’s having fun.”
These five tips keep things pretty, practical, and guest-friendly—without turning your planning process into a full-time job.
Top 5
1) Start With Your “People Groups,” Not Individual Seats

Before you assign anyone a chair, sort guests into natural clusters: family branches, friend groups, coworkers, college friends, and “mutuals.” Then decide which groups vibe well together (or at least won’t be awkward). Once the groups are set, filling in specific seats is faster and way less stressful.
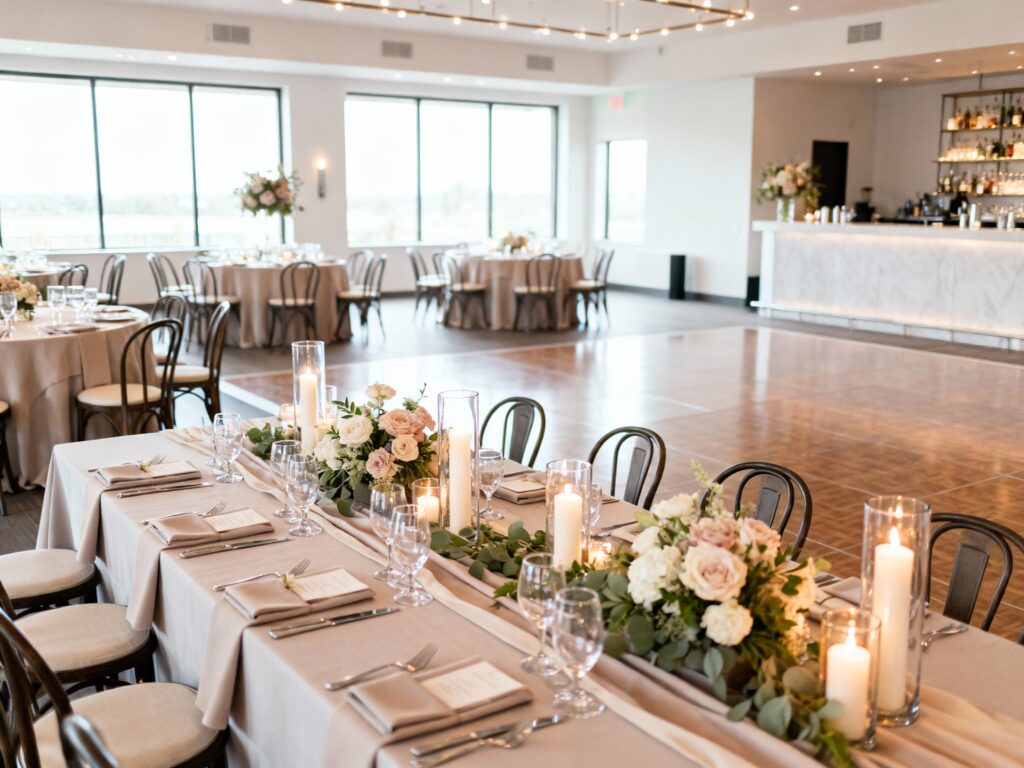
2) Choose a Table Style That Matches Your Vibe (and Your Guest Count)
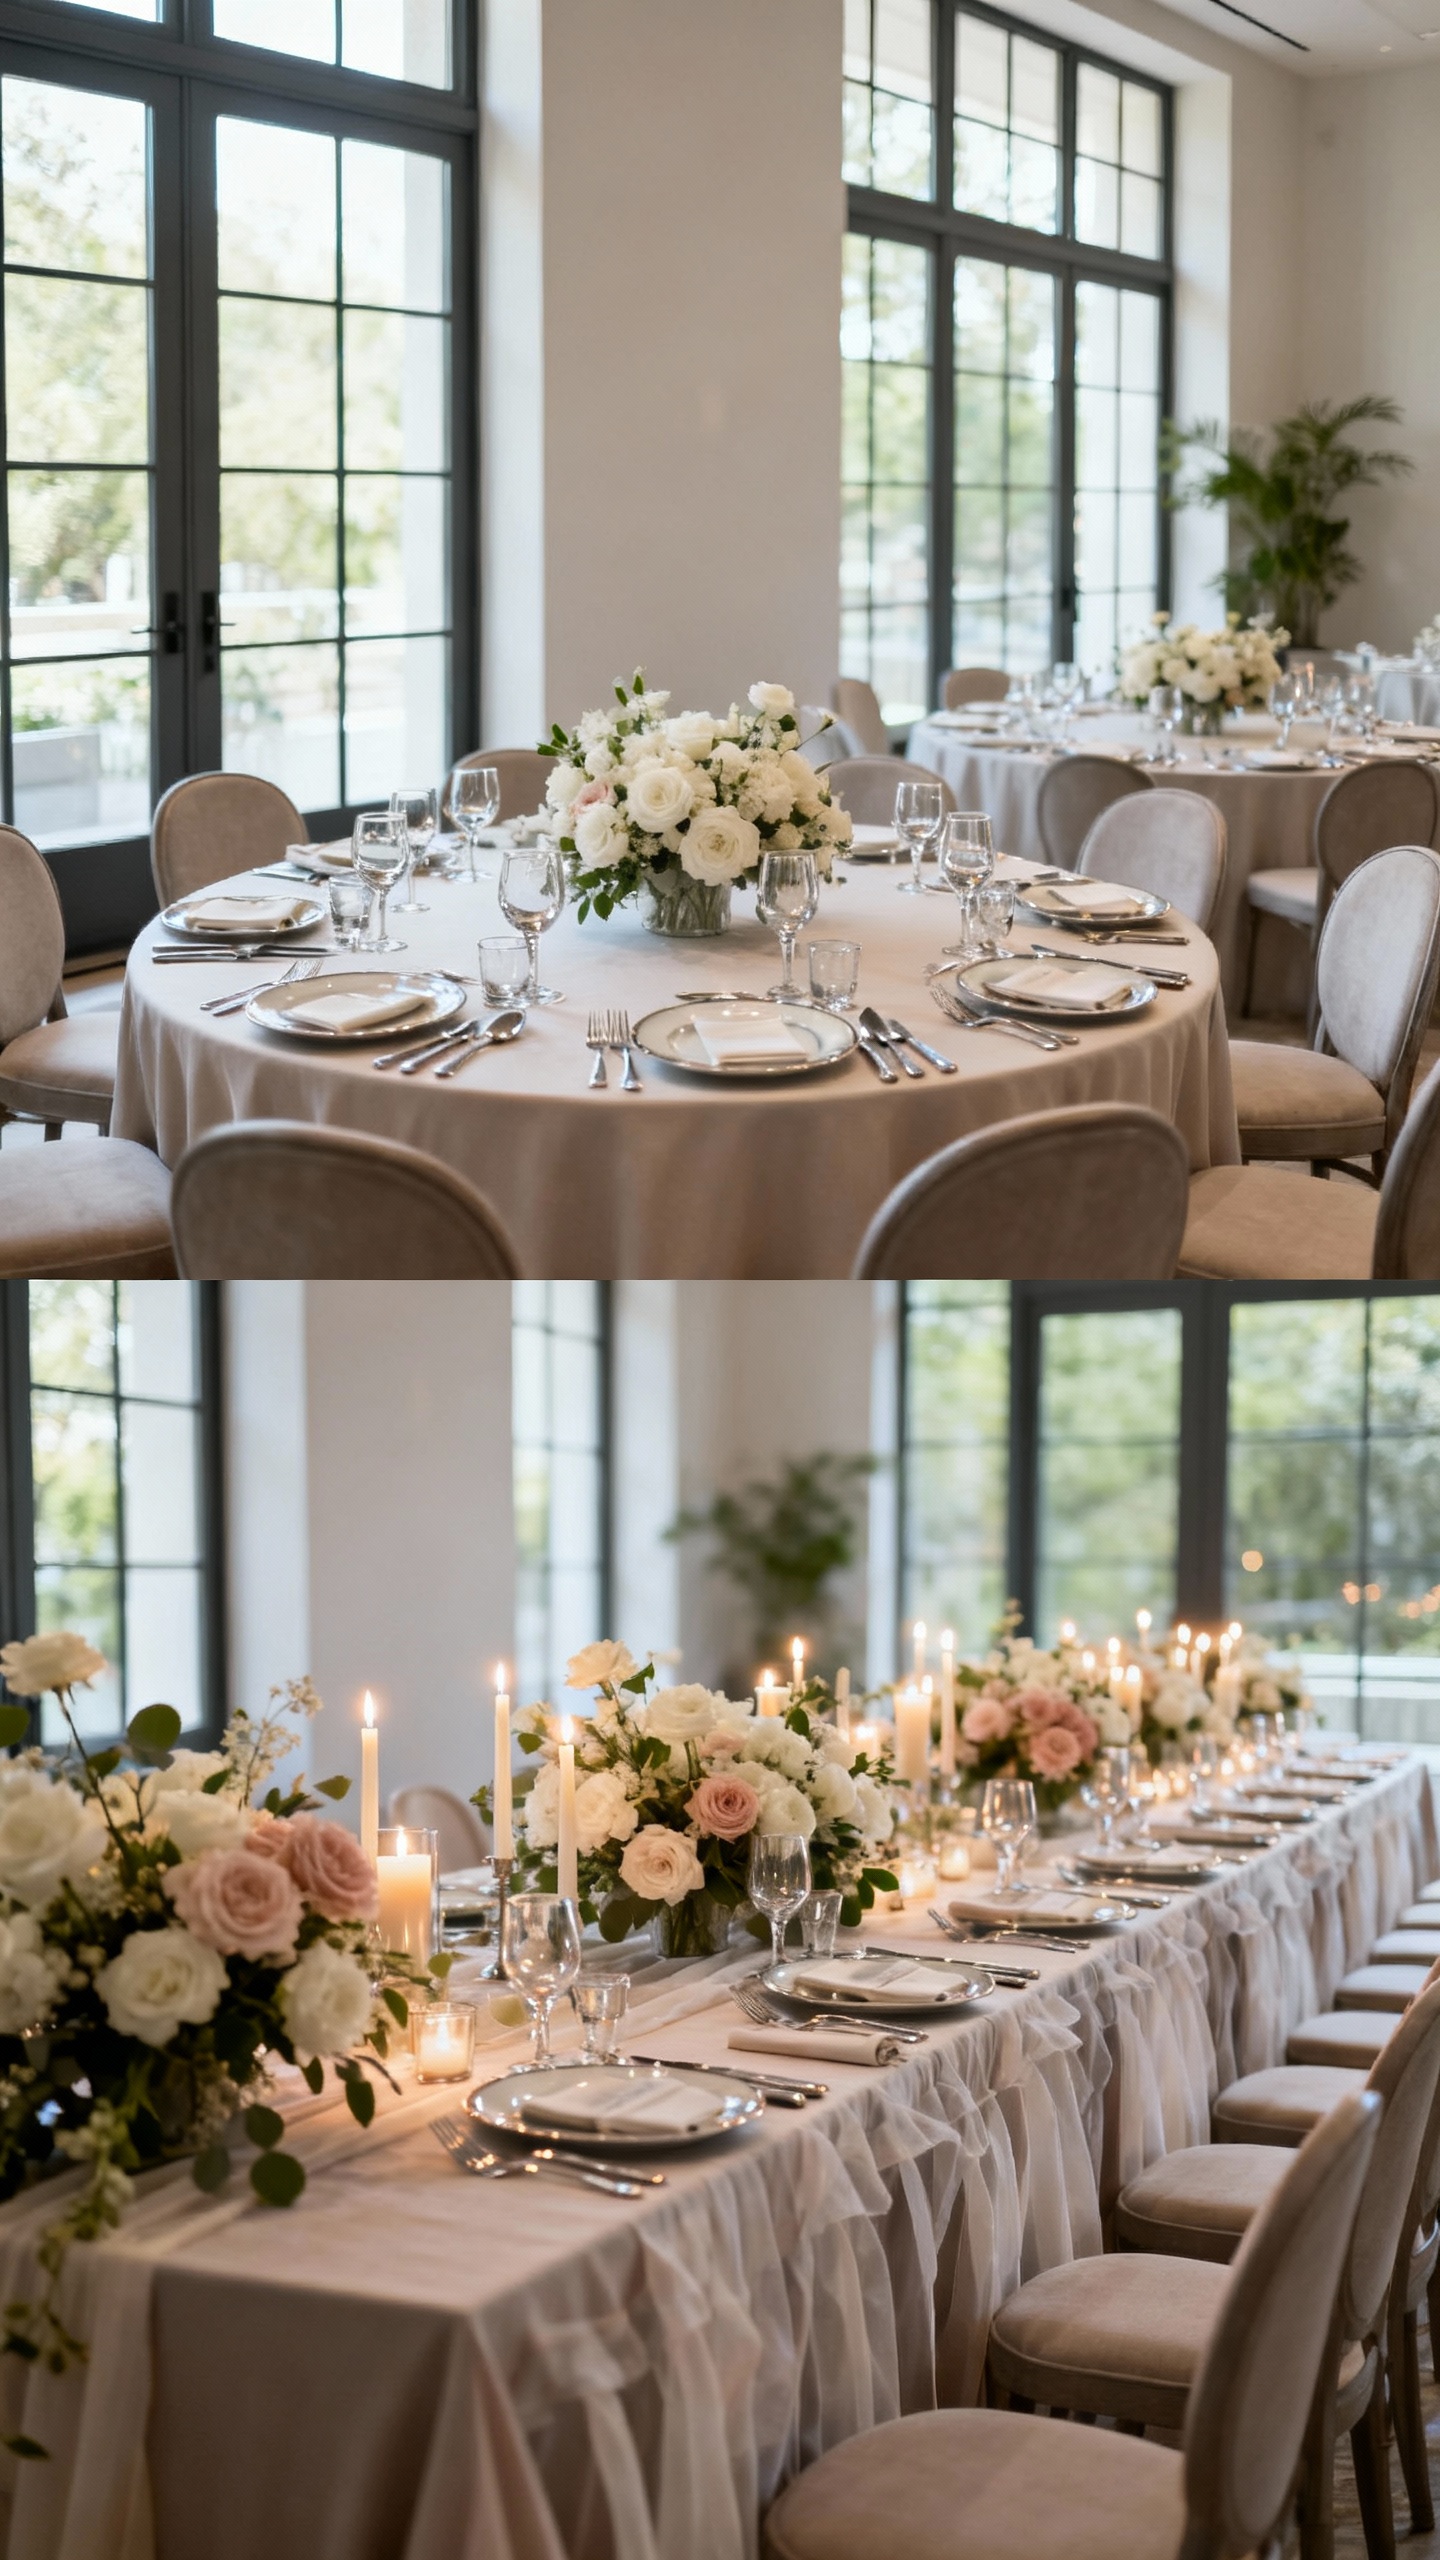
Round tables are classic for conversation, while long banquet tables feel editorial and modern—especially with layered linens and candles. Your table style affects how easy it is to place groups and how loud the room feels. Ask your venue what layouts work best for the space, then pick the one that supports both your aesthetic and guest comfort.
3) Put “Comfort Seats” in the Best Spots
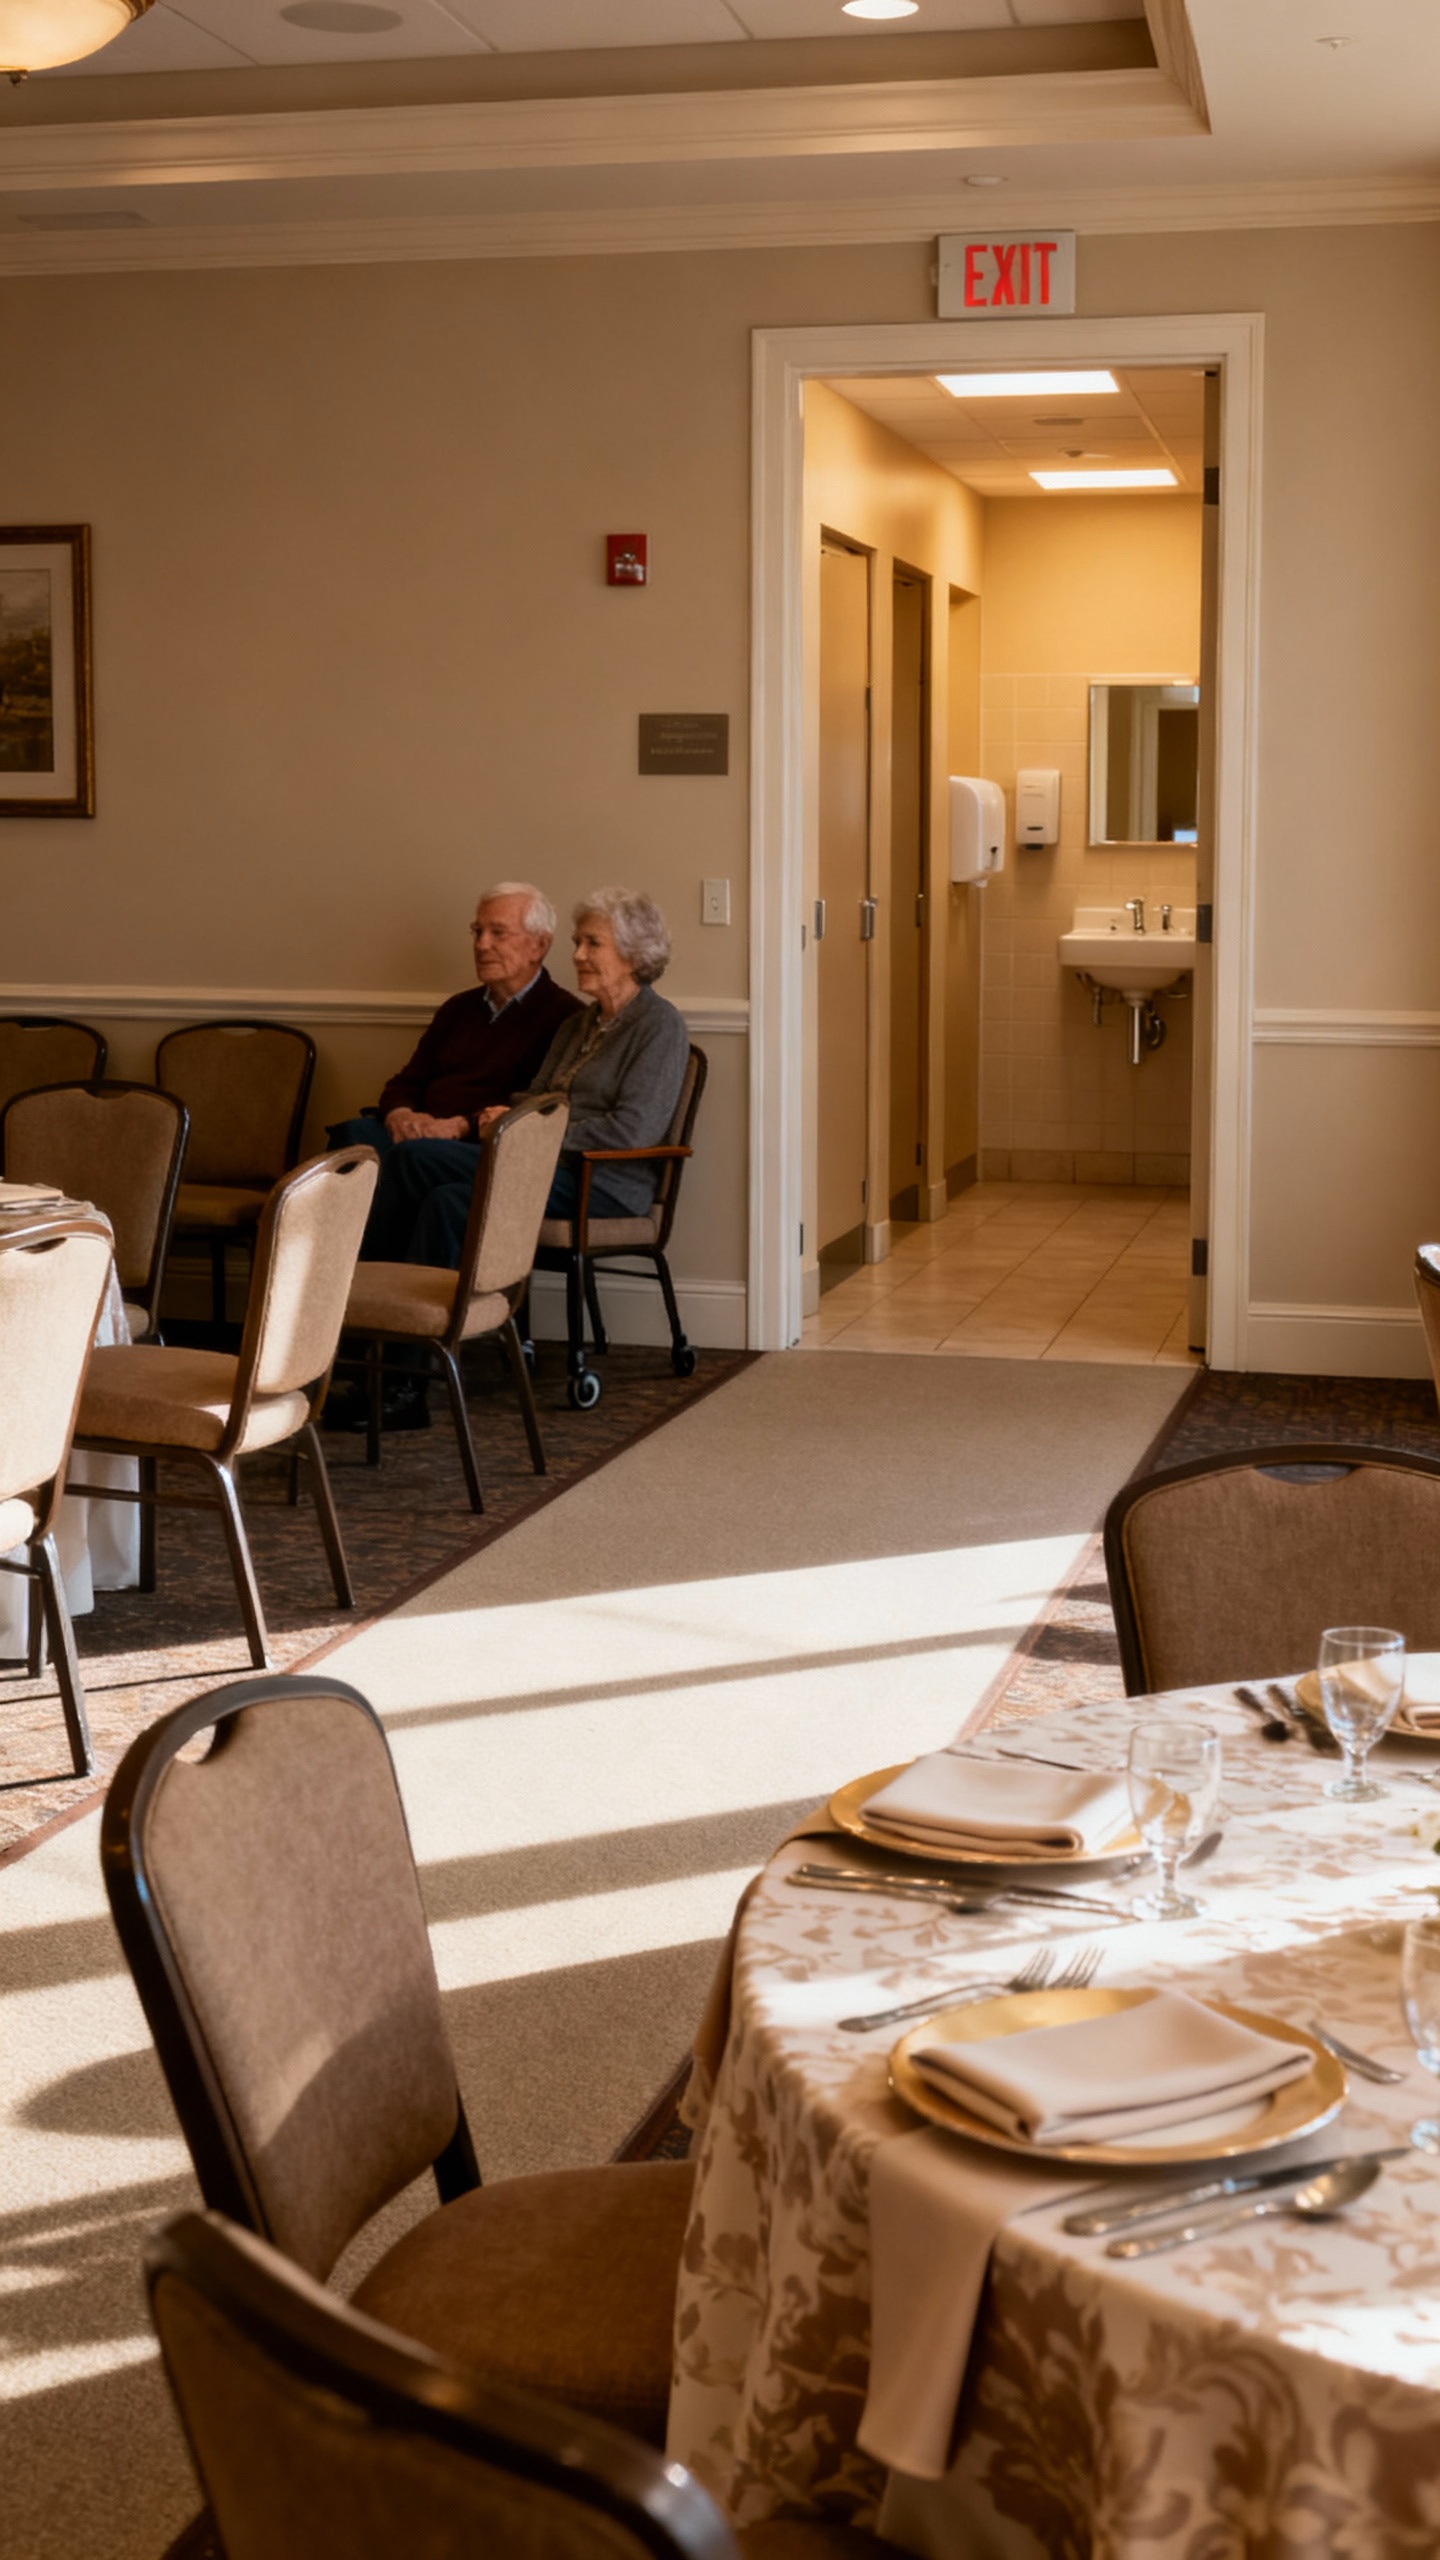
Save the easiest-access tables for guests who need them: grandparents, pregnant guests, anyone with mobility needs, and families with little kids (if kids are invited). Aim for spots close to restrooms, exits, and not too far from the dance floor if they want to watch, not weave through it. This is a small move that quietly makes your reception feel more thoughtful and smooth.
4) Make the Flow Obvious: Entry, Bar, Buffet, and Dance Floor

Seating plans aren’t just about who sits with whom—they’re about how people move. Avoid placing tables where they’ll bottleneck the bar line, block the buffet, or turn the DJ area into a traffic lane. A clean layout means fewer “excuse me” moments and more time actually enjoying the night (and your gorgeous tablescape).
5) Label Clearly and Keep It Cute (Escort Cards vs. Seating Chart)
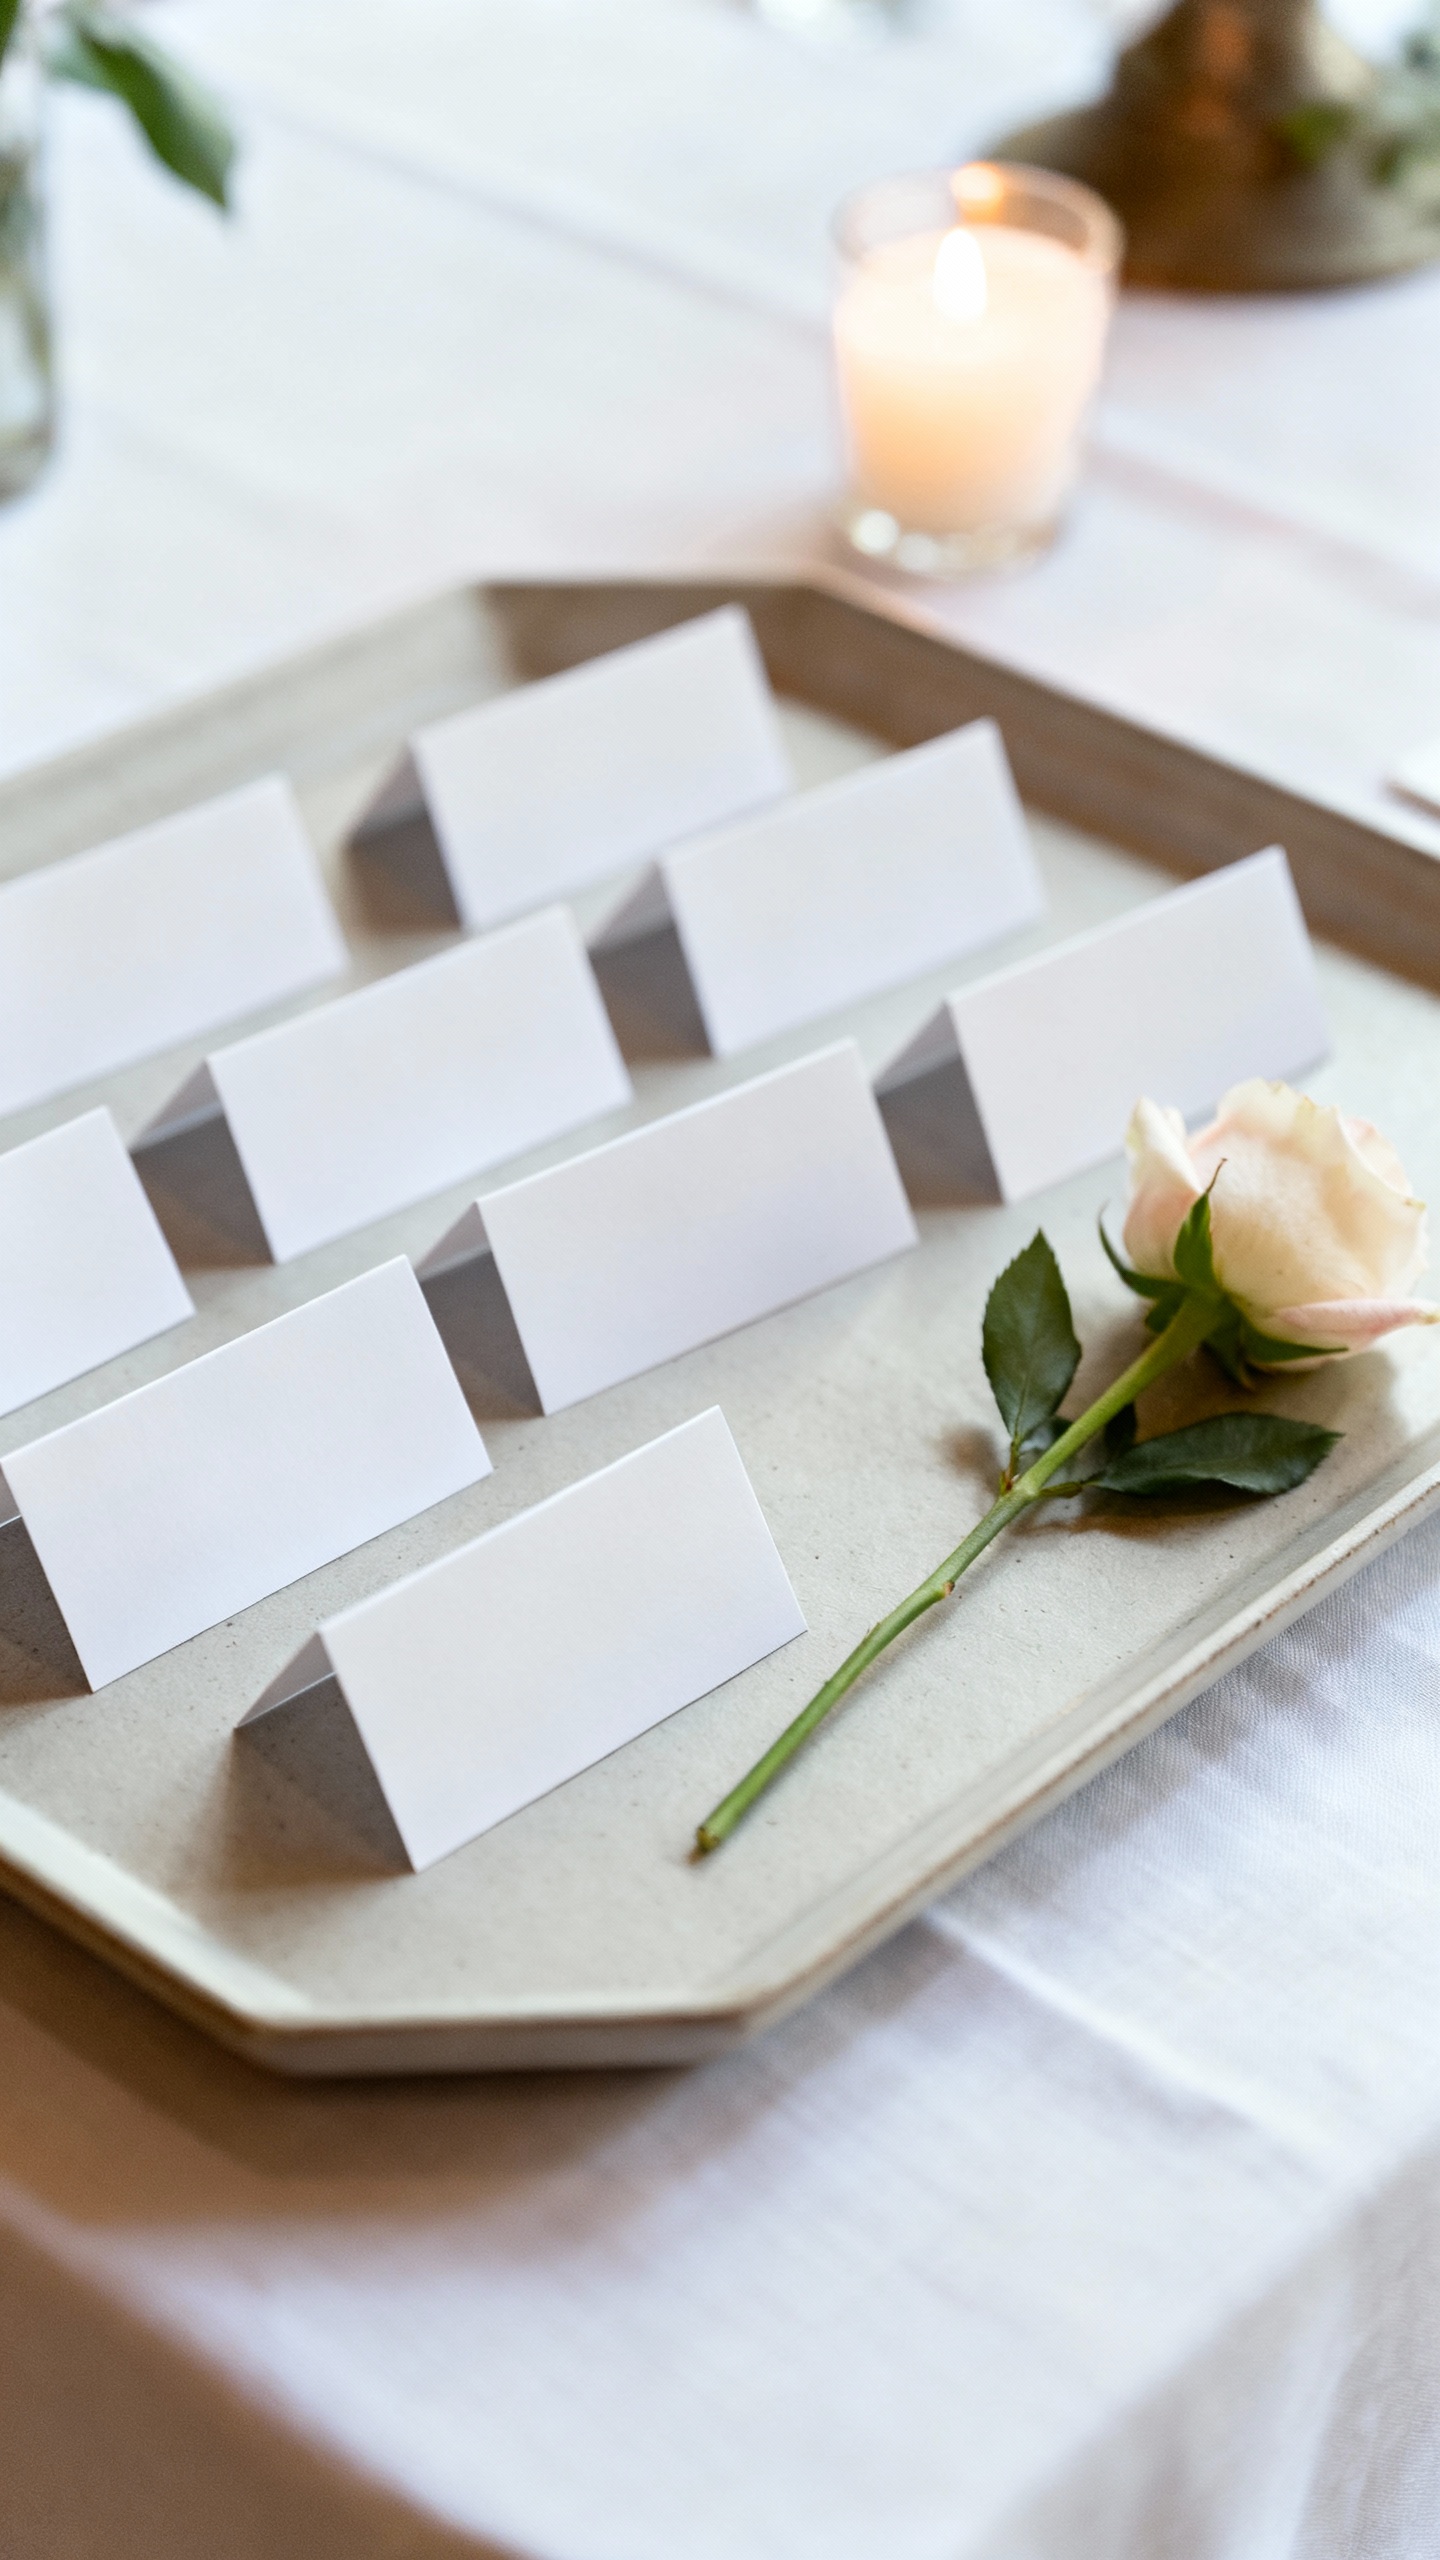
Decide if you want escort cards (name + table number) or a seating chart (everyone listed by table). Escort cards can feel more personal and spread guests out as they enter, while a seating chart can be faster and more streamlined for larger weddings. Whichever you choose, prioritize legibility: high contrast text, alphabetical ordering, and a display location with good lighting.
FAQ
Do we need assigned seats, or is assigning tables enough?
Assigning tables is usually the sweet spot: it gives structure without feeling overly strict. Assigned seats are helpful for plated dinners with multiple meal choices, very formal weddings, or tight spaces where servers need a precise layout. If your crowd is social and you want flexibility, assigned tables typically work beautifully.
How do we handle divorced parents or complicated family dynamics?
Zoom out and focus on comfort and boundaries: keep tense relationships at separate tables and avoid forcing shared “family” groupings for the photo-op. You can still seat them in equally good locations so no one feels slighted. When in doubt, ask what they prefer early—quietly and directly—so you’re not guessing later.
What’s the best way to organize names on a seating chart?
Alphabetical by last name is the easiest for guests to scan quickly, especially for larger weddings. Grouping by table looks pretty but can cause a crowd if everyone has to read every table to find their name. If you’re going for a statement display, do alphabetical lists with clear table numbers for the best of both worlds.
Where should the sweetheart table or head table go?
Place it where you can see the room and the room can see you—usually facing the majority of tables, with a clean photo background. Keep it close enough to the dance floor for an easy transition, but not so close that speakers or foot traffic overwhelm conversation. If you’re doing a head table, make sure the wedding party actually wants that setup (some prefer sitting with their dates at guest tables).
How early should we finalize the seating plan?
Start a draft as soon as RSVPs begin coming in, then finalize after your RSVP deadline once you’ve handled plus-ones and meal selections. Plan to do a last check 48–72 hours before the wedding for small changes like cancellations. Print anything (escort cards or chart) only after that final review so you’re not redoing it at the last minute.