
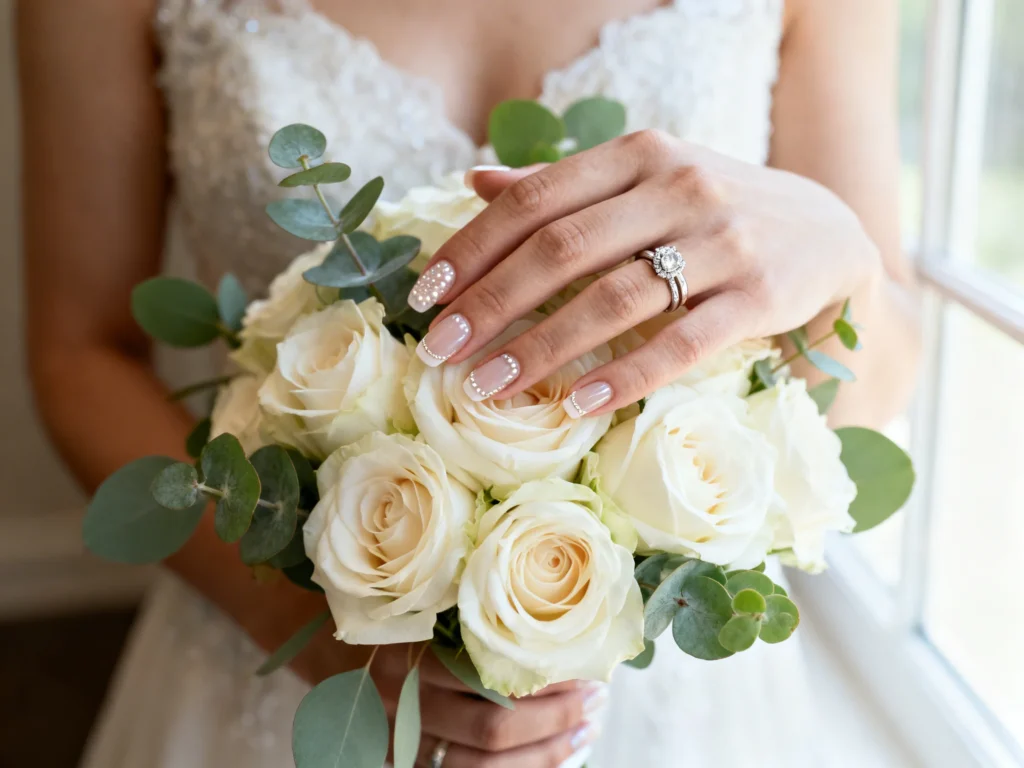
Your wedding photos will capture a million tiny moments—ring exchanges, champagne toasts, hand-in-hand candids—and your nails are quietly in the spotlight for all of them. The right bridal nail design doesn’t just look pretty in real life; it reads beautifully on camera, complements your dress, and makes your ring feel even more special.
This guide breaks down bridal nail designs that photograph well, how to choose the best option for your style and venue, and the practical planning details (timing, shape, budget, and mistakes to avoid) so your manicure looks intentional in every frame.
What Makes a Bridal Nail Design “Photo-Ready”
Not every cute manicure translates to wedding photos. Here’s what consistently looks stunning on camera:
- Soft contrast: Colors that gently contrast your skin tone and dress details show up without looking harsh.
- Low-glare shine: High-shine top coats can reflect flash and look like bright hotspots; a balanced glossy finish or a “soft gel shine” photographs smoother.
- Clean edges: Cuticle floods, uneven French tips, and thick product lines become more noticeable in close-ups.
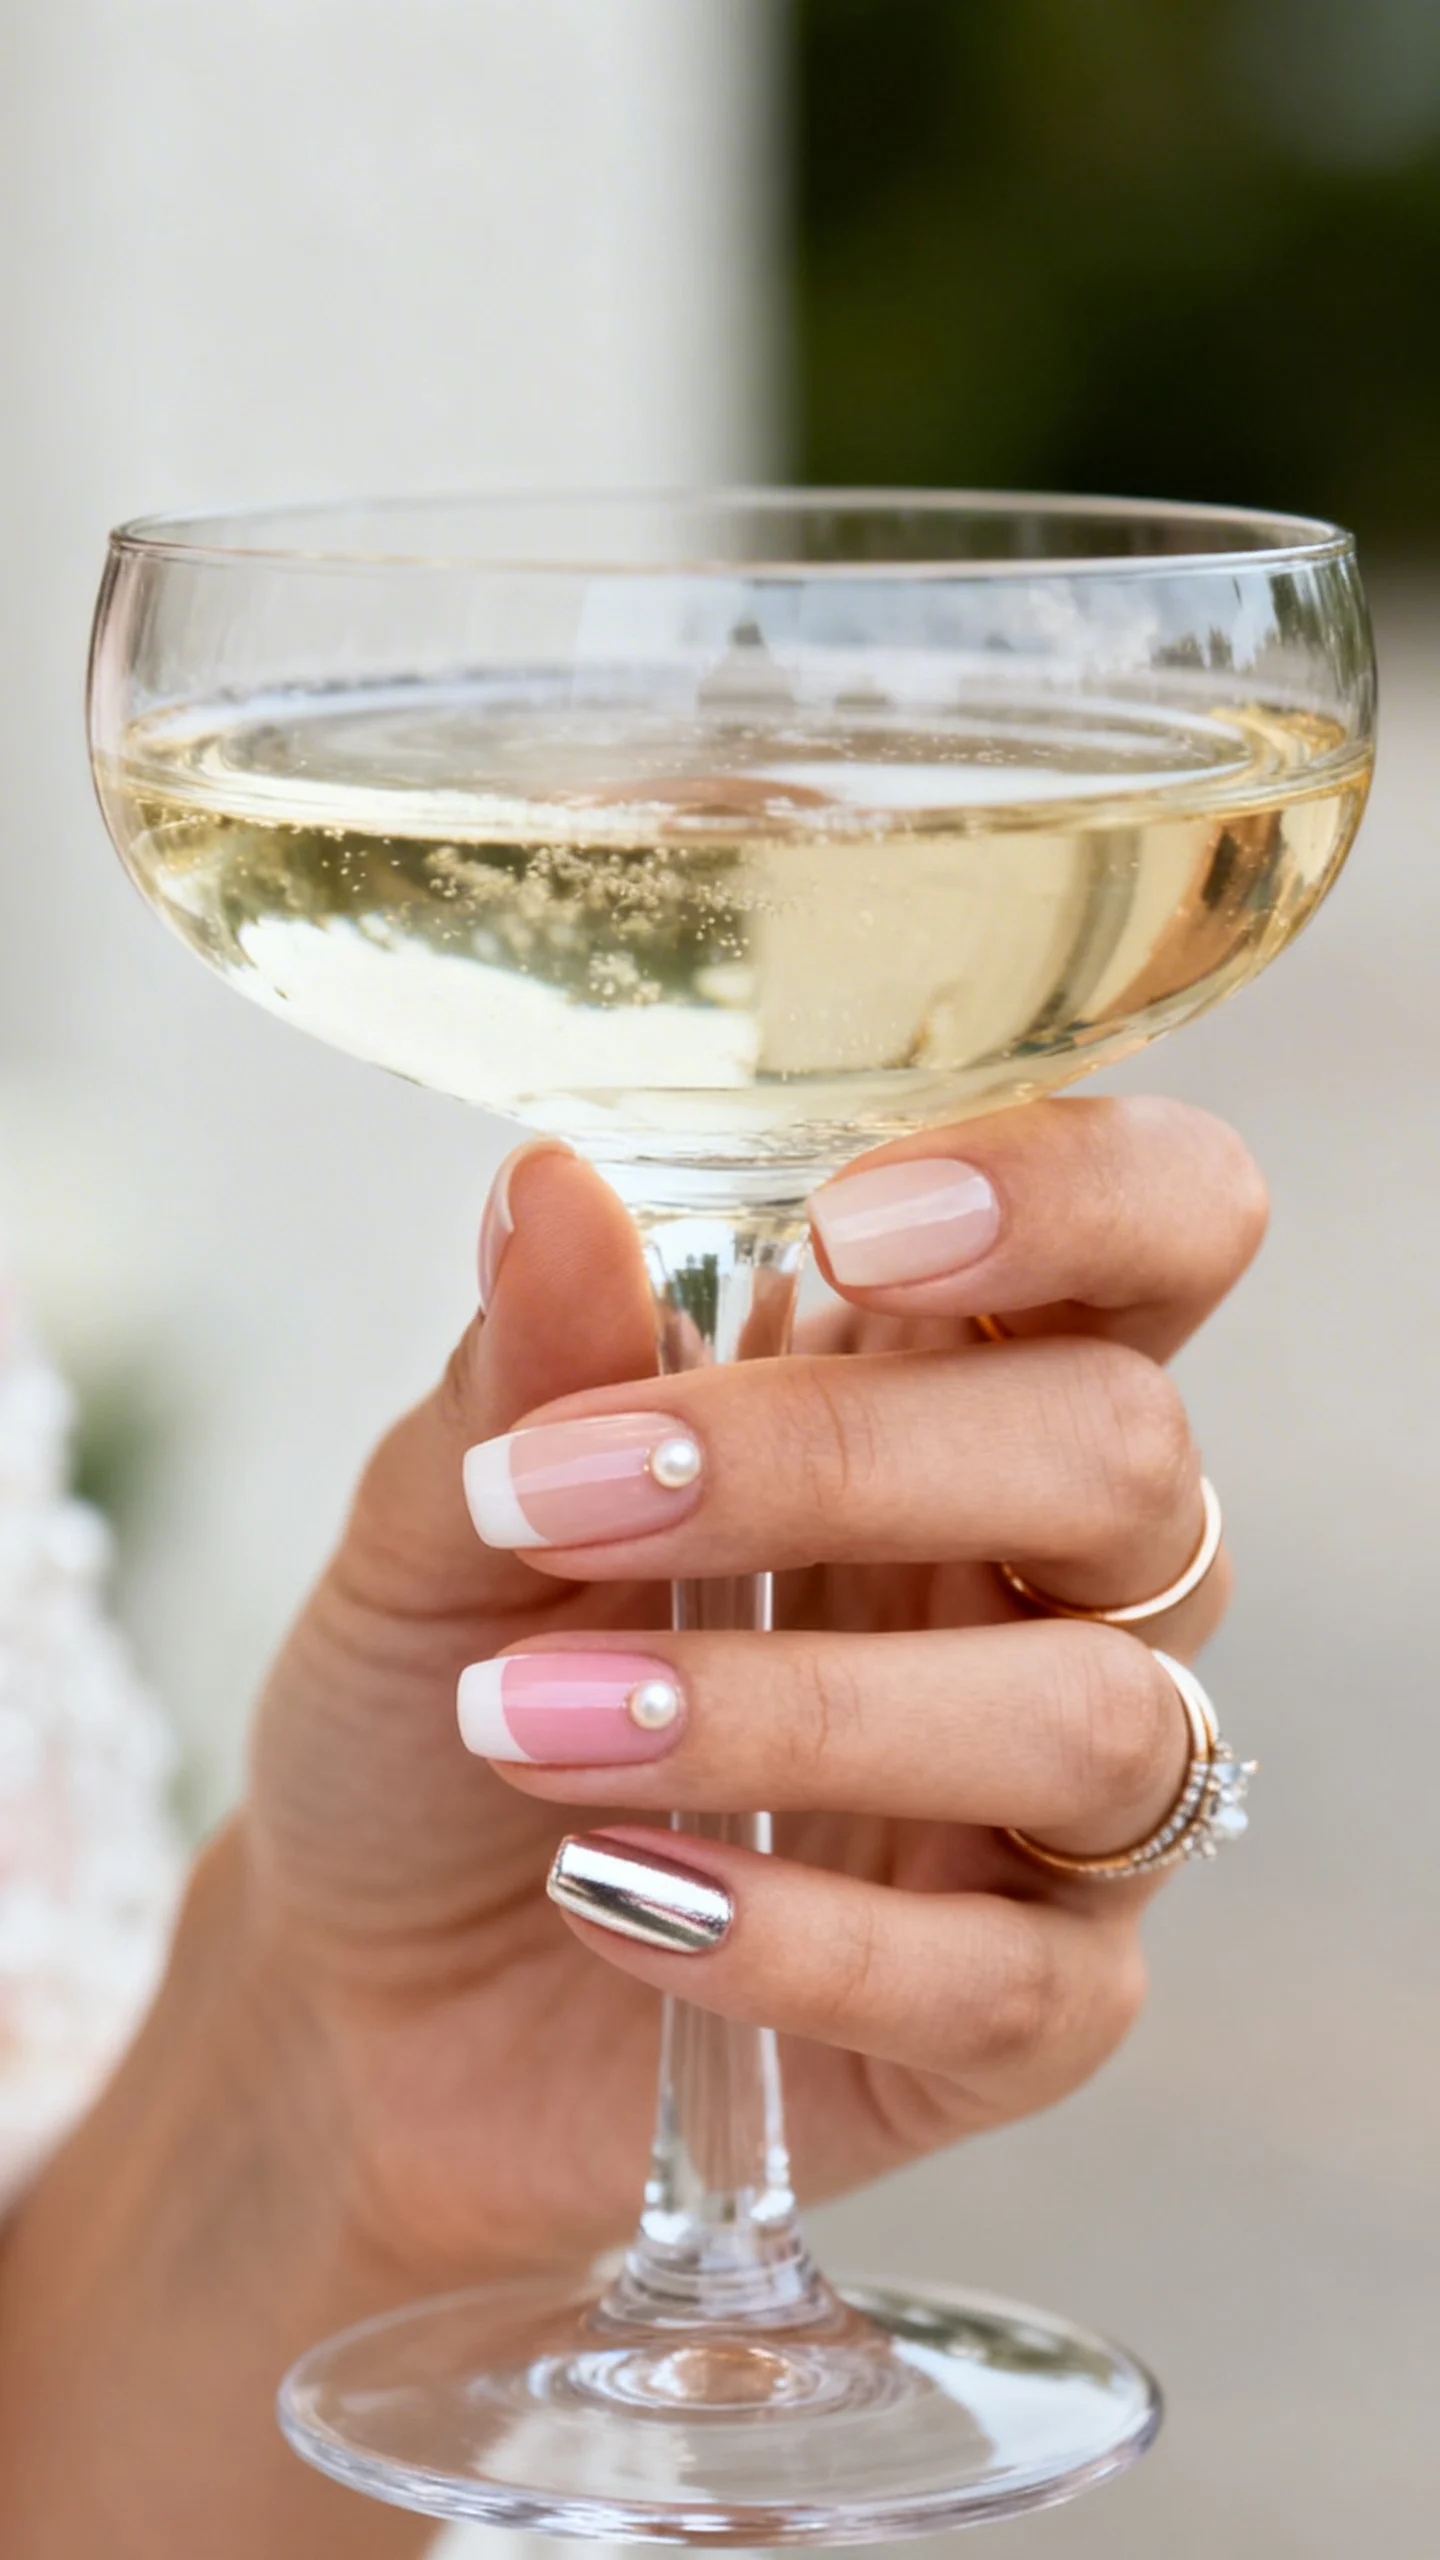
- Scale-appropriate details: Tiny accents (micro pearls, thin metallic lines) read elegant; oversized gems can steal focus from the ring and bouquet.
- Timeless shapes: Almond, oval, and short squoval tend to elongate fingers in photos and work well with most rings.
Bridal Nail Designs That Look Stunning in Wedding Photos
These designs are popular for a reason: they’re flattering, cohesive with bridal styling, and they photograph like a dream across different lighting setups.
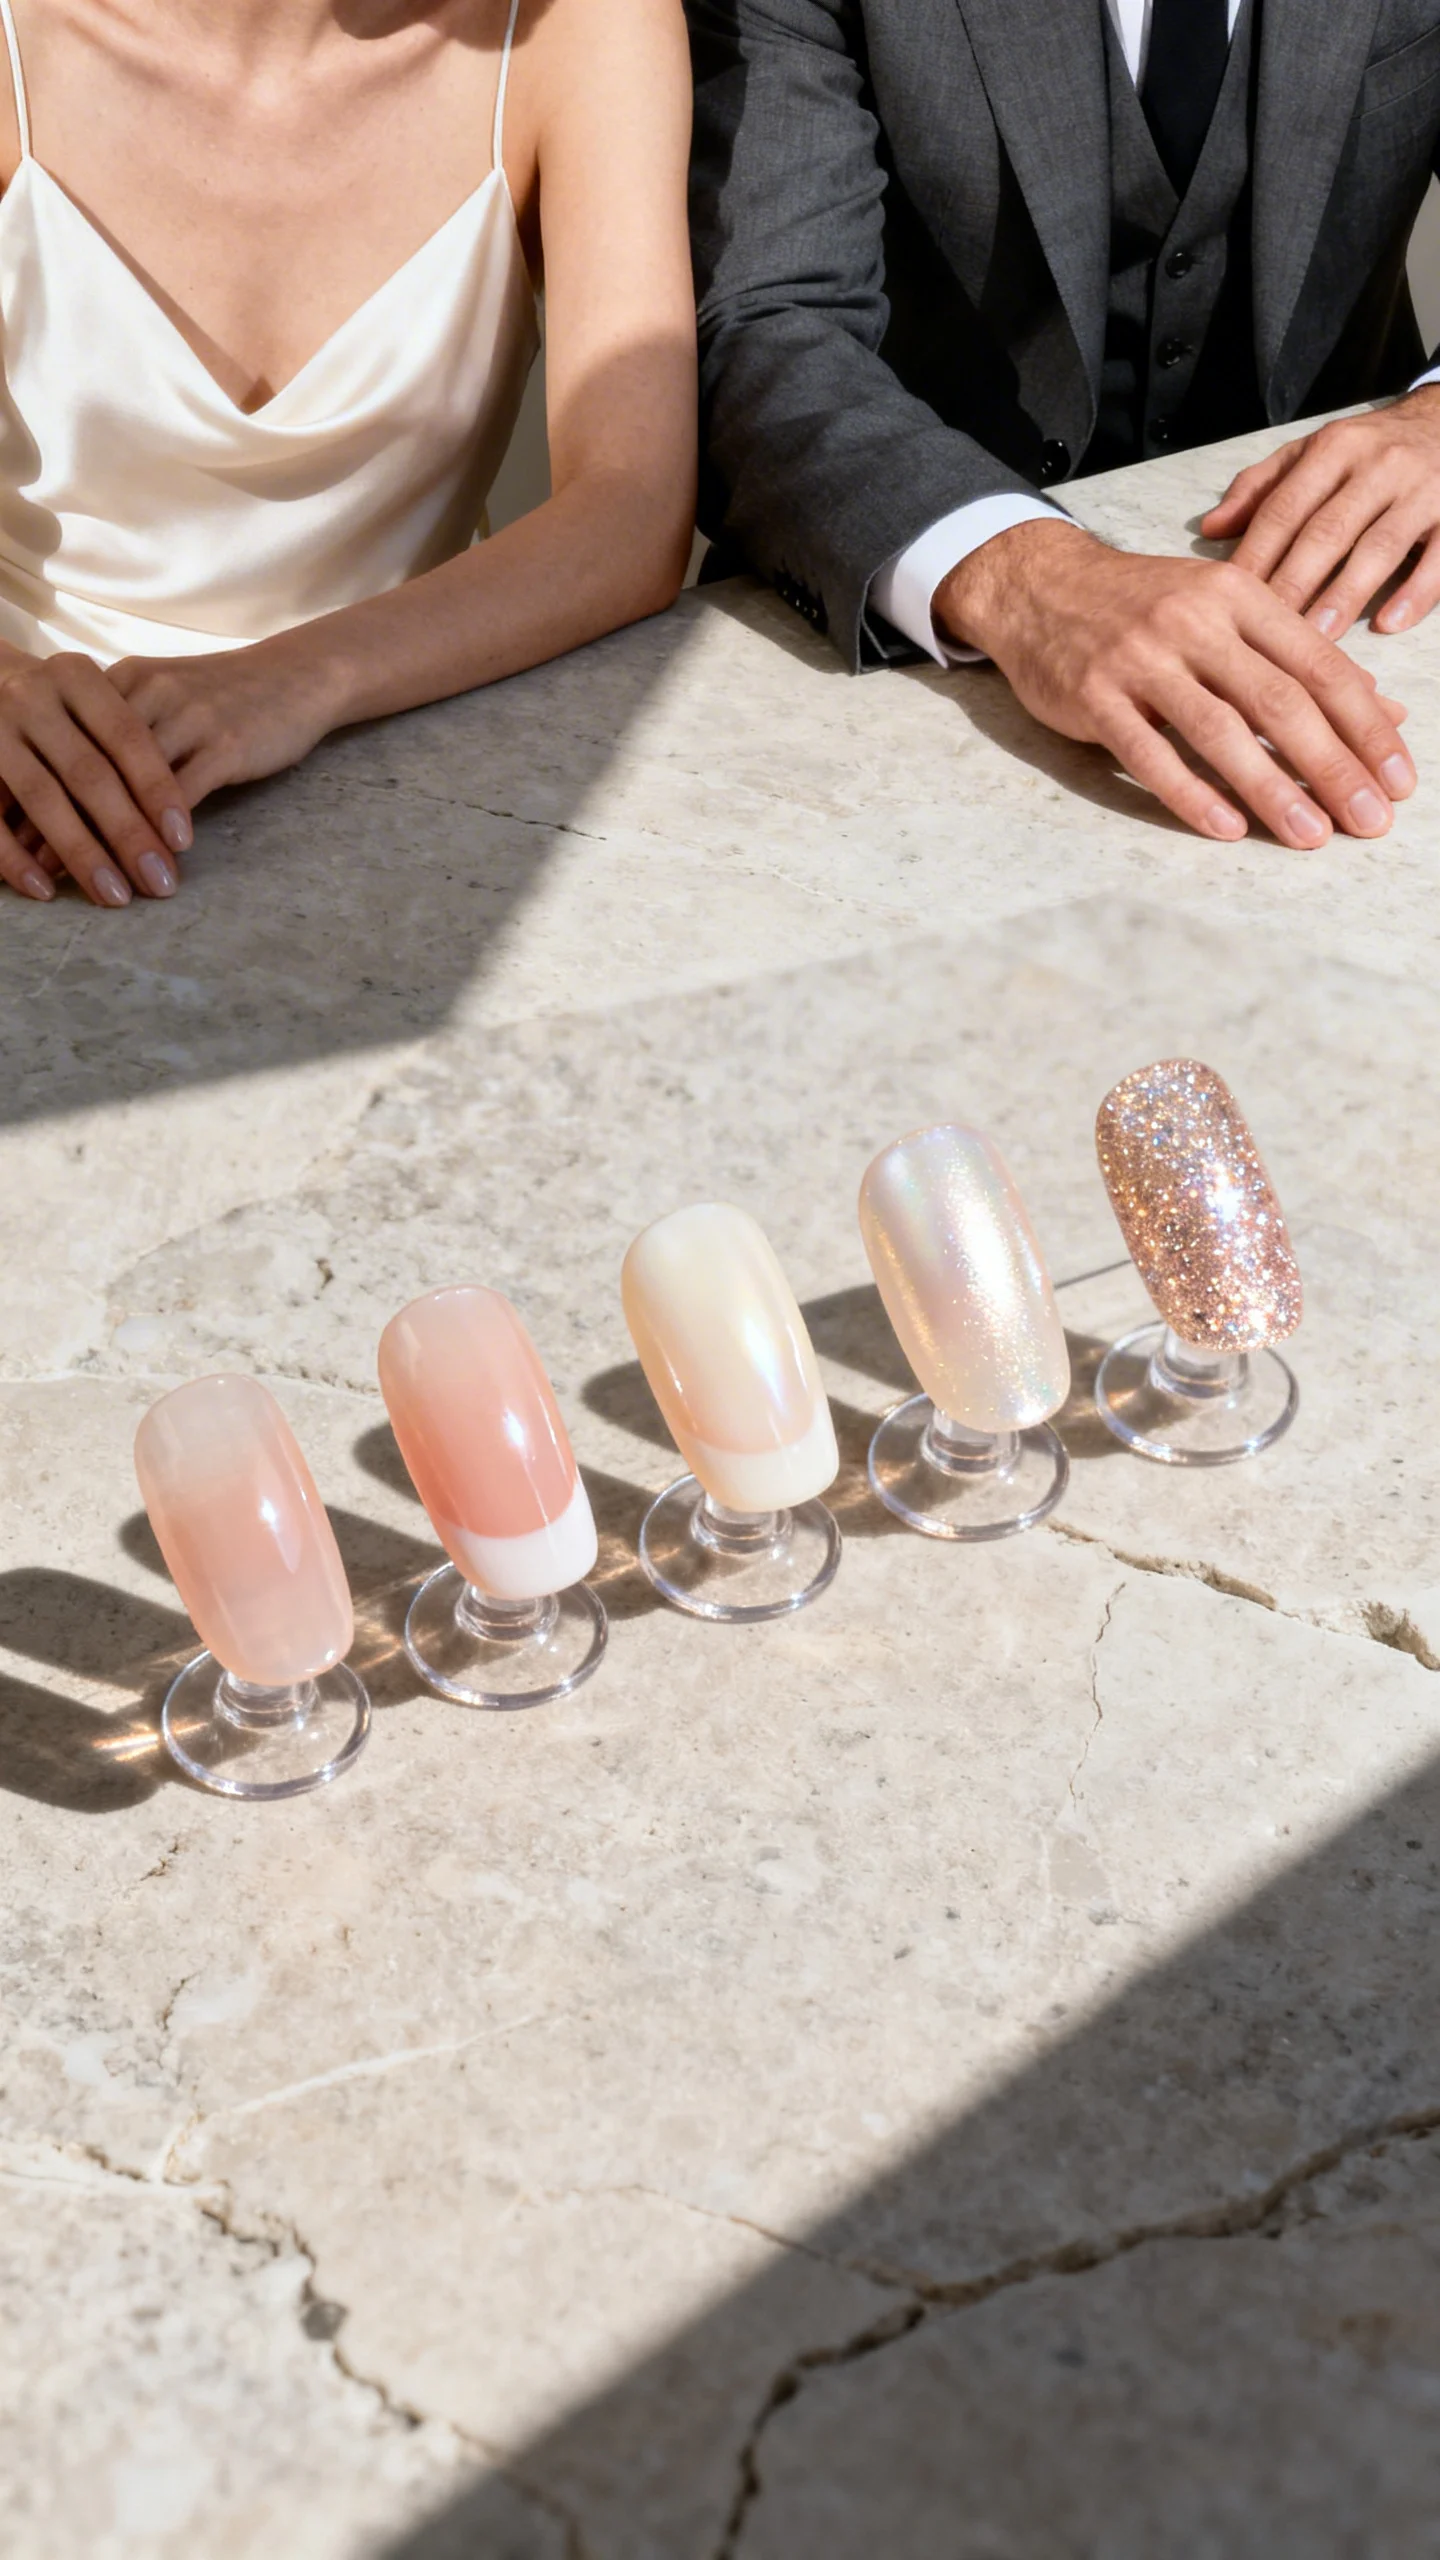
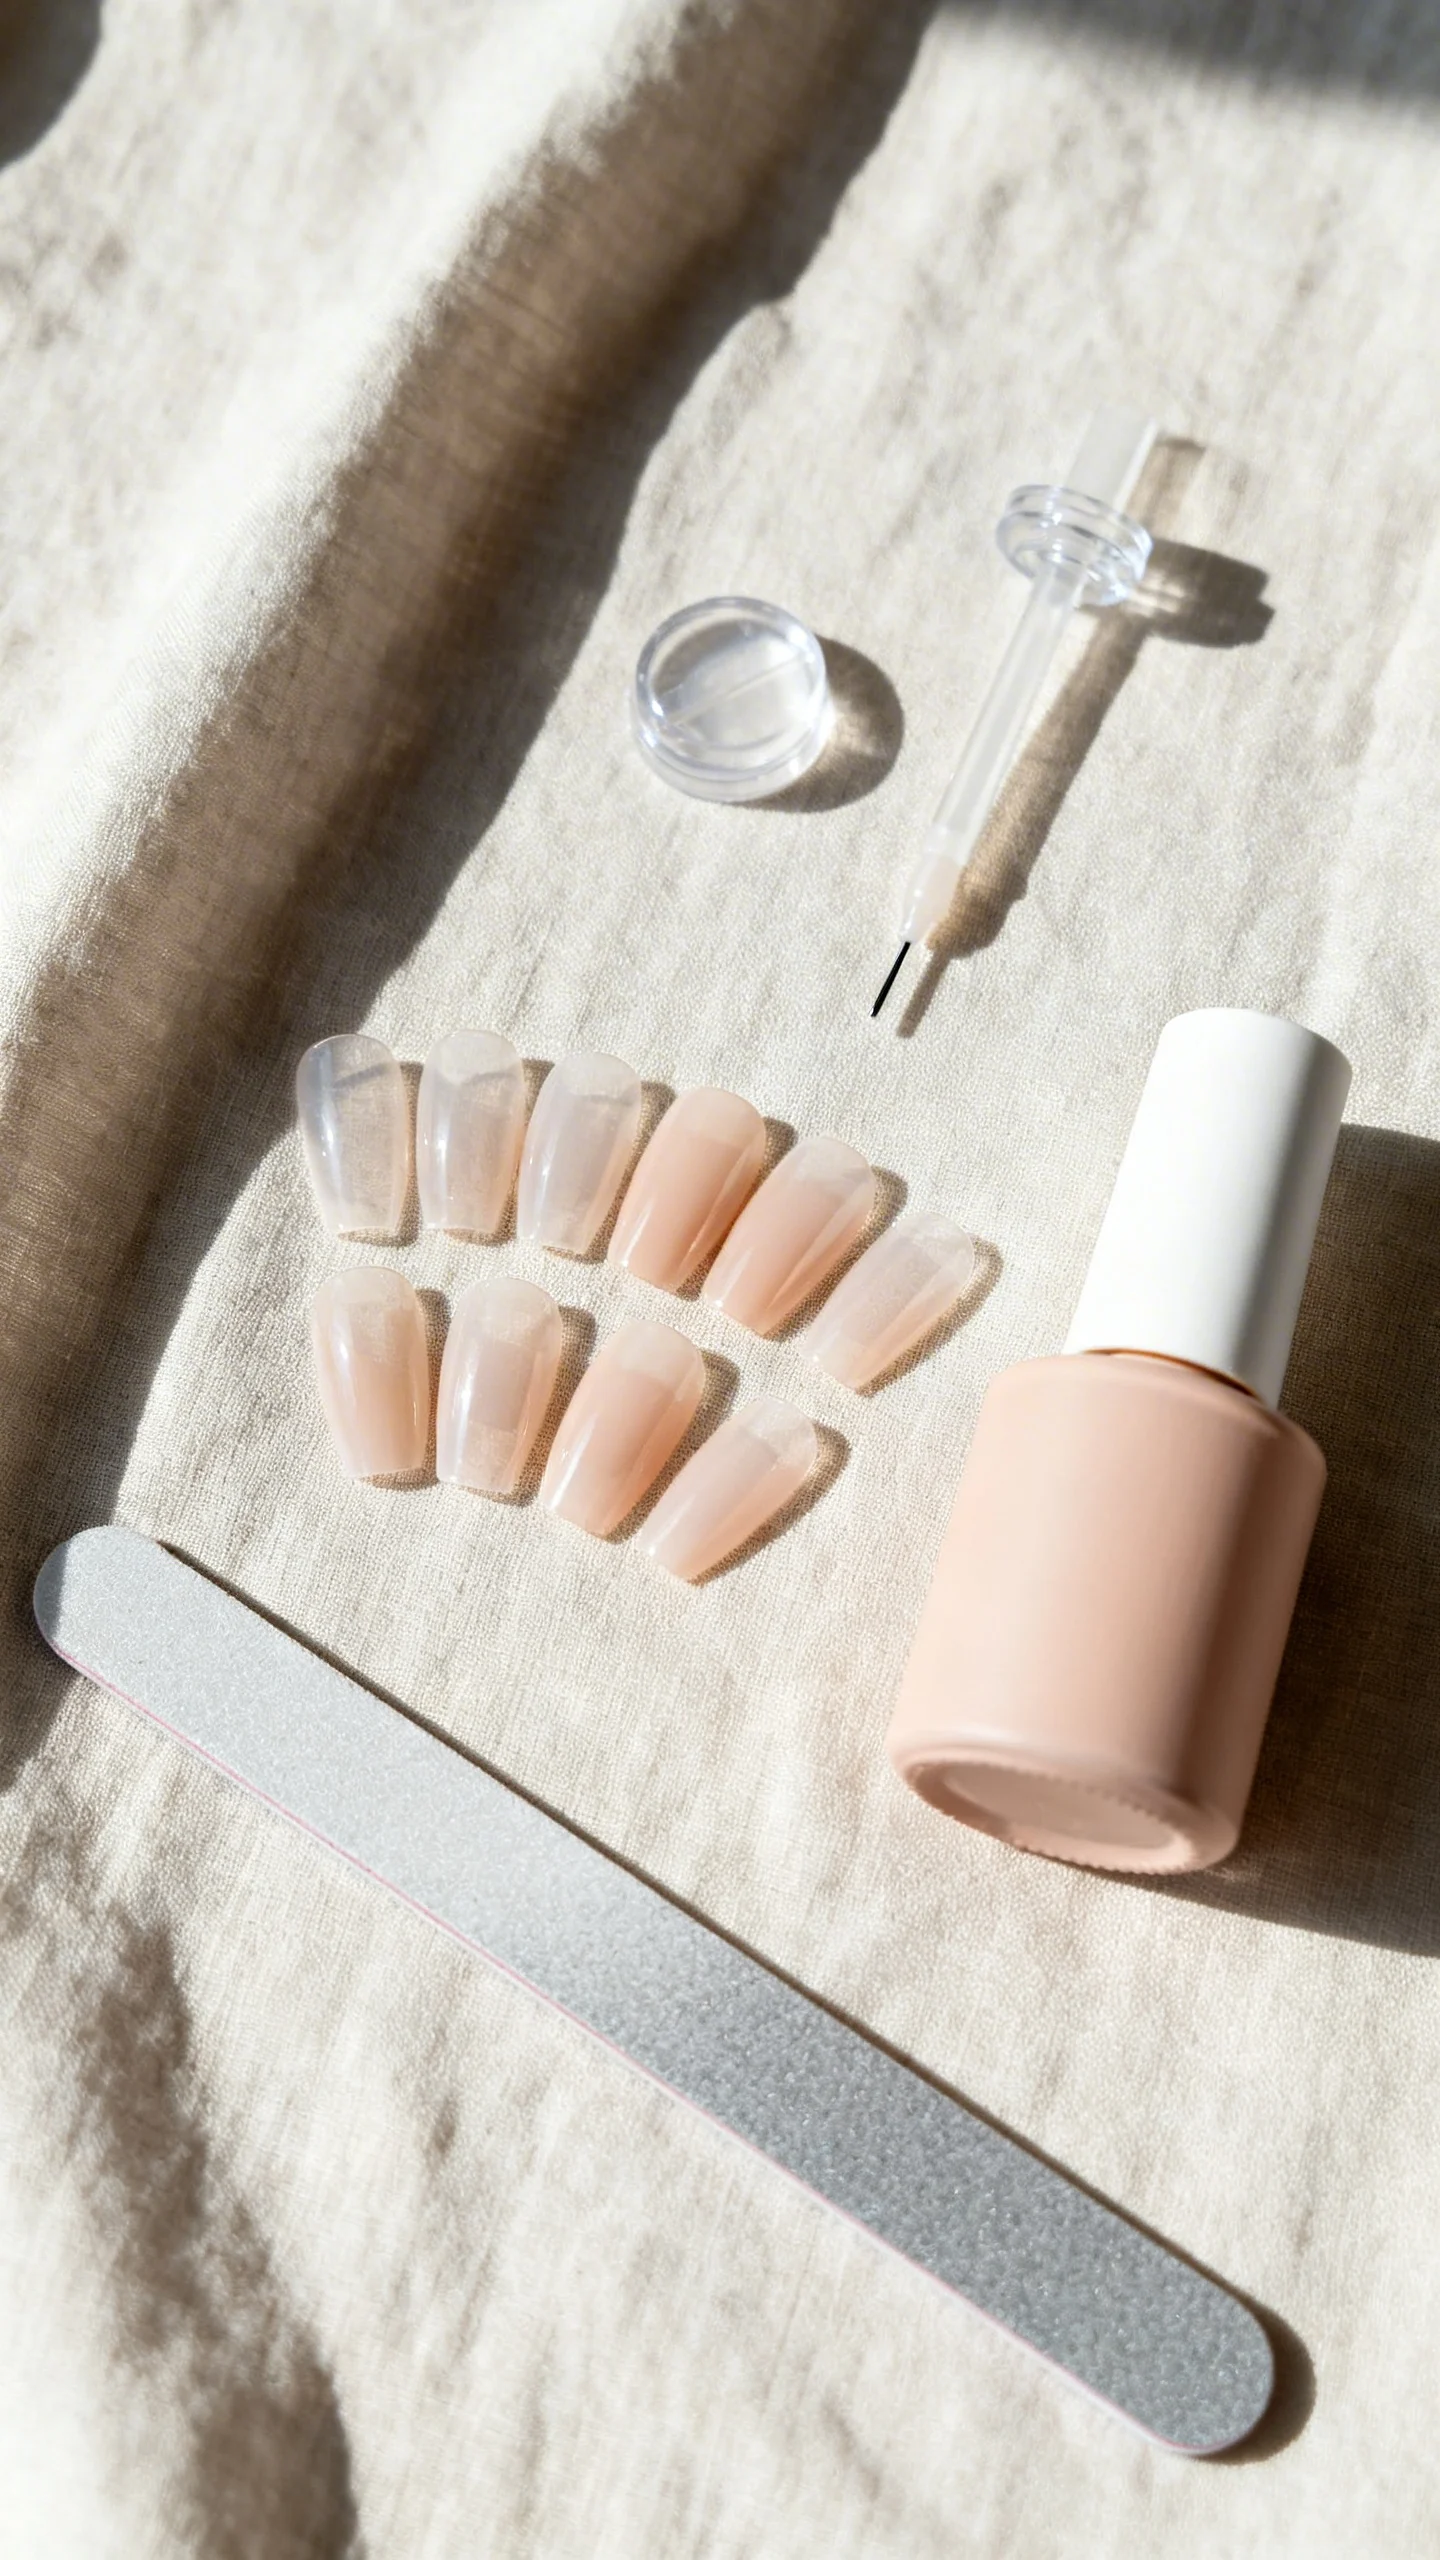
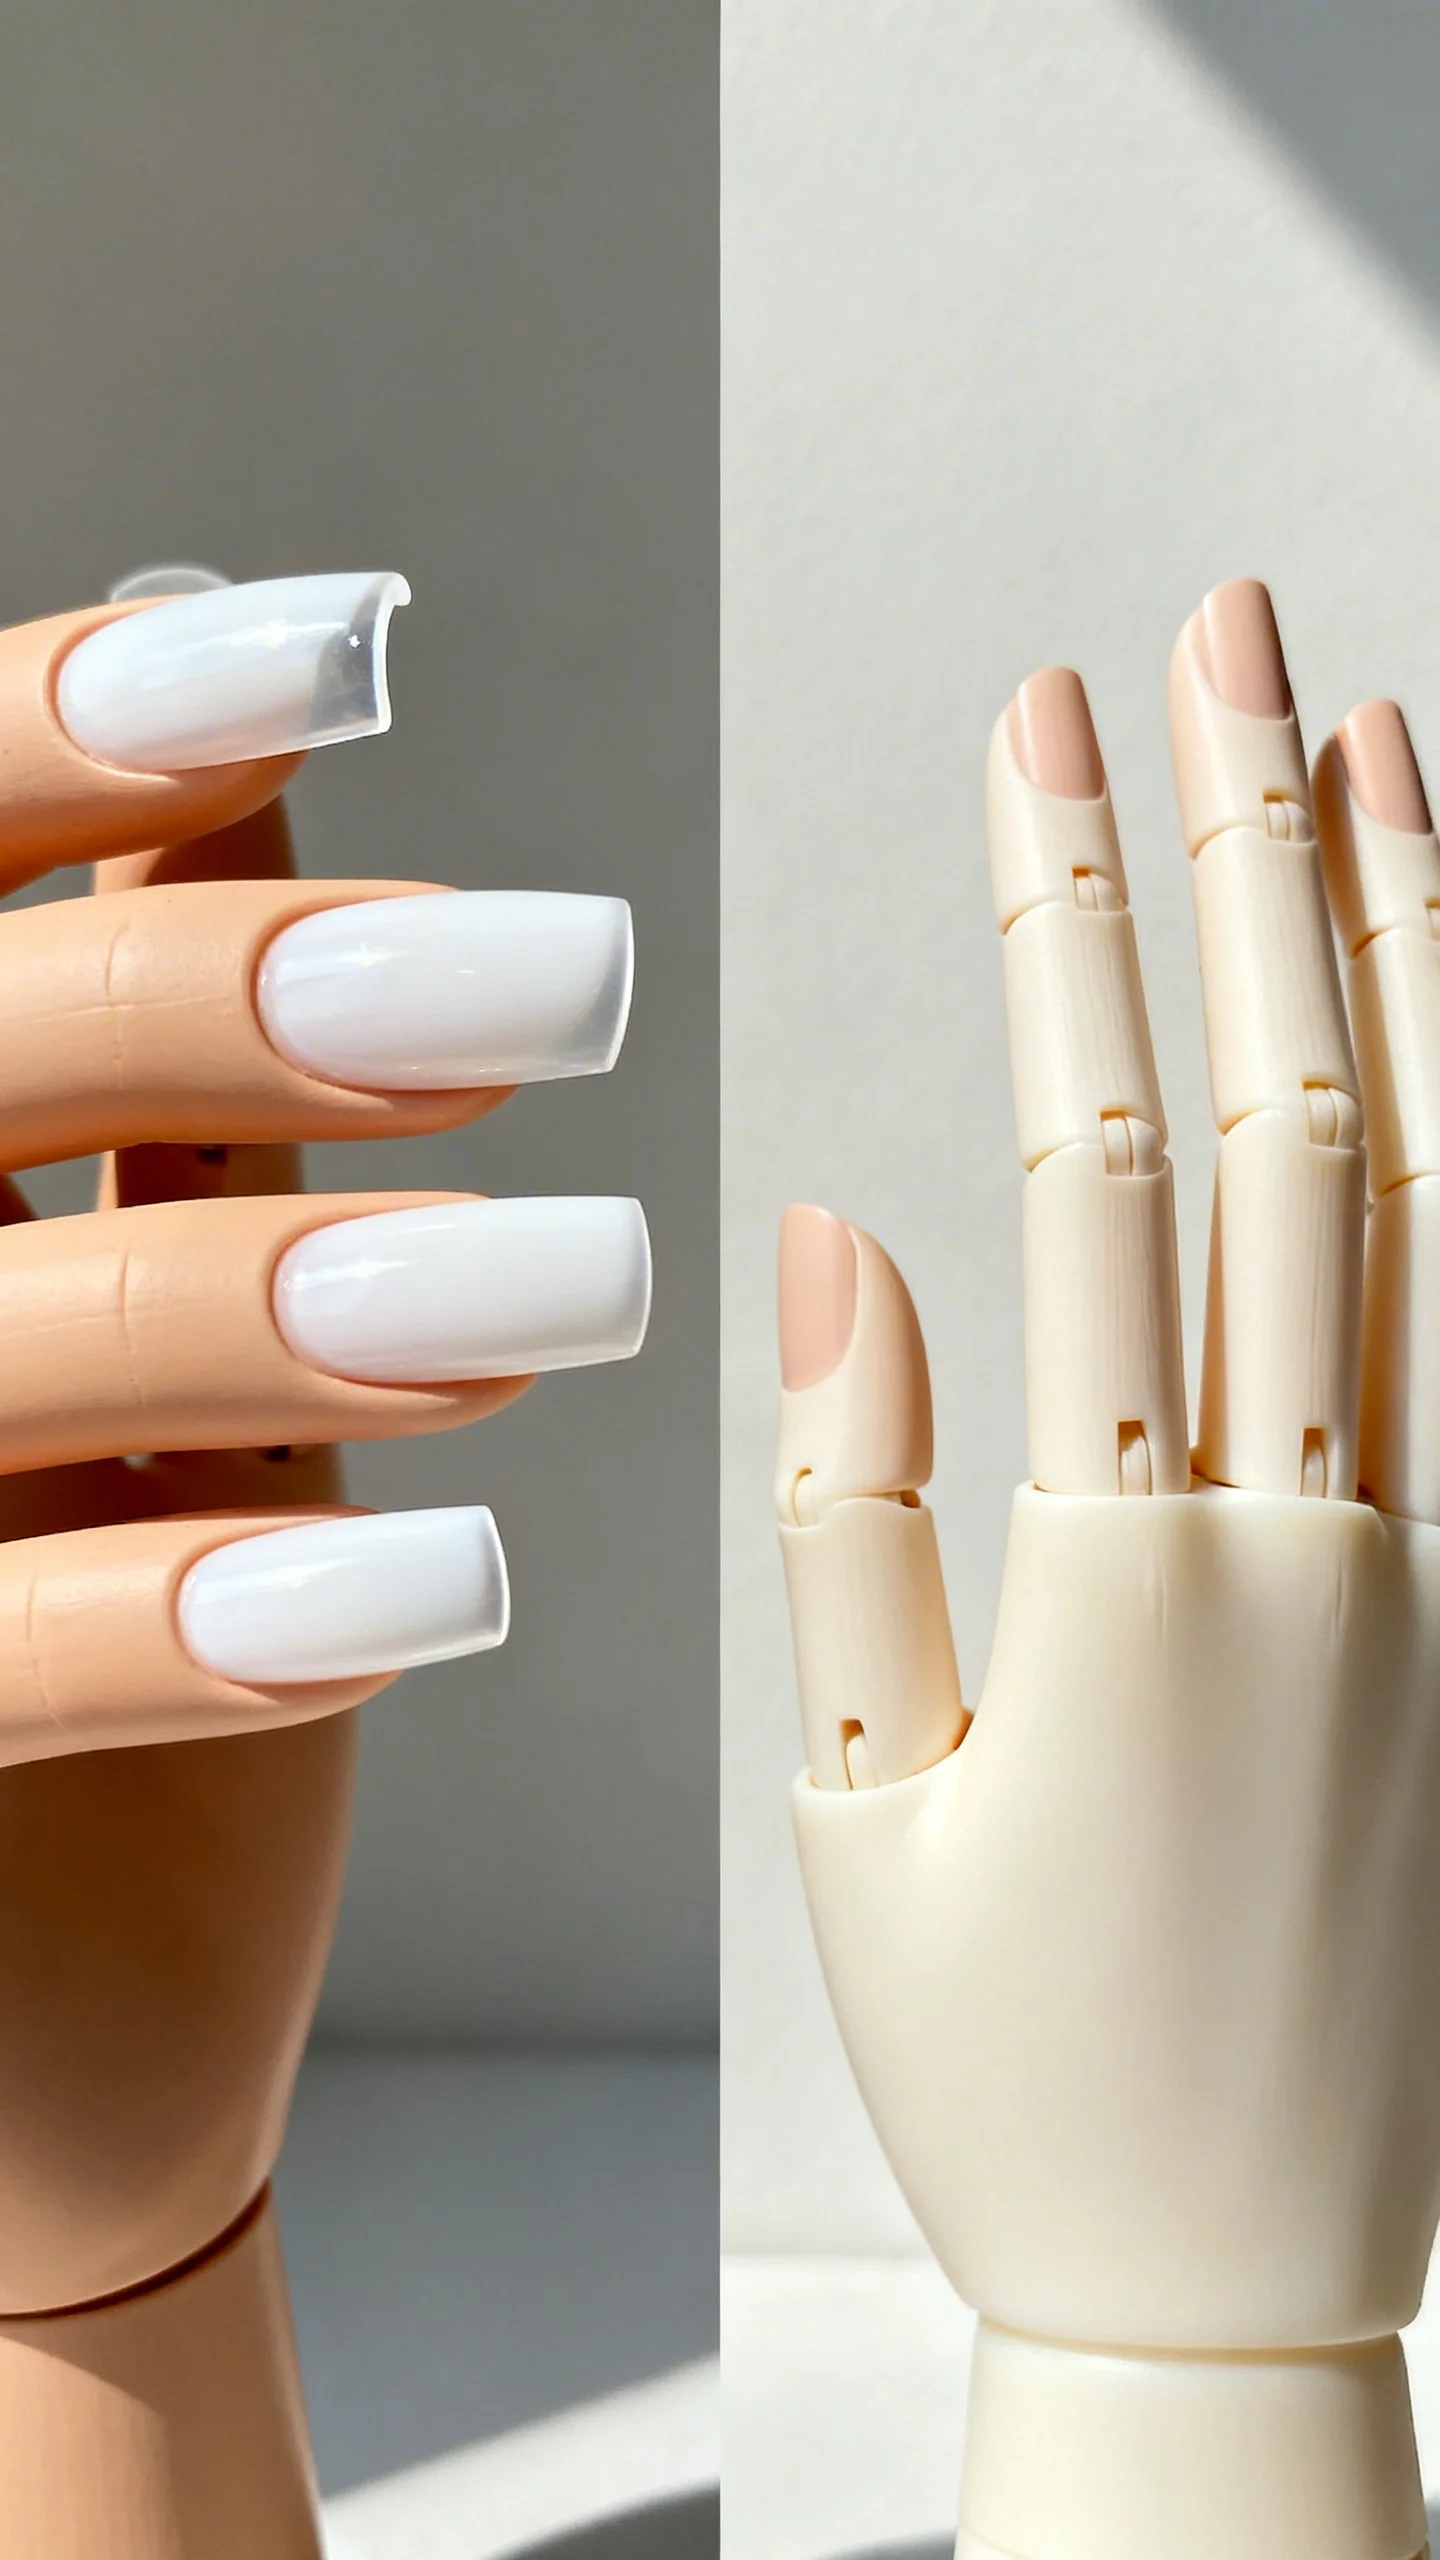
- Sheer milky nude (your-nails-but-better): A semi-translucent blush, cream, or pink-beige that evens out the nail without looking opaque. It’s the ultimate “expensive” look in photos.
- Micro French: A super-thin tip (white, soft ivory, or even champagne) that defines the nail line without a bold stripe. Perfect for modern, minimal brides.
- Glazed pearl finish: A subtle pearly chrome over a neutral base gives a luminous effect that catches light in a controlled way—especially pretty for indoor ceremonies and golden-hour portraits.
- Blush ombré (baby boomer): A fade from pink to soft white that looks seamless in close-ups. It’s romantic, forgiving, and pairs well with lace and tulle.
- Neutral with a single accent nail: Keep most nails understated and add one detail—like a delicate line, tiny crystal near the cuticle, or a mini floral on the ring finger.
- Soft shimmer nude: Think “lit from within,” not glitter. A fine shimmer reads refined and adds dimension in photos without looking busy.
Pro tip: If your dress is bright white, choose an off-white/ivory tip (not stark white) for a more natural match in photos.
How to Choose the Right Design for Your Dress, Ring, and Bouquet
The best bridal manicure is one that supports the overall look—especially the pieces that will be photographed up close.
- If your dress is heavily embellished: Go simpler on nails (milky nude, micro French, blush ombré). Let beading and lace be the star.
- If your dress is sleek or minimal: You can elevate nails with a glazed finish, subtle chrome, or a clean, modern French.
- If your ring is large or has a halo: Avoid bulky 3D nail art that competes. Choose a smooth finish to keep attention on the ring.
- If your bouquet is colorful: Pick a neutral base that won’t clash. Soft blush, beige-pink, or milky cream keeps the palette cohesive.
- If you’re doing cultural or statement styling: You can go bolder, but keep the lines crisp and the finish professional so it still photographs polished.
Bring your nail tech photos of your ring and dress fabric (even a close-up screenshot). It helps them pick the undertone and finish that will read best on your hands.

Best Ways to Make Your Manicure Look Amazing in Photos
Design matters, but application and prep are what make nails look “bridal” instead of everyday.
- Choose a flattering length: Short-to-medium is easiest for comfort and looks elegant in close-ups. If you love long nails, almond is usually the most photo-friendly.
- Prioritize cuticle work: Clean, hydrated cuticles are the difference between “nice” and “wow” in macro shots.
- Match finish to lighting: Outdoor weddings handle shimmer well; indoor flash can exaggerate glitter and thick chrome. Ask for a subtle pearl glaze instead of heavy mirror chrome.
- Do a “ring test” photo: After your appointment, take a quick phone photo holding your ring box in natural light. If anything looks too bright, too yellow, or too stark, fix it early.
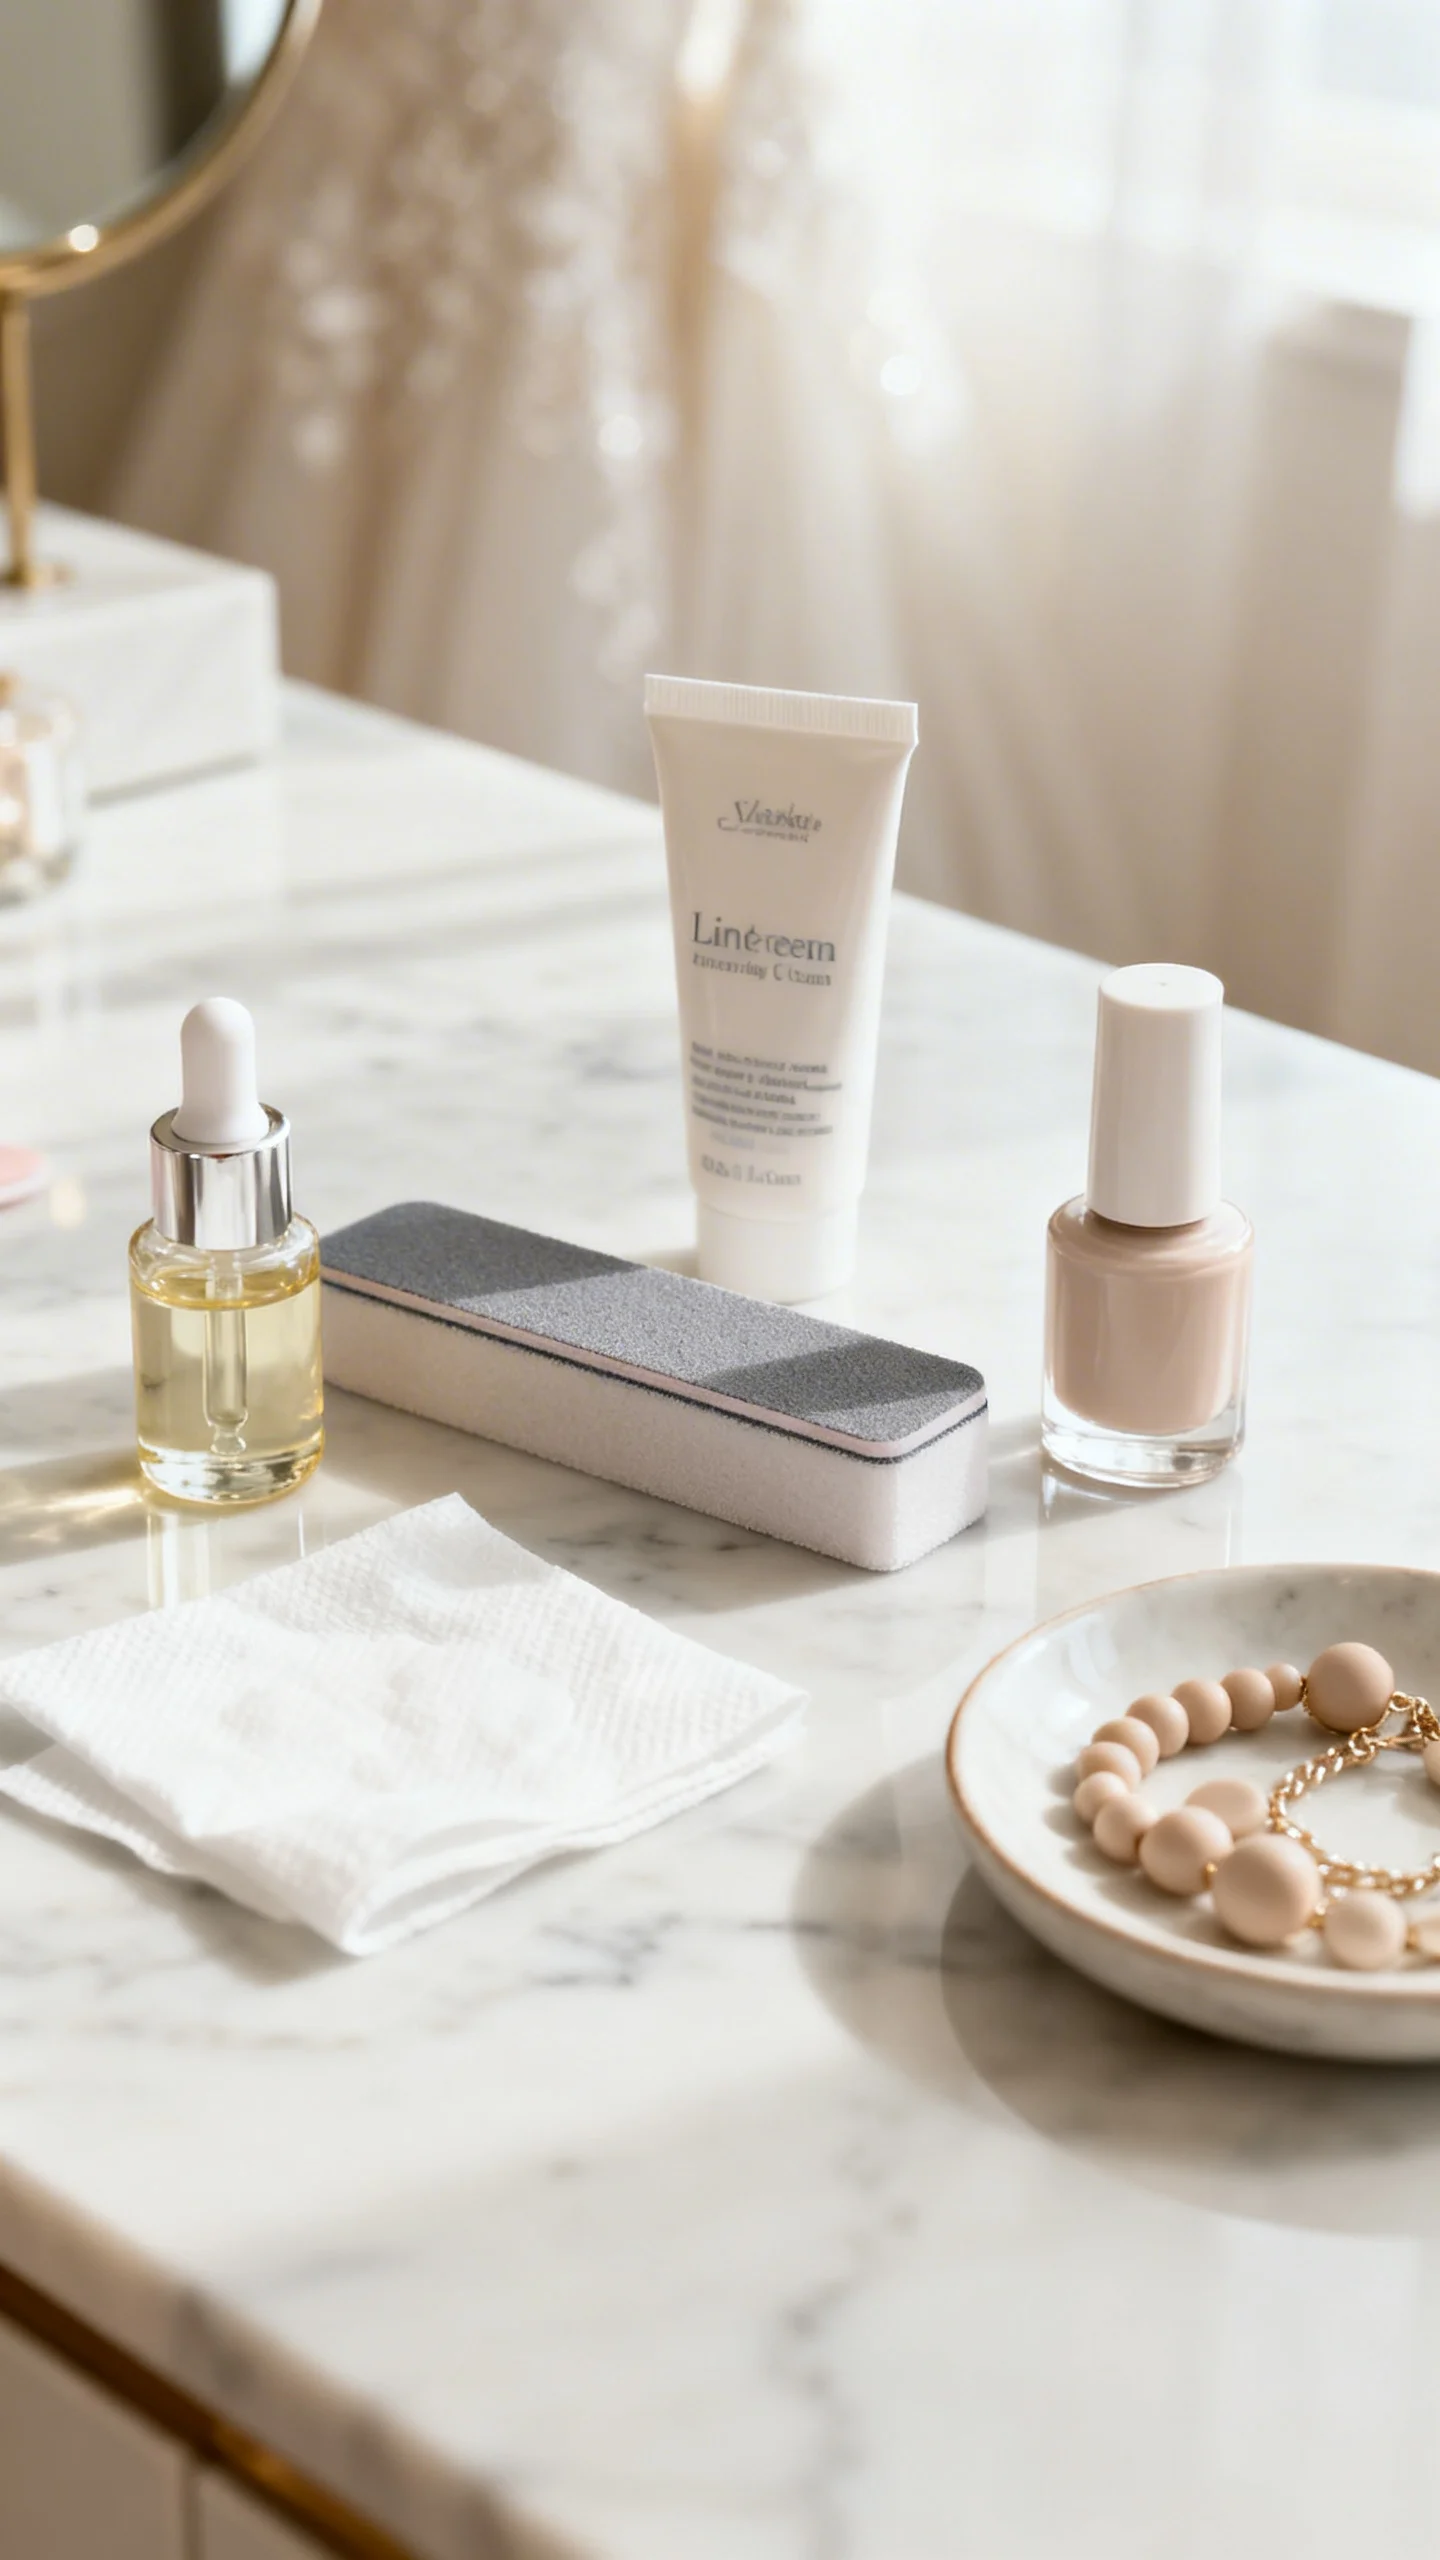
- Bring your day-of hand care: Pack cuticle oil and a rich hand cream for the getting-ready suite. Use sparingly right before photos to avoid shine.
Budget-Friendly Tips That Still Look Luxe
You don’t have to overspend to get nails that photograph beautifully. A few smart choices go a long way.
- Keep the art minimal: One accent nail or micro-detail costs less than full sets of intricate art—and often looks more elevated in photos.
- Pick one premium upgrade: If you want a splurge, choose either a soft glaze finish or a stronger base (builder gel) for durability, not both plus extras.
- Skip heavy rhinestones: They add cost and can snag on fabrics. Instead, try tiny crystals placed near the cuticle or a subtle shimmer top coat.
- Consider press-ons (the right way): Quality press-ons can look amazing in photos if sized correctly and applied neatly. Do a full wear test day, file edges to fit your cuticle line, and pack nail glue + extras.
- Book a simple gel manicure: A solid milky nude gel with meticulous shaping often looks more expensive than complicated designs done quickly.
Common Mistakes to Avoid (So Your Nails Don’t Distract)
- Going too white: Bright, opaque white can look harsh against skin and can pull attention from the ring. Ivory or a milky base is more bridal in photos.
- Choosing the wrong undertone: If your nude is too yellow or too gray, it can make hands look off in different lighting. Test in natural light before committing.
- Too much thickness: Overbuilt gel or acrylic creates bulky edges that show up in close-ups. Ask for a thinner, refined structure.
- Last-minute experiments: Your wedding week is not the time for a brand-new shape, extreme length, or bold color you’ve never worn.
- Ignoring timing: Nails done too early risk chips; too late adds stress. Schedule strategically (see below).
Timeline and Planning: When to Get Your Bridal Nails Done
Photo-ready nails are part of your wedding logistics. Here’s a simple plan:
- 2–3 months out: Save inspiration photos and decide your vibe (minimal, classic, glowy, or slightly sparkly). If you’re changing nail shape or growing length, start now.
- 4–6 weeks out: Do a trial if you’re picky about undertones, French thickness, or chrome intensity—especially if you rarely get nails done.
- 1–2 days before the wedding: Ideal timing for gel or structured manicures so they’re fresh for the wedding and strong for the honeymoon.
- Day-of kit: Cuticle oil, hand cream, a mini file, a bandage (hangnails happen), and if needed, glue + a spare press-on.
Coordinate nails with your other beauty appointments. If you’re getting a spray tan, schedule nails after the tan to avoid staining around cuticles.
Final Takeaway: Choose “Elegant on Purpose”
The most stunning bridal nail designs in wedding photos share a common theme: they’re clean, cohesive, and softly enhancing. Start with a flattering neutral base, add a subtle detail if it fits your look, and focus on shaping and cuticle work as much as color. When your nails feel comfortable and polished, your hands will naturally look graceful in every photo—from the ring close-up to the last dance.
With a little planning and the right finish, your manicure can be one of those small details that makes your wedding gallery feel effortlessly elevated.
FAQ
What nail color looks best with a white wedding dress?
Milky nude, blush, and soft pink-beige shades are the most universally flattering with a white dress because they look natural on skin and don’t compete with the gown. If you want a French tip, consider ivory rather than stark white for a softer match in photos.
Are gel nails or acrylic nails better for wedding photos?
Both can photograph beautifully. Gel (including builder gel) often gives a slimmer, natural look that’s great for close-ups. Acrylic can be ideal if you need major length or shape changes—just ask for a refined, not bulky, finish.
How do I make sure my nails don’t look too shiny in flash photos?
Ask for a smooth, high-quality top coat and avoid chunky glitter or heavy mirror chrome. A “pearl glaze” over a nude base usually catches light softly without creating harsh reflections.
Can I wear press-on nails for my wedding day?
Yes—if you do a full trial wear first. Choose a high-quality set, file and customize the fit, and apply carefully with strong glue. Bring extras and glue in your day-of kit so you’re covered if one lifts during the celebration.