
Planning a 2026 wedding can feel like a full-time job, but the right hacks make it surprisingly smooth (and even fun). Think of this as your grab-and-go list of ideas that save time, reduce decision fatigue, and keep your wedding looking intentional from start to finish.
Use what fits your style, skip what doesn’t, and remember: “stress-free” isn’t about perfection—it’s about smart systems that support you.
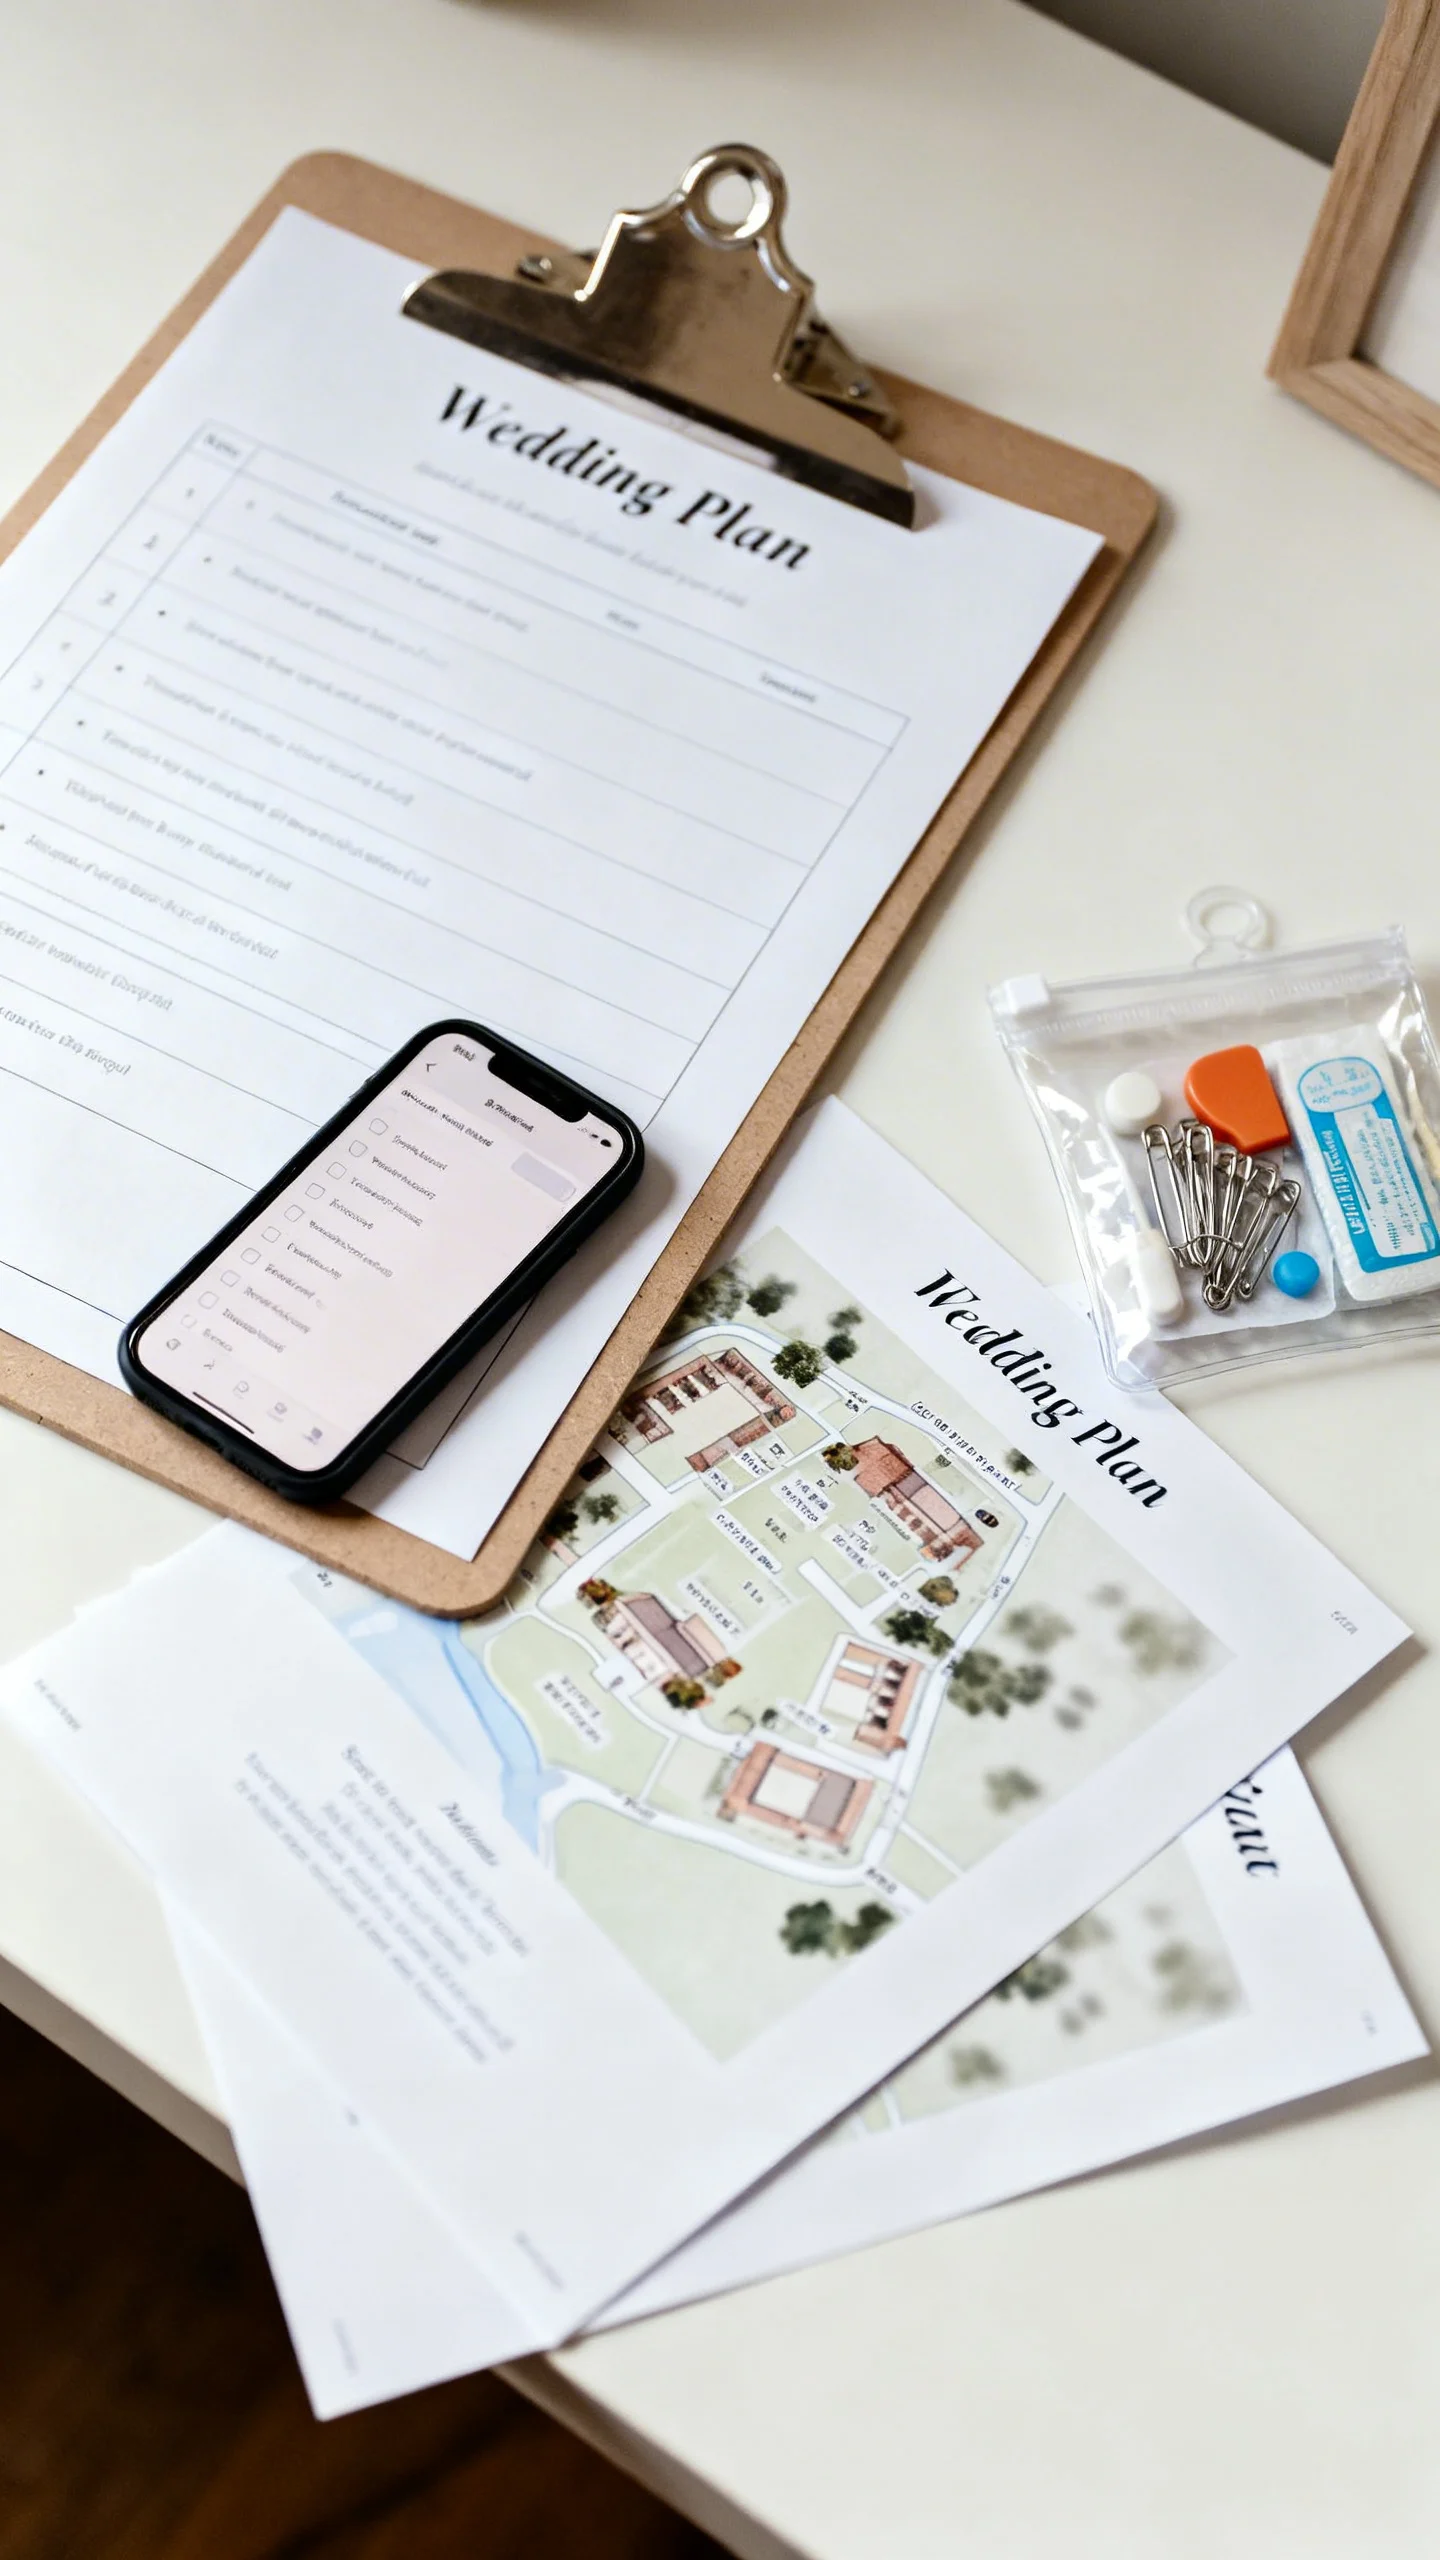
Build a “one-page wedding plan” you can share
Create a single doc with your date, venue address, timeline, key contacts, and must-know notes (like accessibility or vendor loading info). Share it with your planner, VIPs, and anyone helping on the day so you’re not repeating yourself. Add links to your photo inspiration, seating chart, and playlist for easy access. Print two copies and keep one in your emergency kit and one with your coordinator.
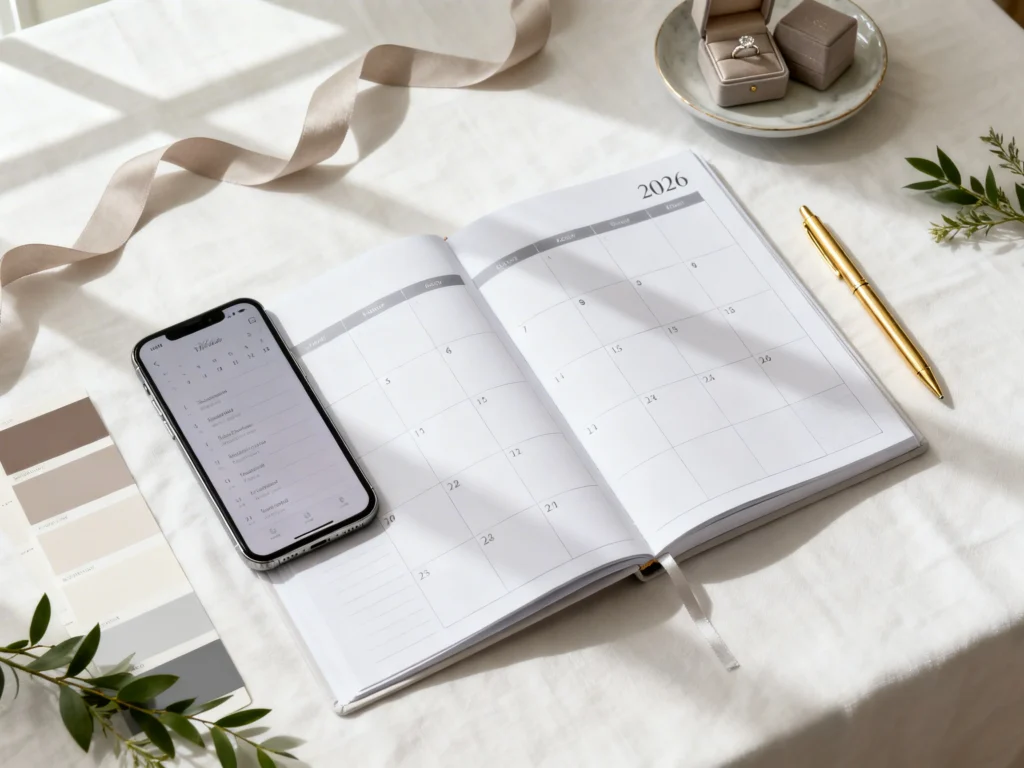
Choose a color palette that works in every light
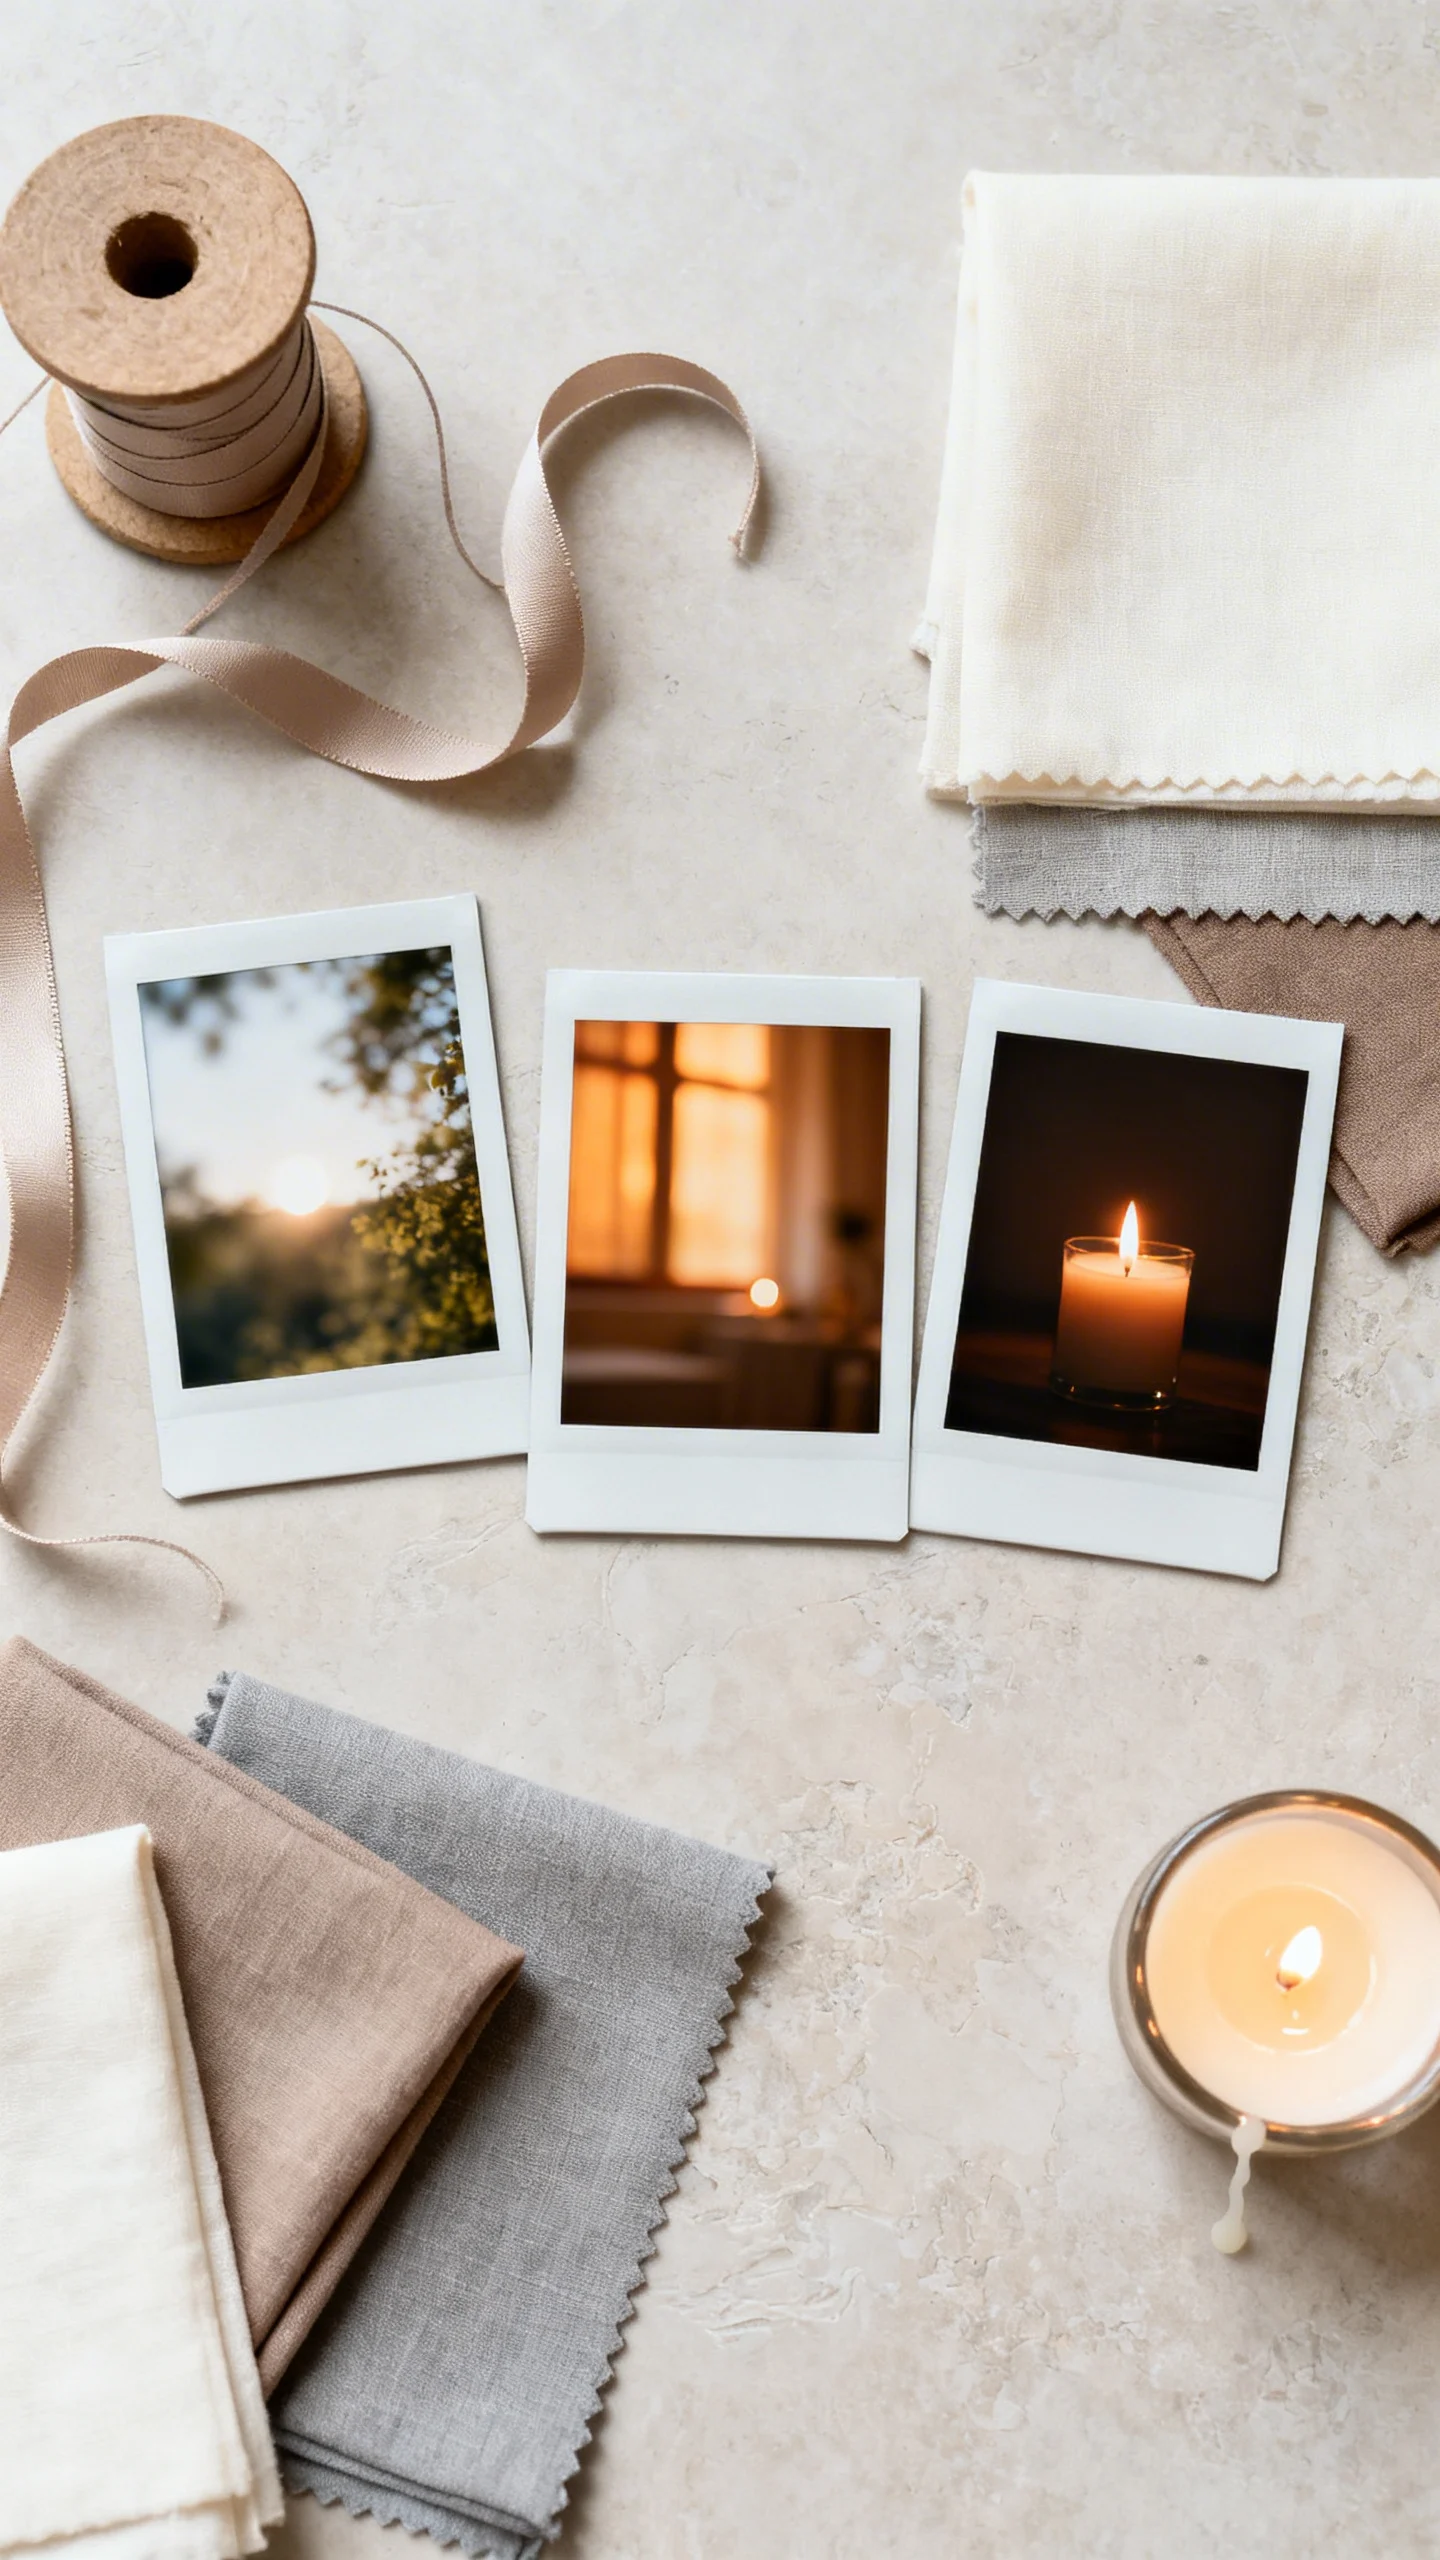
For 2026, prioritize tones that look great in natural light, flash, and candlelight—especially if your day spans multiple settings. Test your palette by saving three sample photos: midday outdoor, indoor warm lighting, and evening reception. Keep your “core” to 2–3 colors, then use neutrals (ivory, taupe, soft gray) to make everything feel cohesive. This simple move makes mismatched items look curated instead of chaotic.
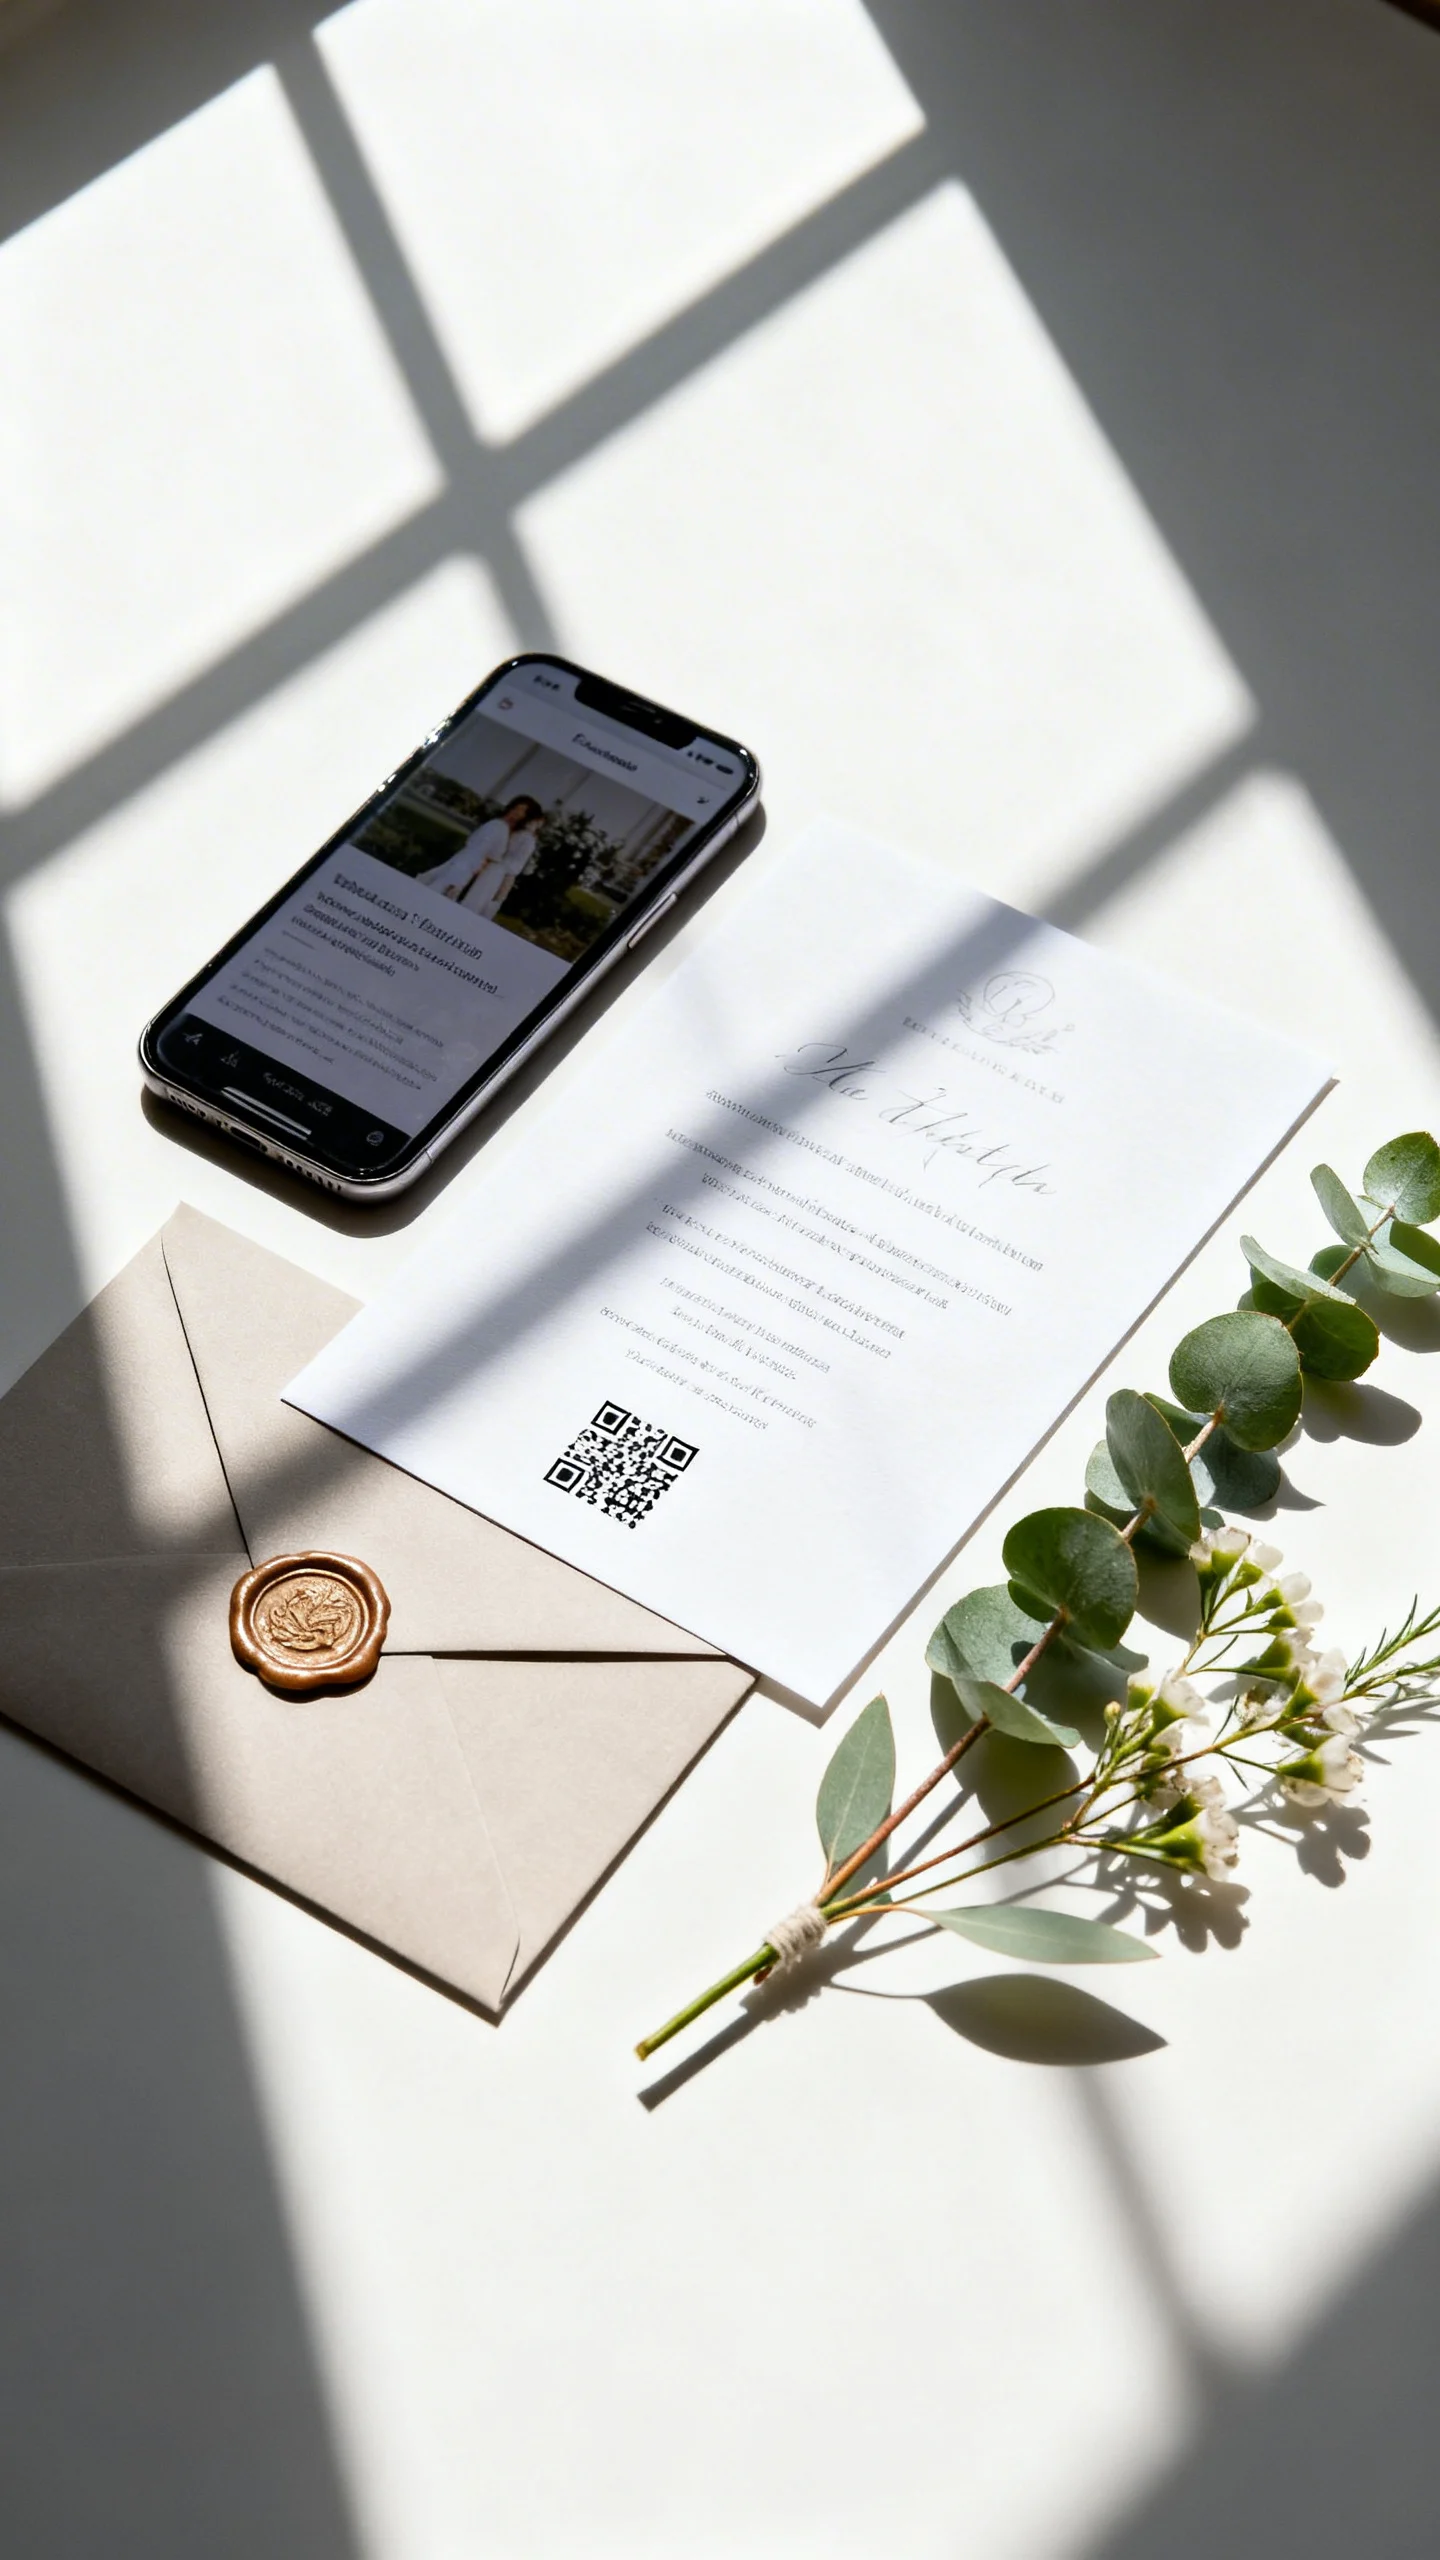
Upgrade your invitation suite with a QR “info hub”
Instead of overloading inserts, add one clean QR code that links to your wedding website’s essentials: schedule, travel, registry, and FAQs. Include a short, friendly line like “Details + updates” so guests understand its purpose. Update the site as plans evolve—no reprinting needed. Bonus: add a “day-of” page with parking, weather notes, and a contact number for your point person.
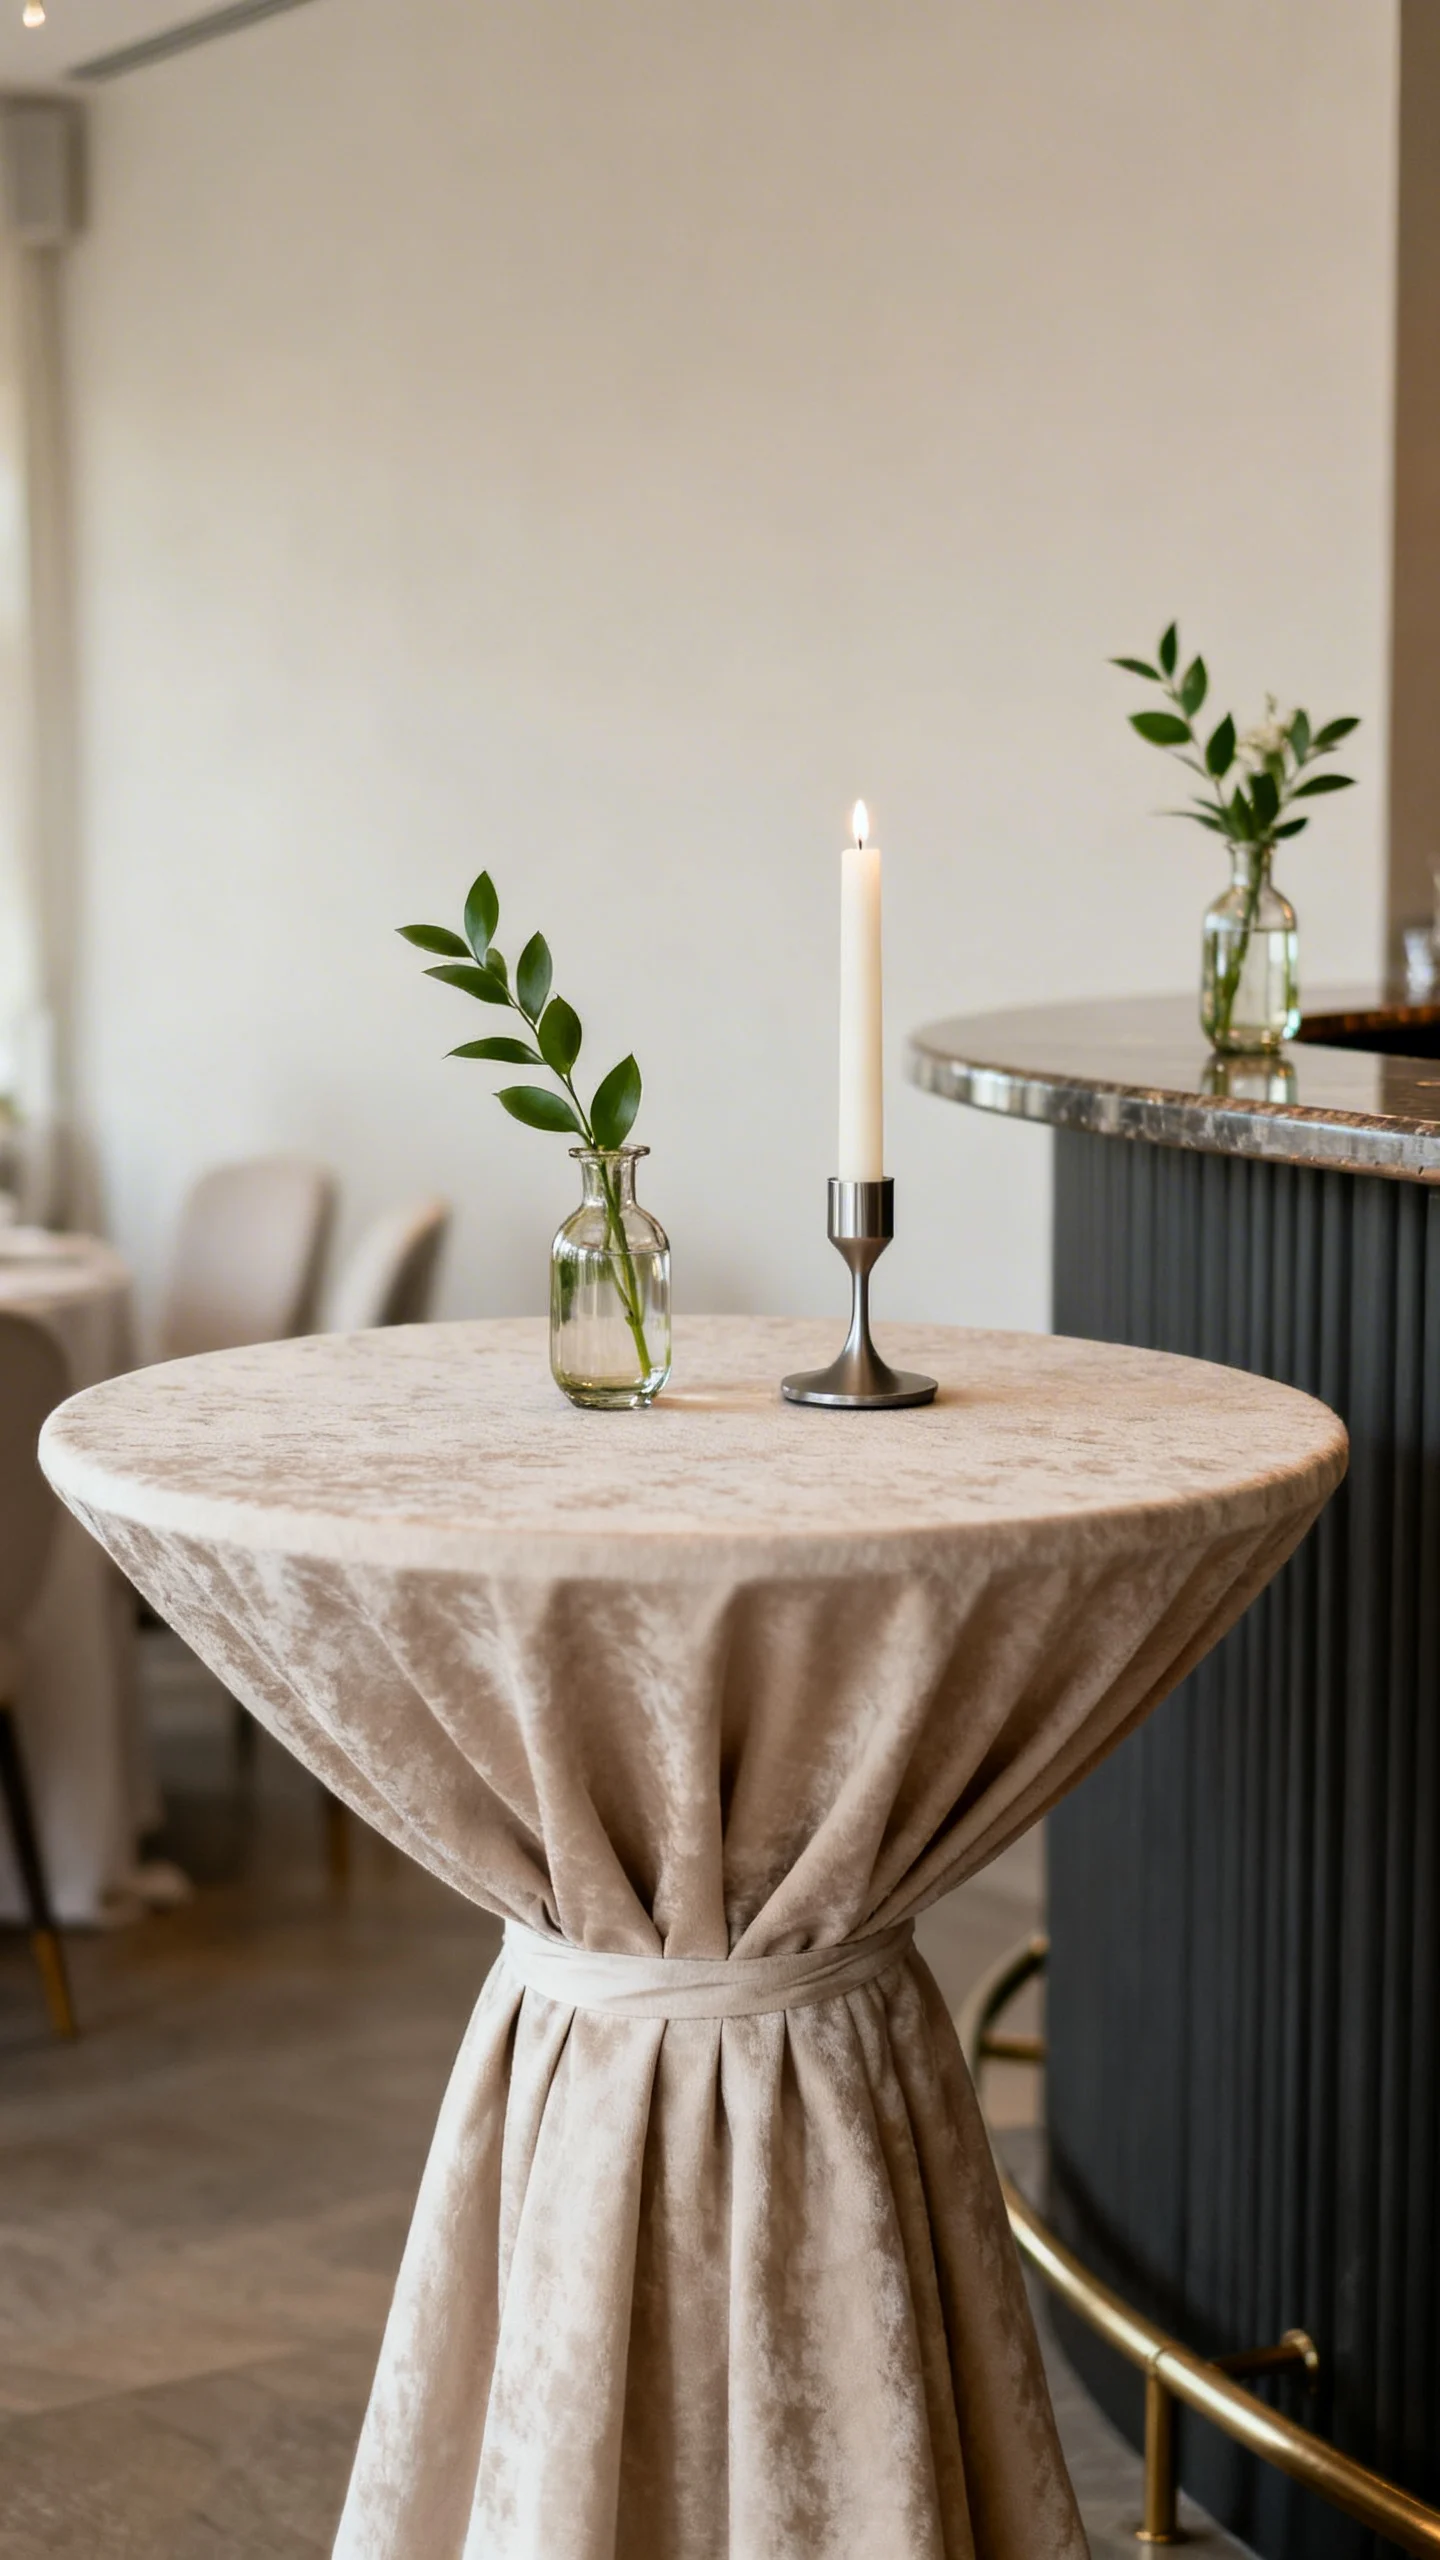
Batch your decor decisions with a “repeat formula”
Pick one signature element and repeat it across moments: the same bud vase style on cocktail tables and the bar, or the same linen color used for welcome table and dessert. This reduces shopping and keeps the aesthetic consistent without extra effort. Use a simple formula like “one vessel + one greenery + one candle” for any small surface. It looks elevated, photographs beautifully, and is easy to delegate.
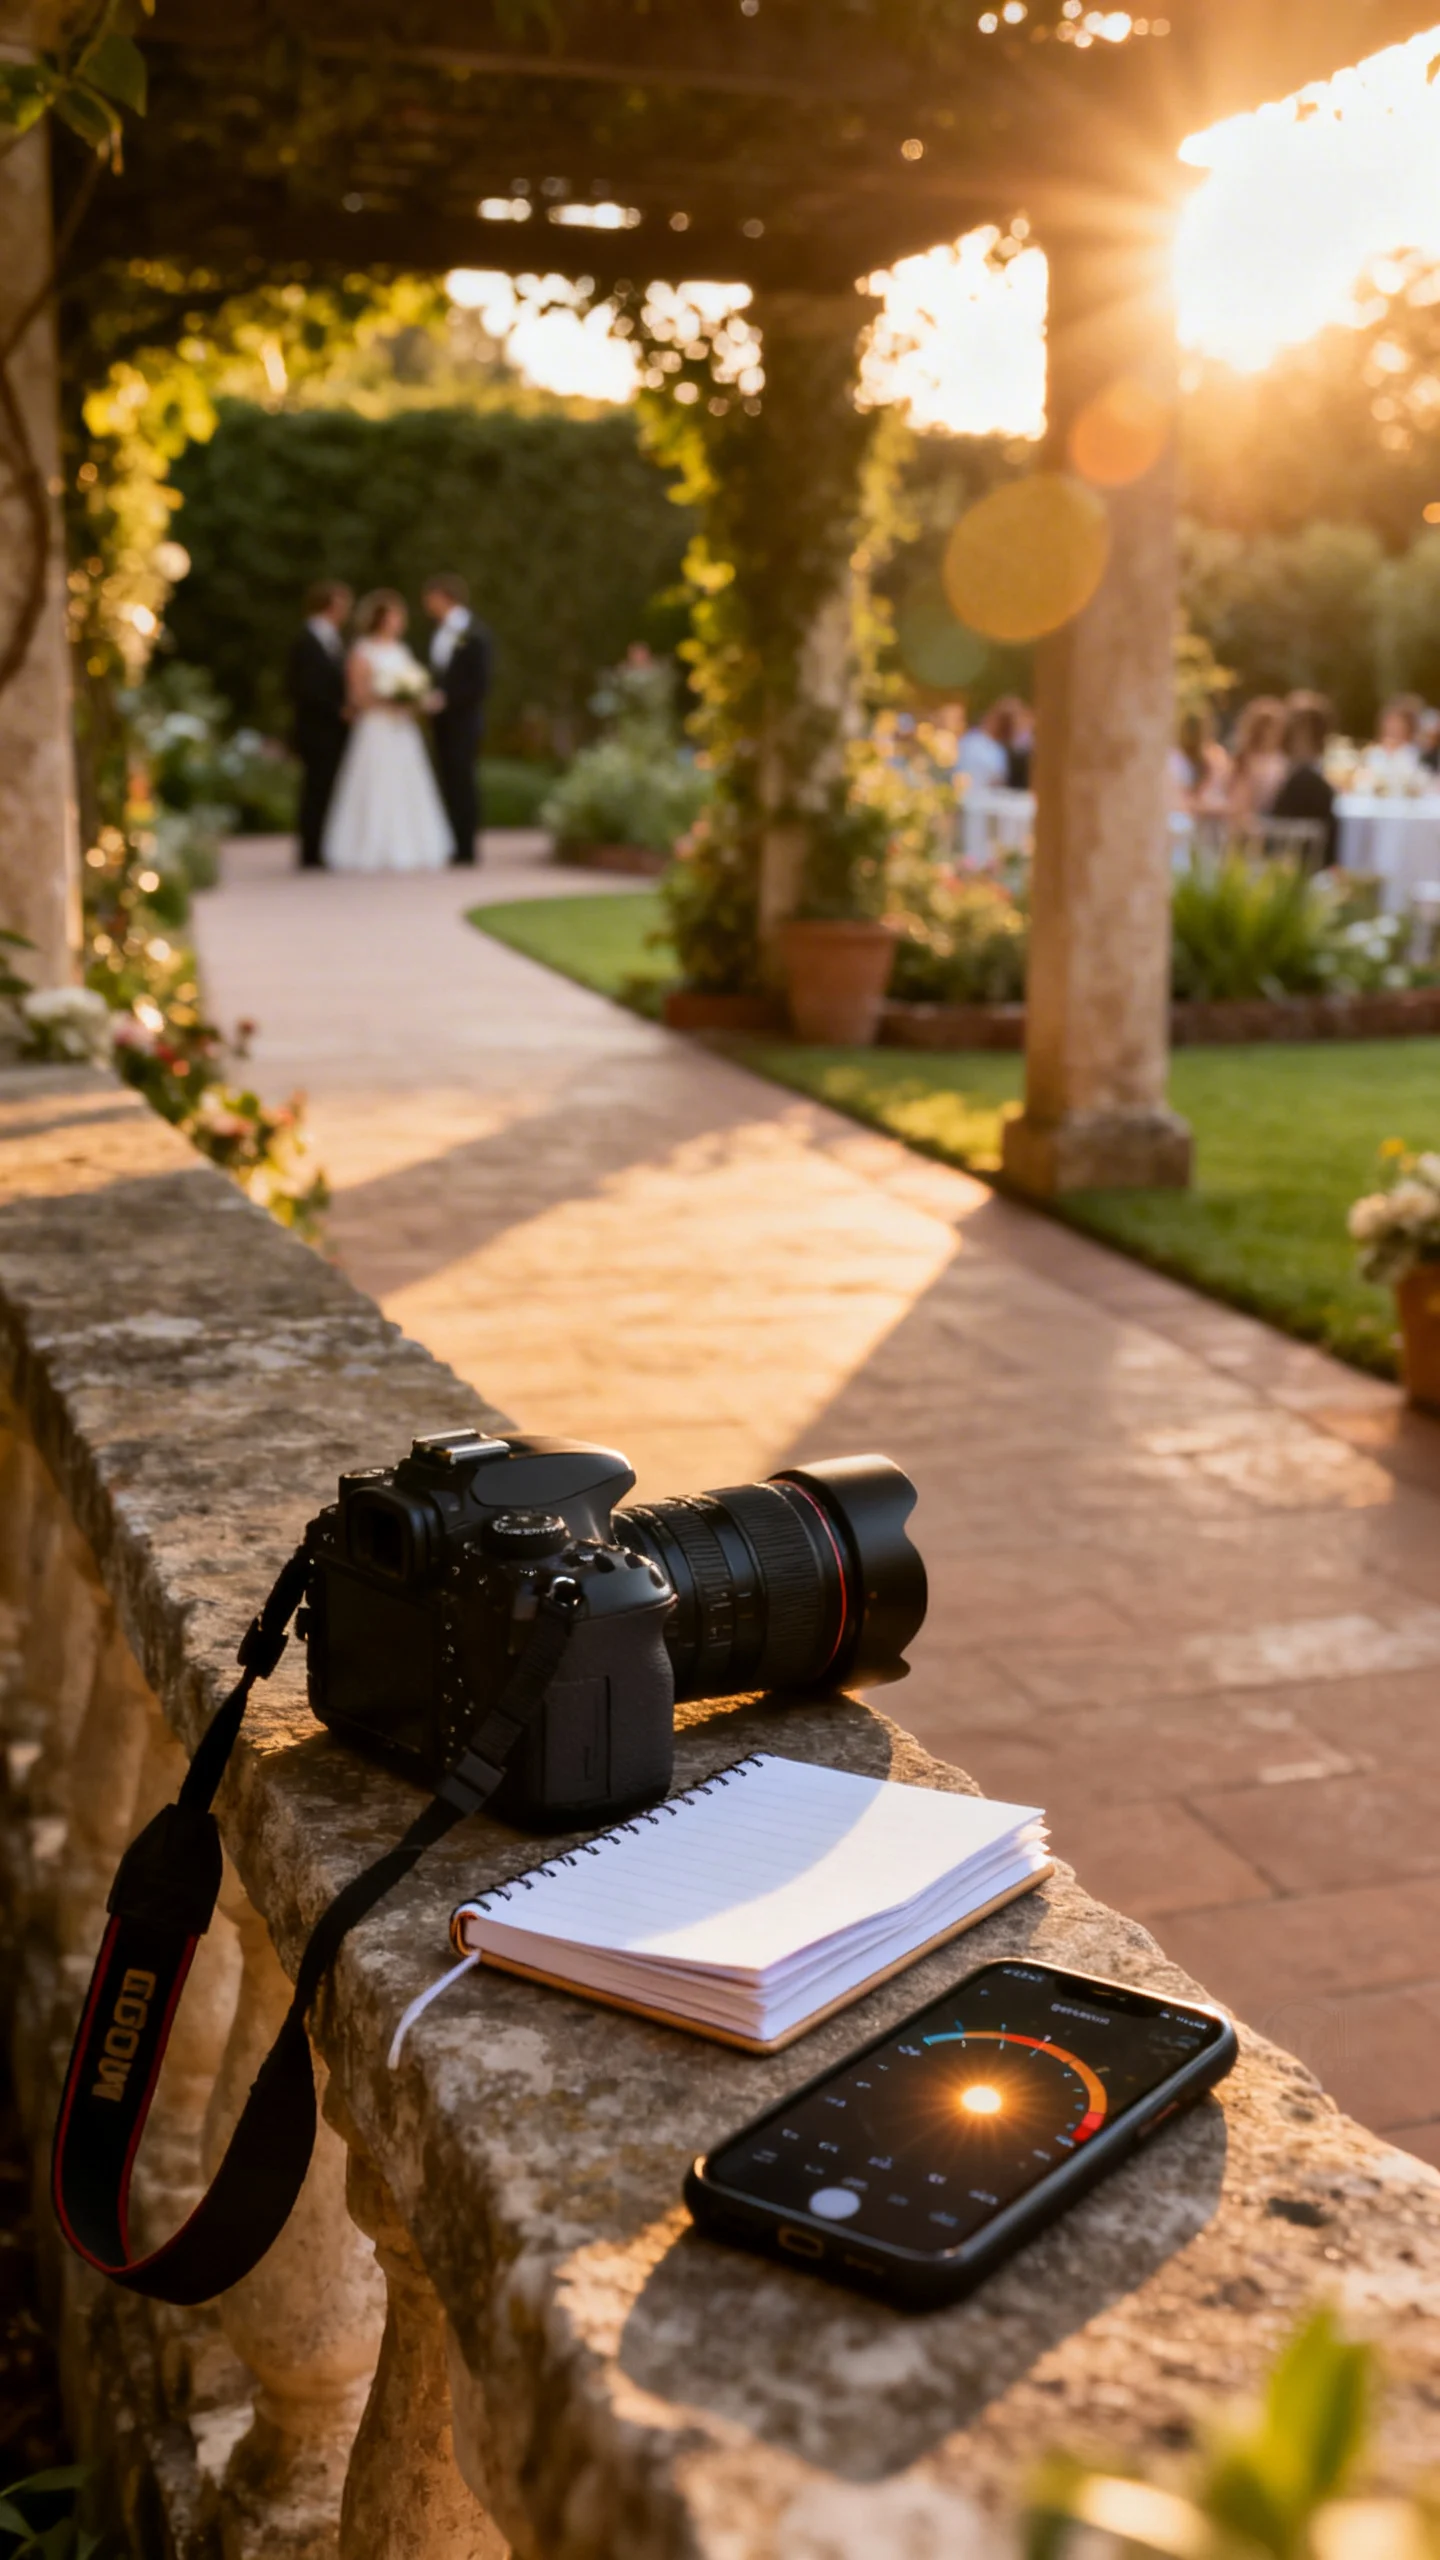
Plan your timeline around light, not just the clock
Ask your photographer for the best portrait windows based on your date and location, then build your schedule around that. A stress-free hack is padding transitions with 10–15 minutes so you’re never racing from one spot to another. If you’re doing a first look, place it in a calm, shaded area to avoid squinting and sweat. Your photos will look effortless because your timing was.
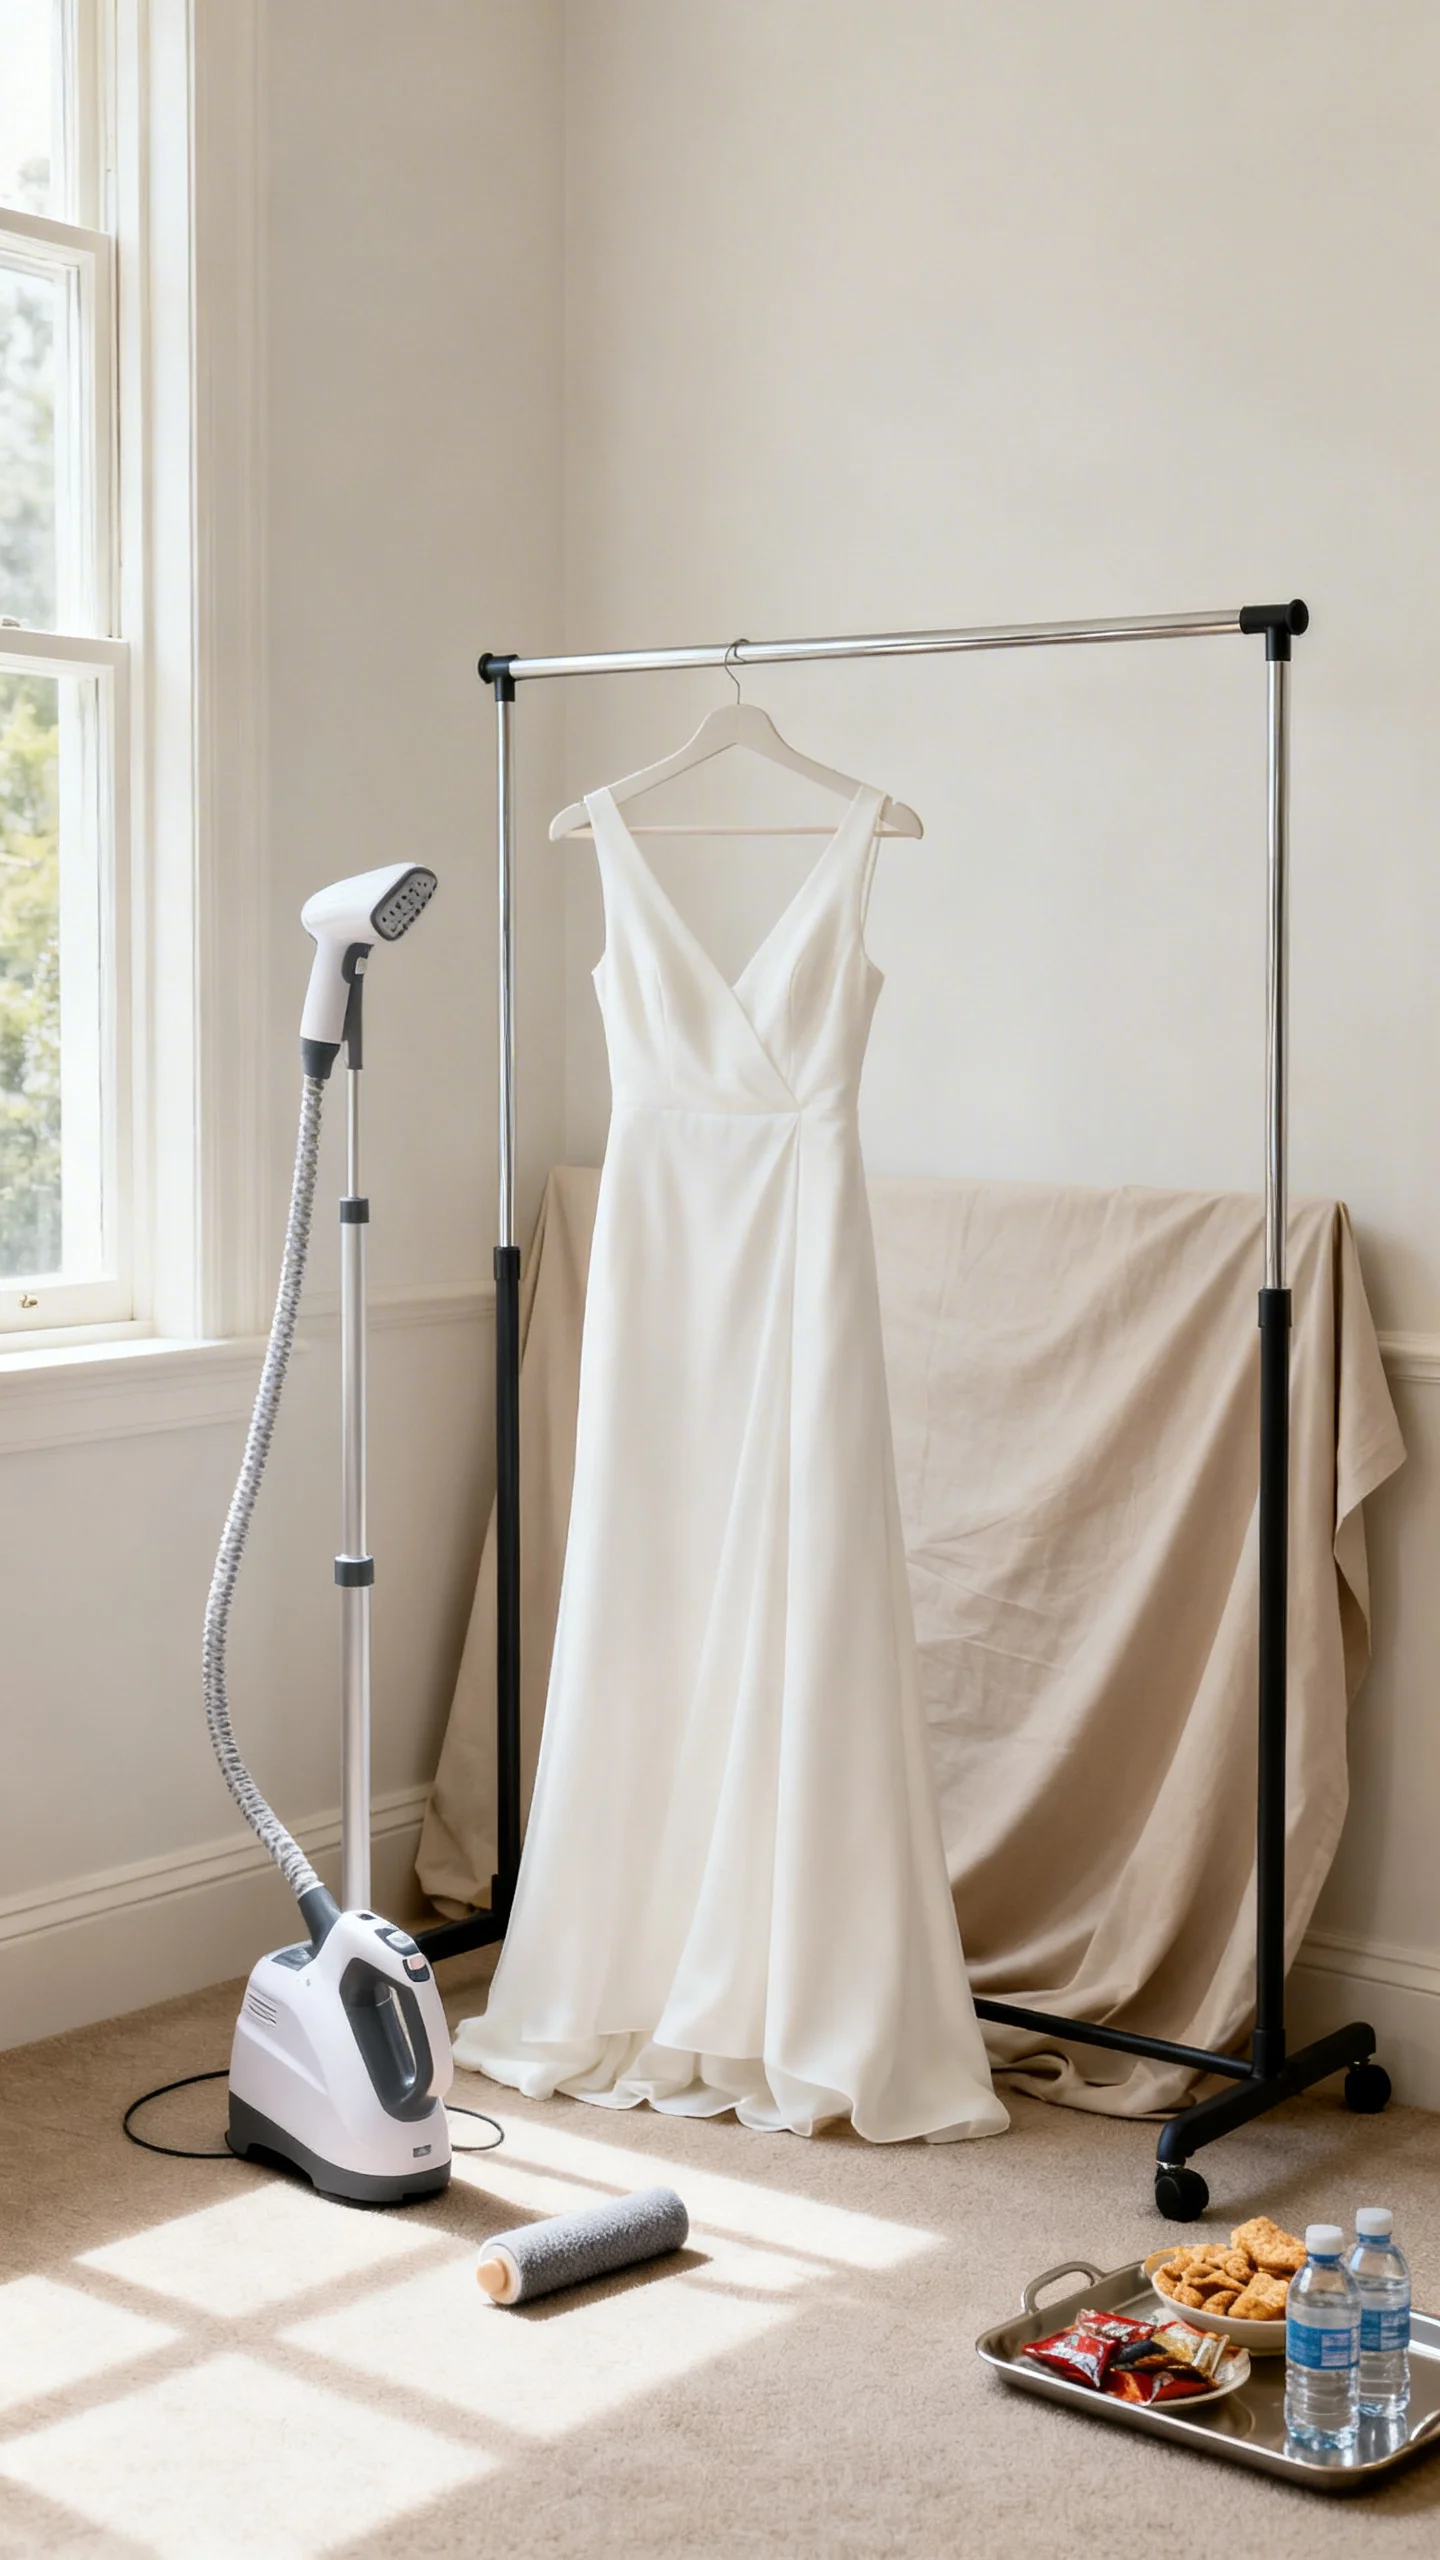
Create a “no-stress getting-ready zone”
Designate one corner (or one room) as photo-ready: clear clutter, hang a neutral sheet if needed, and keep bags out of sight. Bring matching hangers, a small steamer, and a lint roller so outfits stay crisp. Put snacks and water in a separate spot to keep the pretty area clean. This tiny setup makes morning photos feel editorial and keeps everyone calmer.
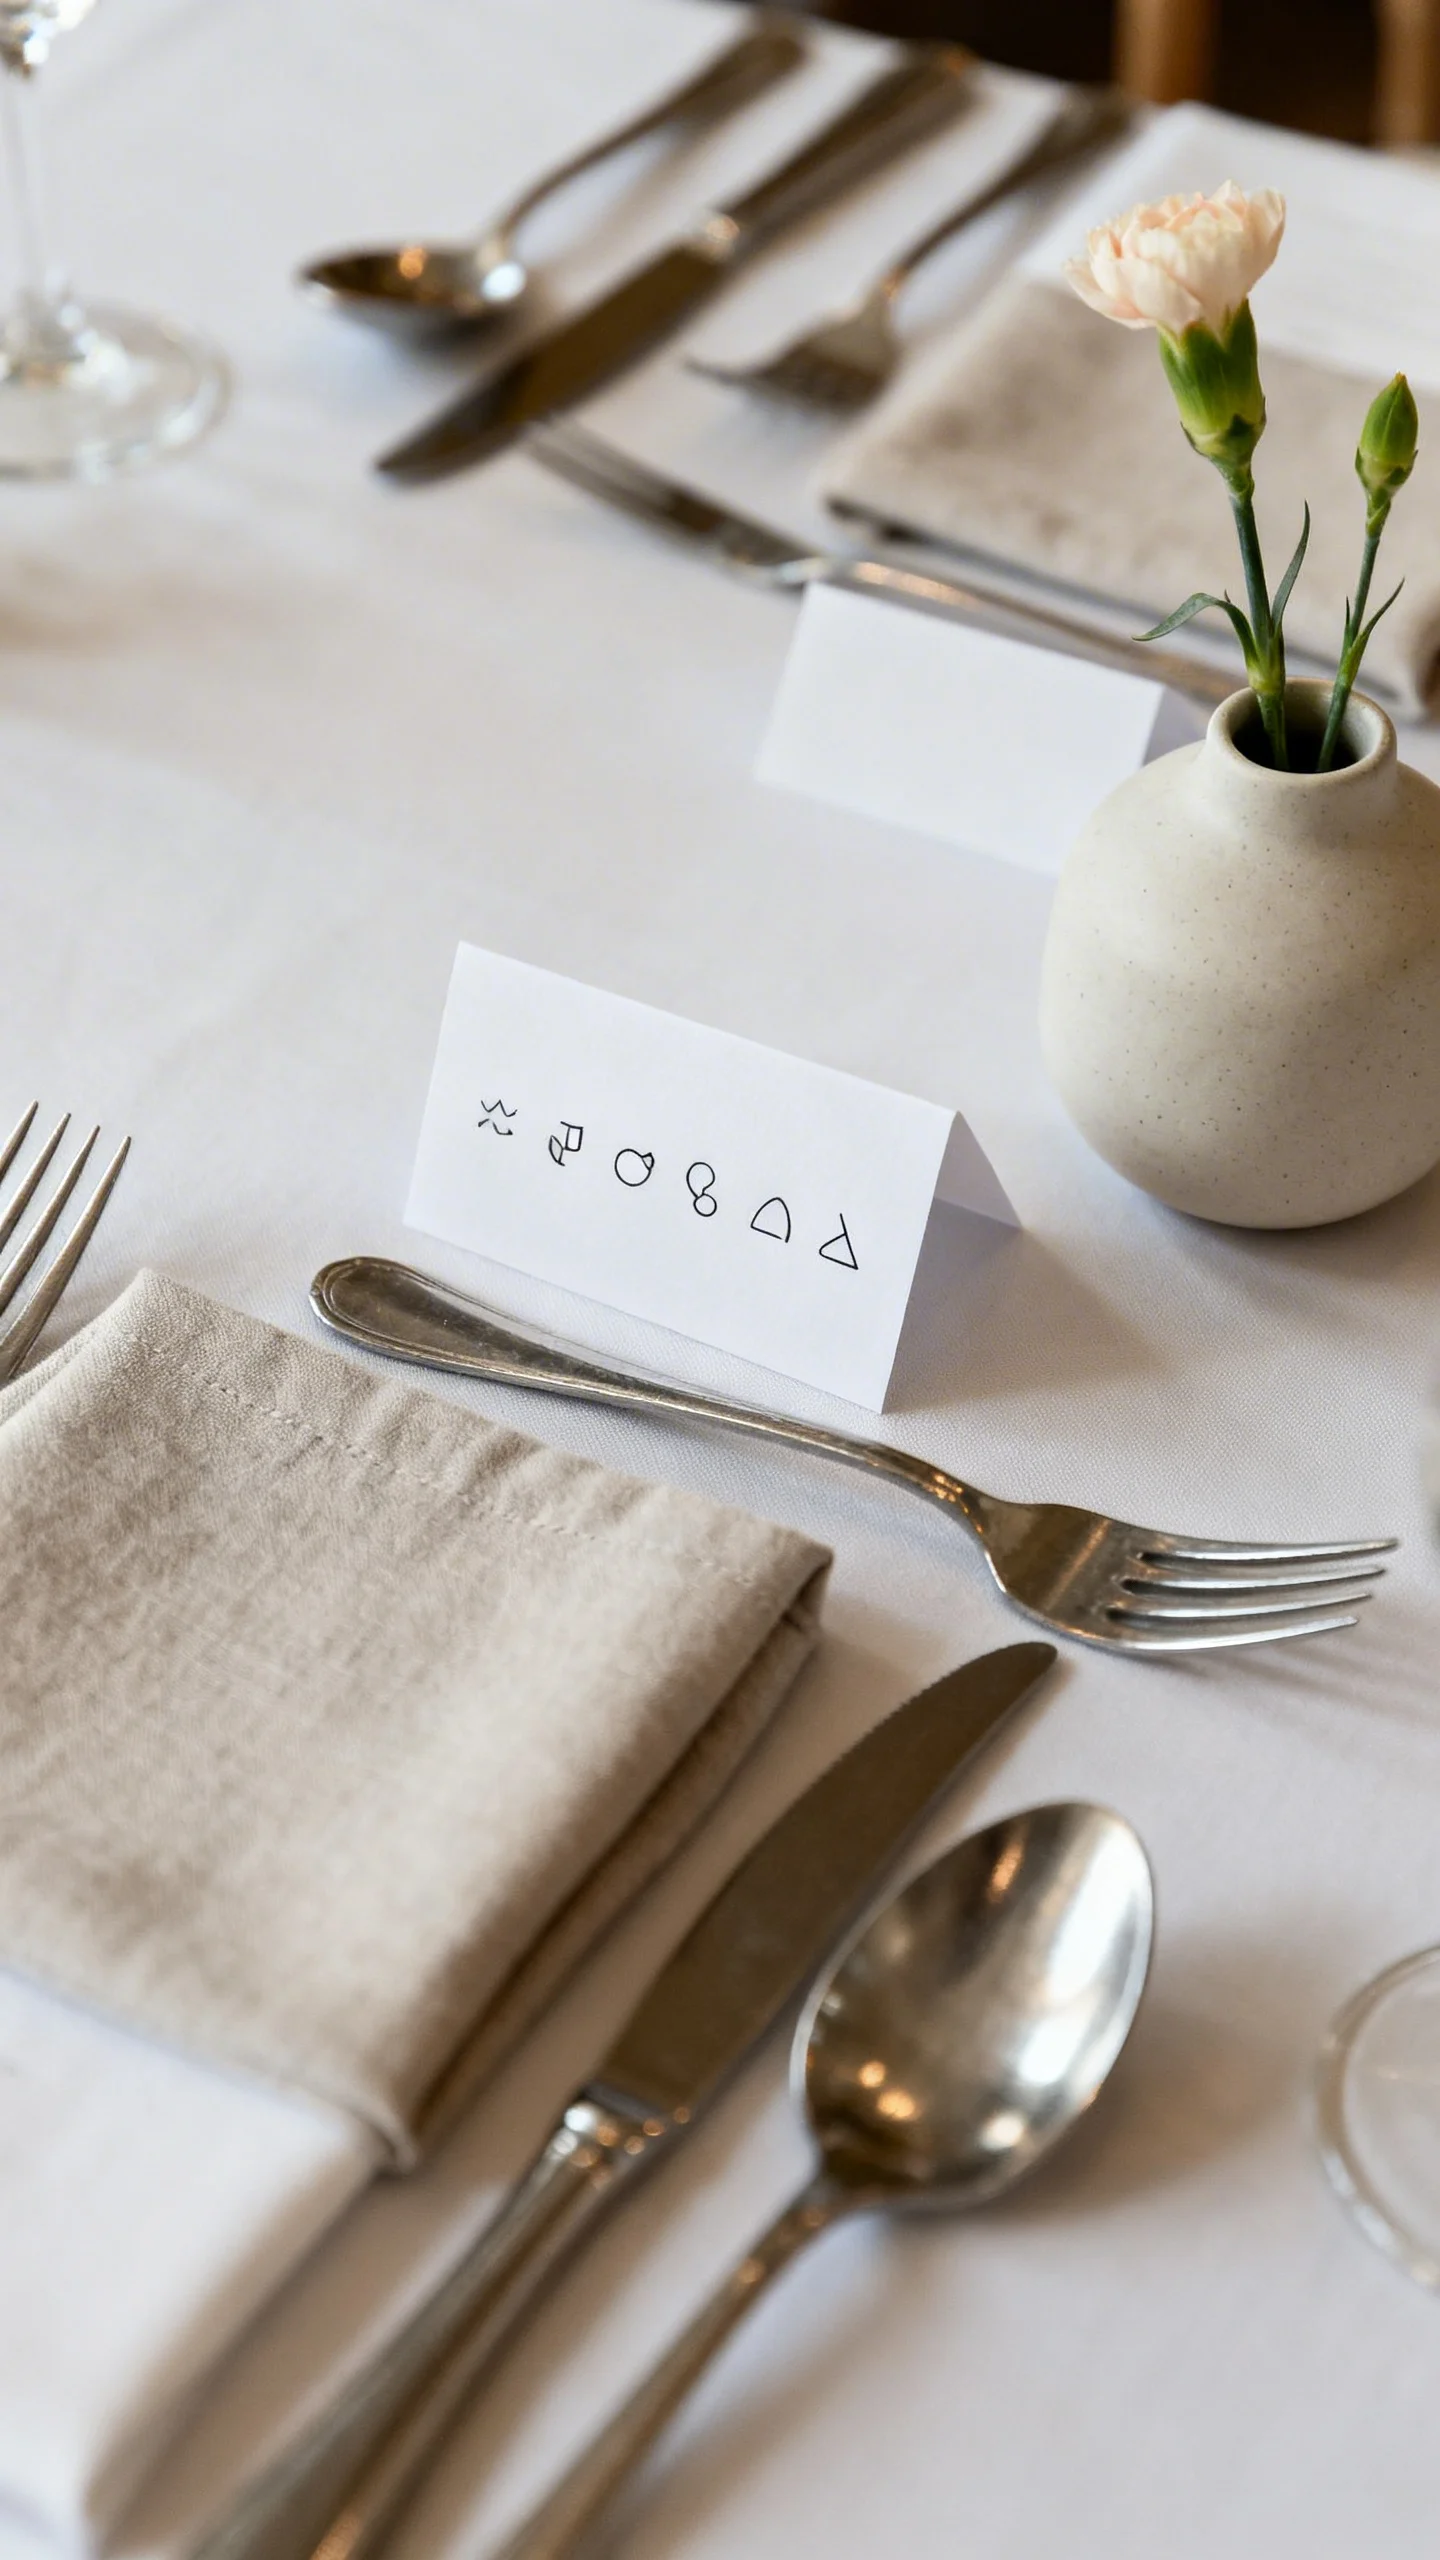
Use place cards as mini helpful moments
Turn place cards into a subtle guest experience upgrade by adding a tiny detail: a symbol for meal choice, a note about allergies, or a small icon for “photo-friendly” seats. This helps catering and reduces questions during service. Keep the design minimal so it still looks chic on the table. It’s a practical hack that reads as thoughtful styling.
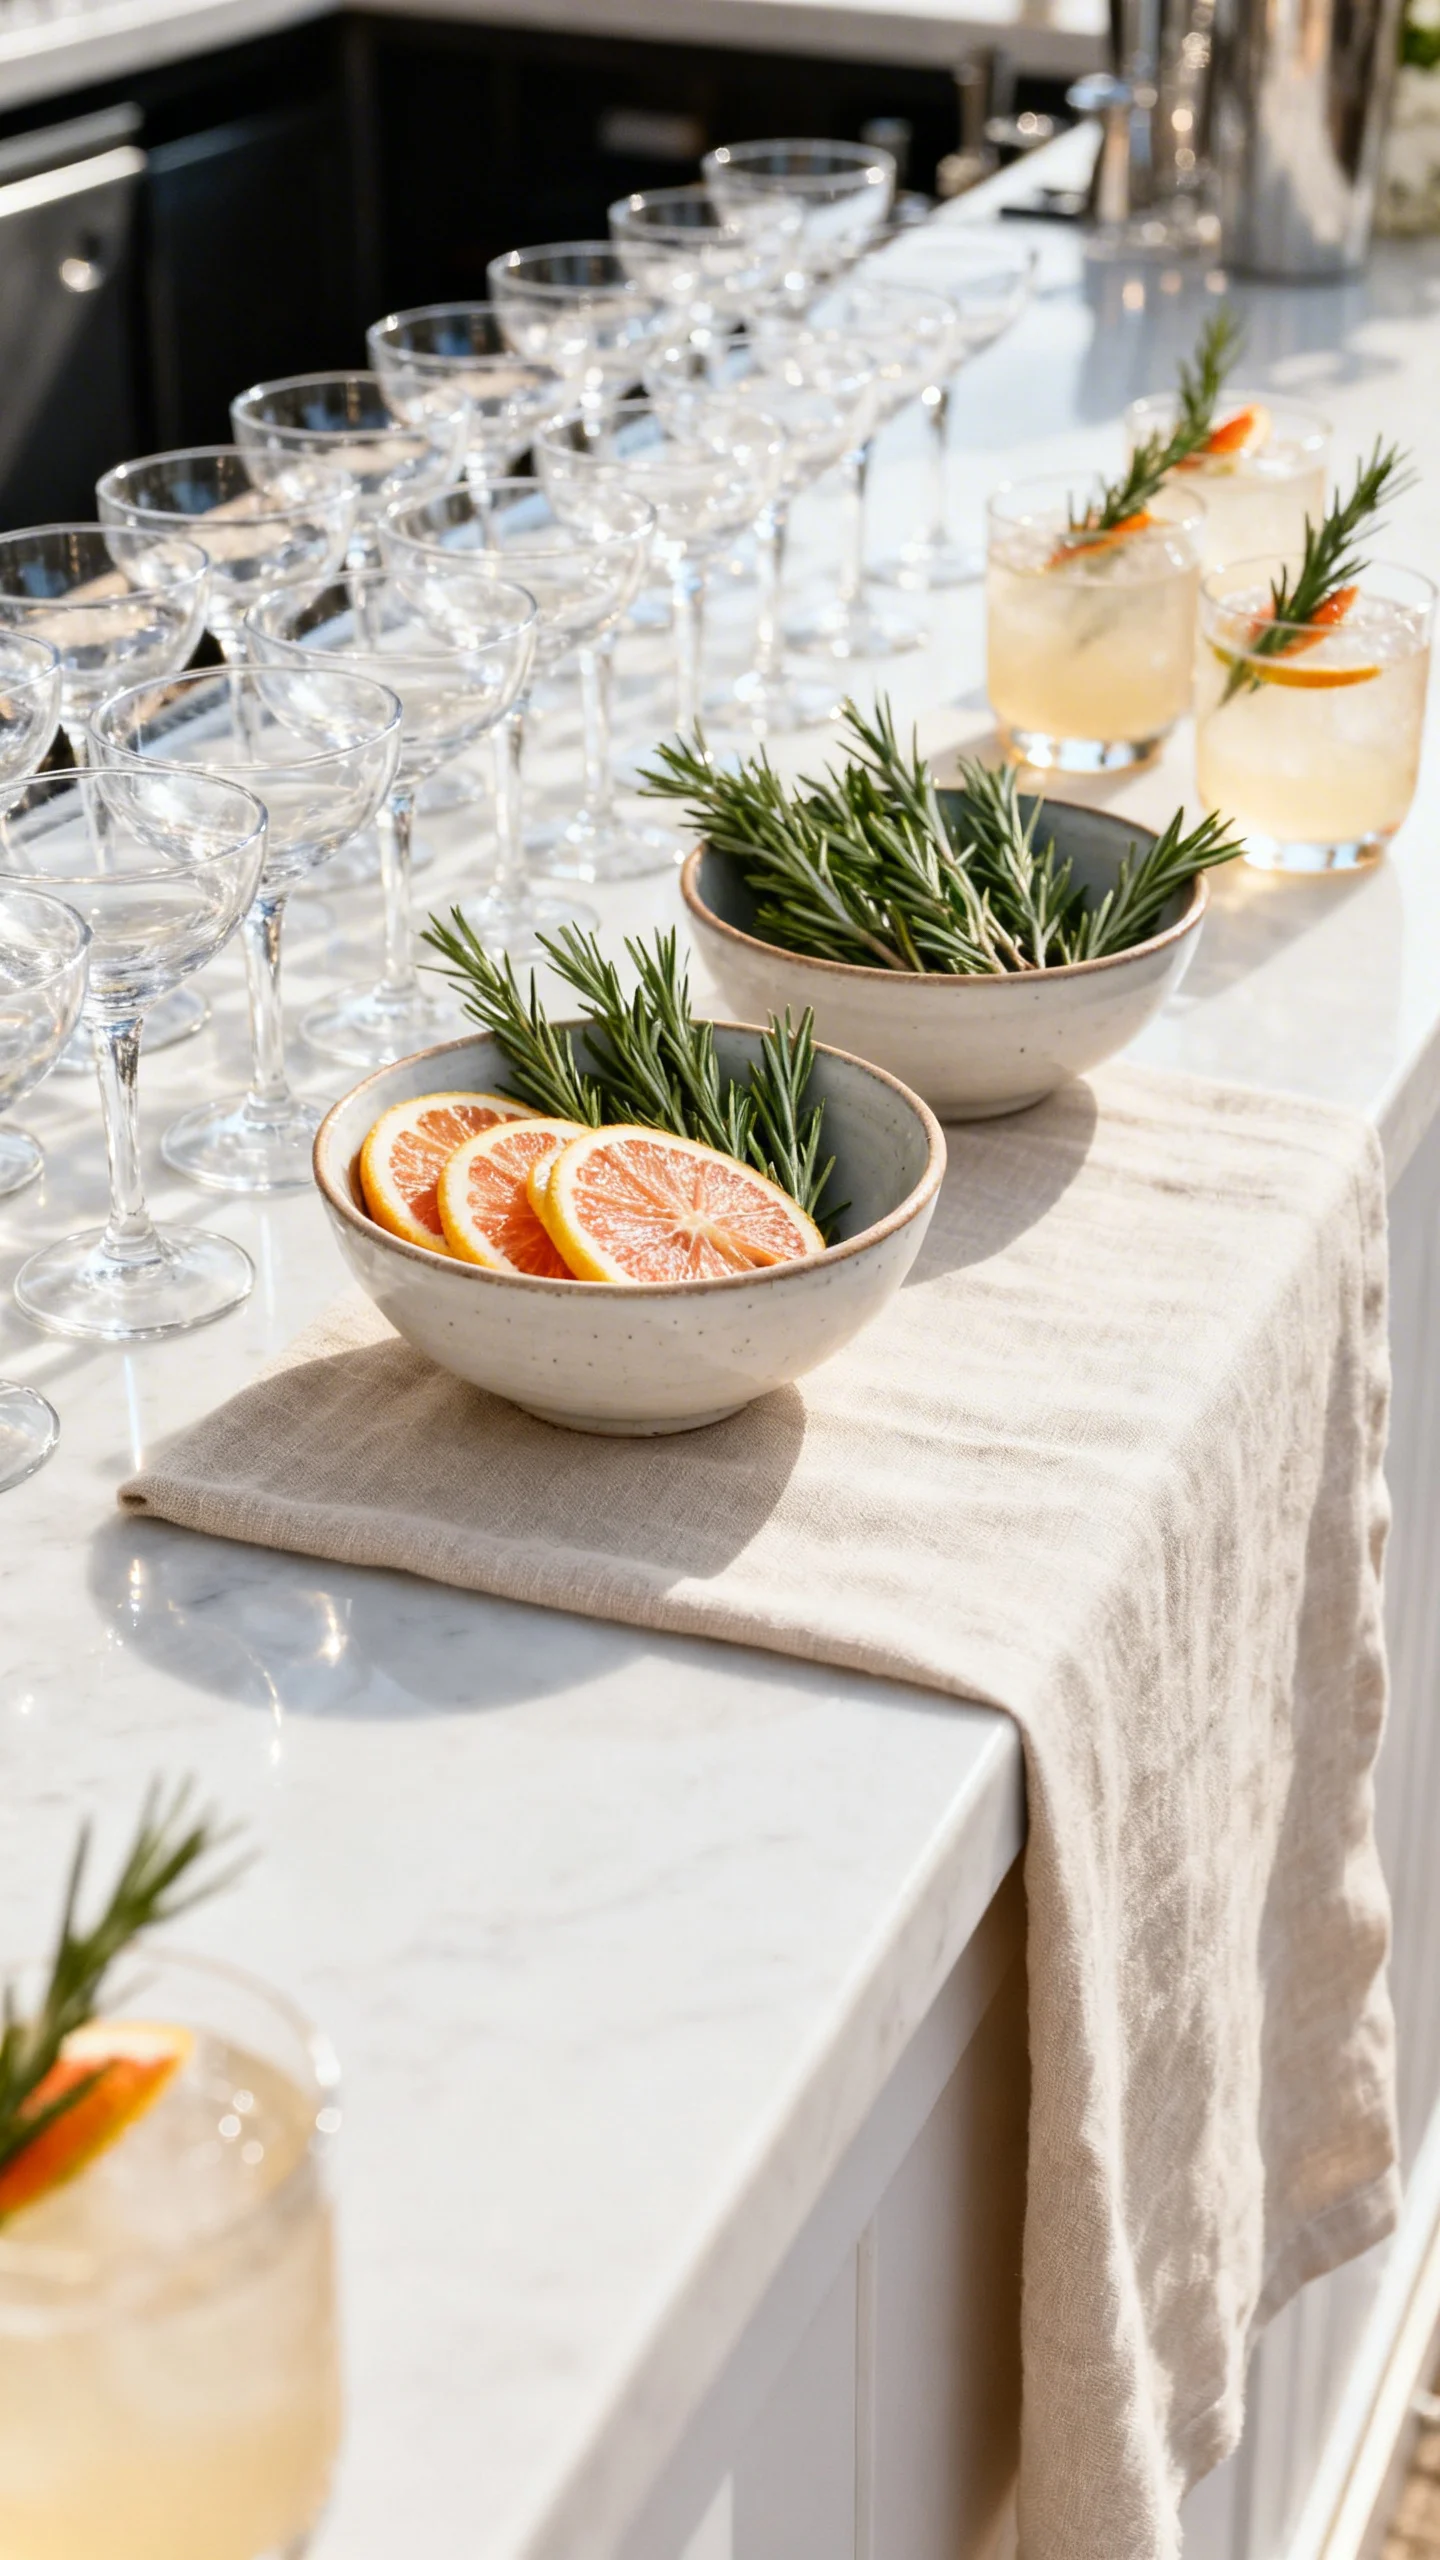
Make your bar look custom with one signature garnish plan
A cohesive garnish instantly makes drinks feel intentional without adding a full specialty cocktail menu. Choose one or two options that match your palette—citrus wheels, rosemary, edible flowers, or dehydrated fruit. Ask the bar team to use the same glassware style for signature drinks for a polished look. It’s a simple aesthetic win that shows up in every candid photo.
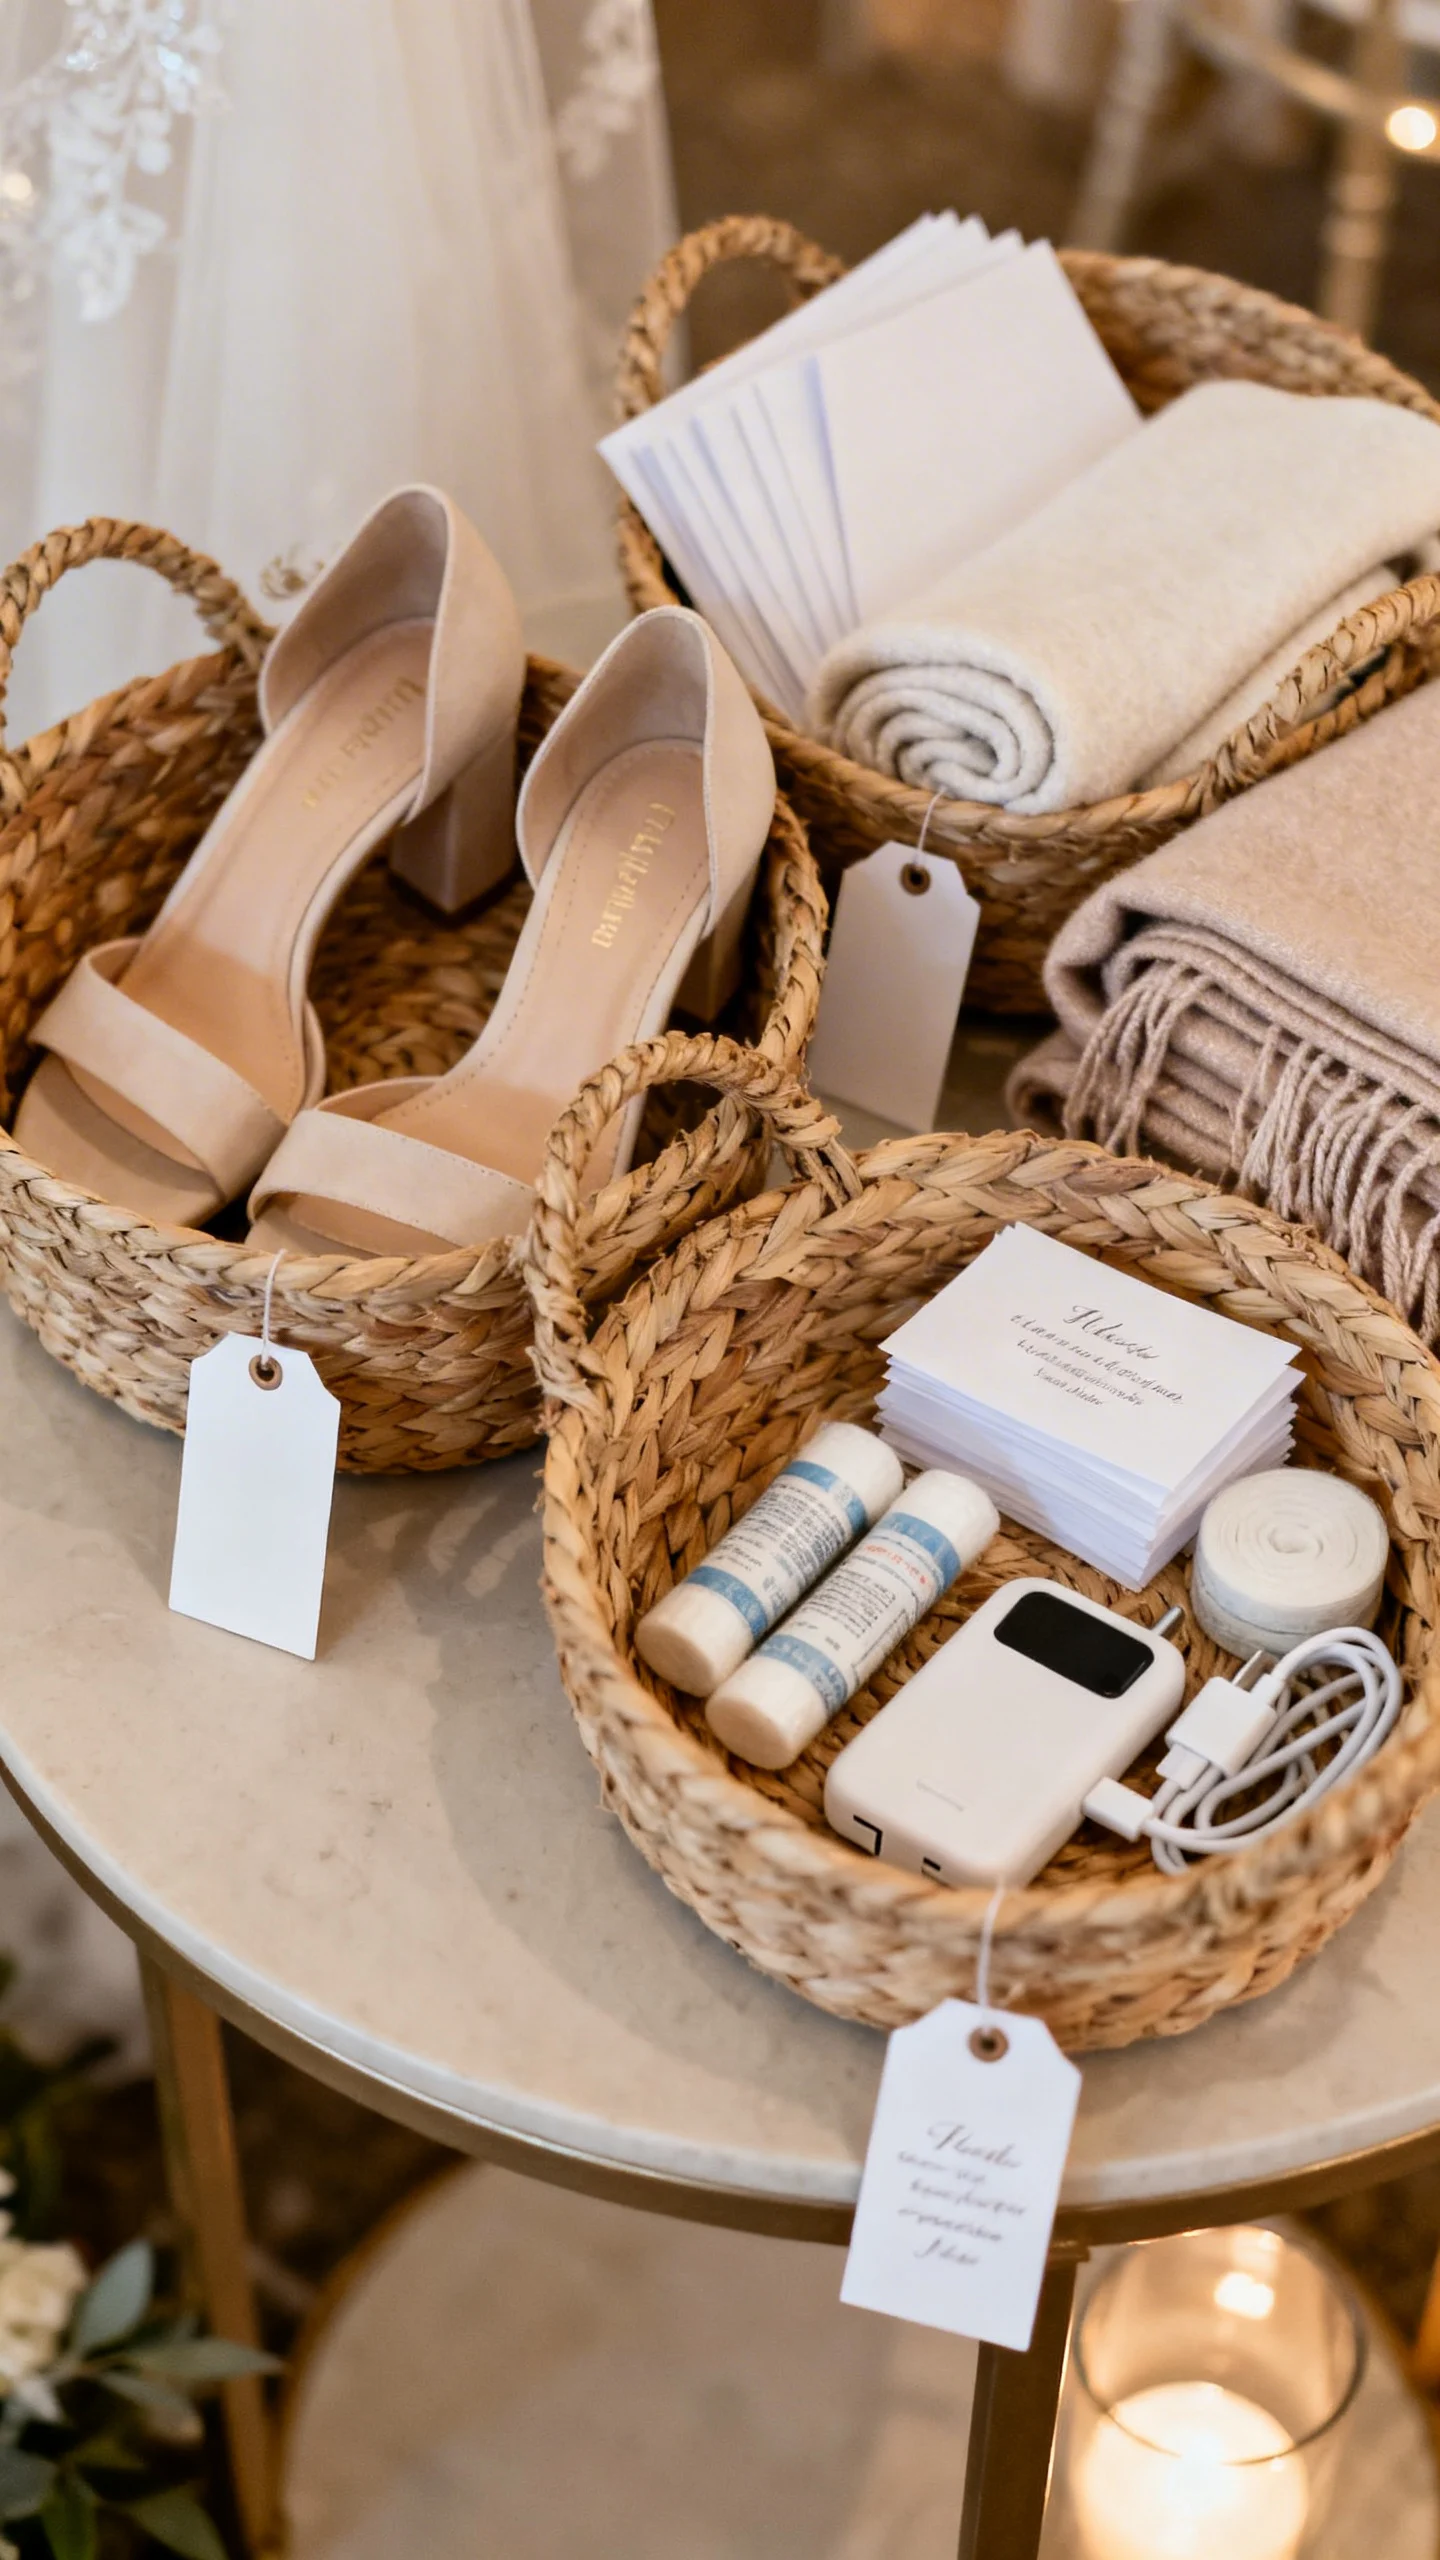
Set up a “grab-and-go” accessory station for the reception
Instead of handing out items one by one, style a small table with clearly labeled baskets: heel protectors, blotting papers, shawls, bandages, and disposable phone chargers. Keep signage clean and consistent with your stationery so it looks like part of the design. Guests love feeling cared for, and you’ll prevent small issues from becoming big distractions. Assign one bridesmaid or coordinator assistant to tidy it once mid-reception.
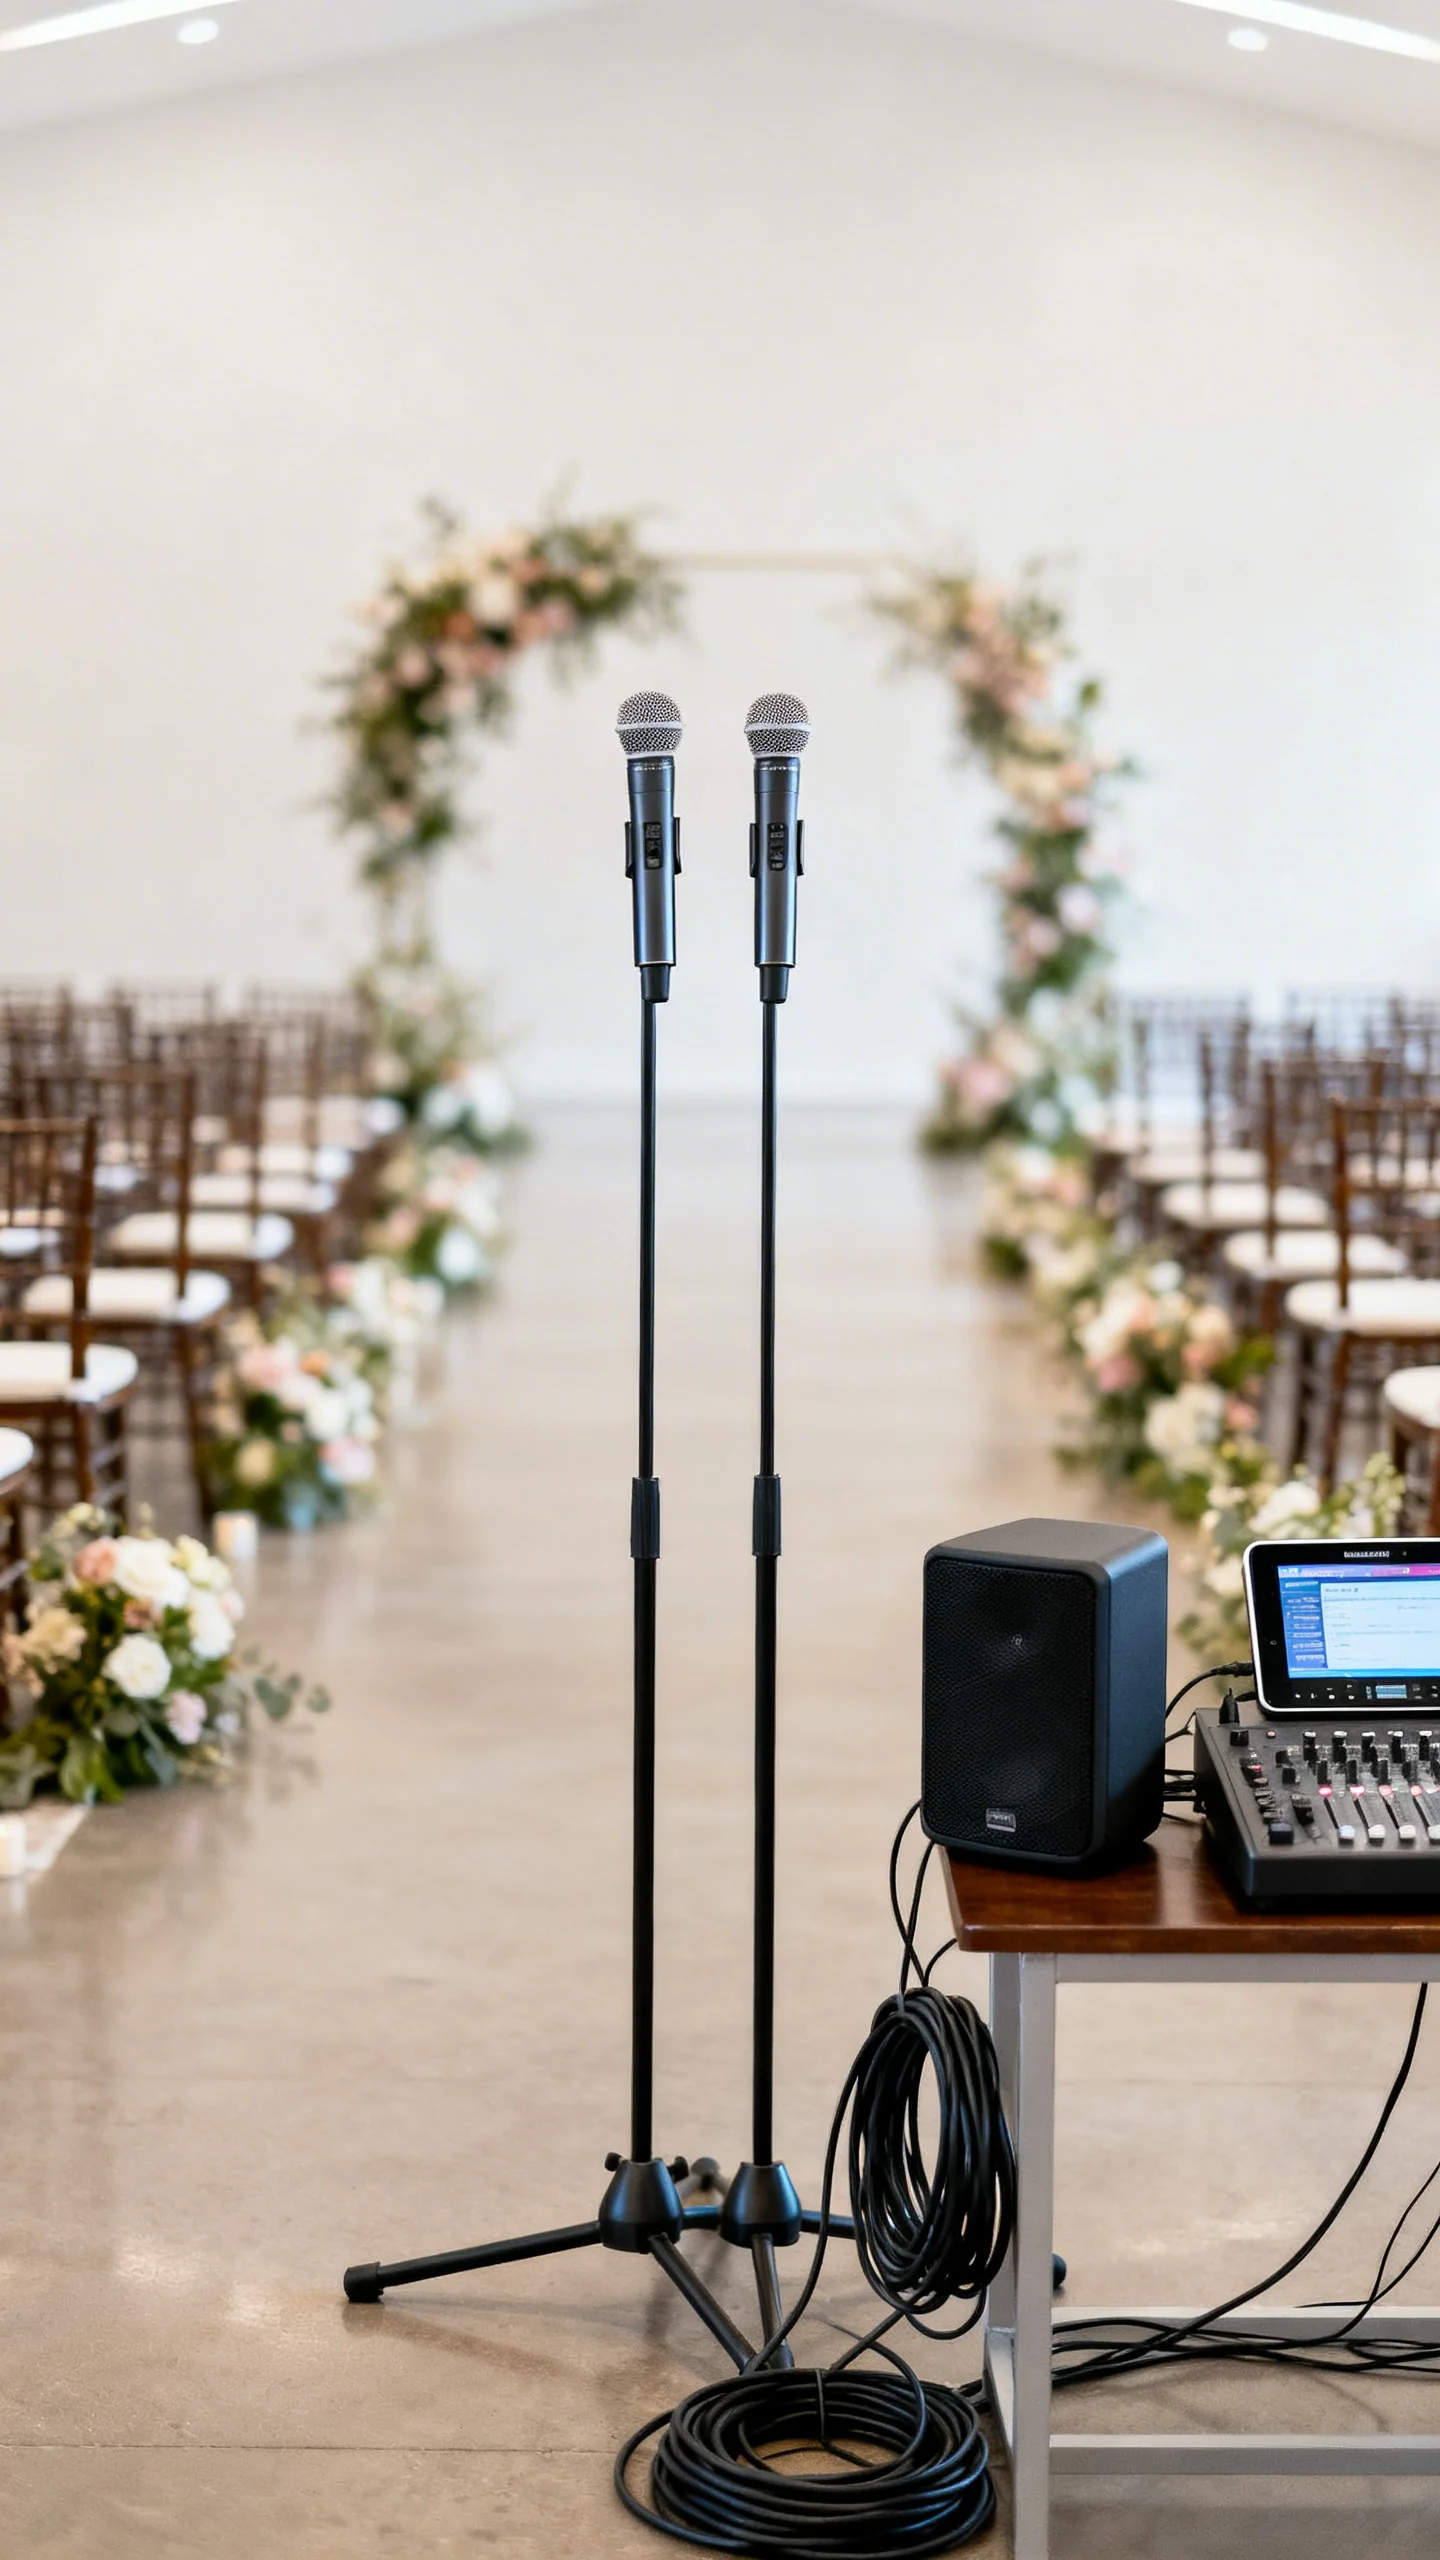
Design your ceremony sound like a production, not an afterthought
Great sound is one of the biggest stress reducers because guests can actually hear what’s happening. Use two microphones when possible (officiant + couple), and test them at the exact ceremony time if you can. Choose music cue points (processional start, vow moments, recessional) and put them in writing for whoever is pressing play. This keeps your ceremony feeling smooth, modern, and emotional—in the best way.
FAQ
What’s the easiest wedding hack to reduce stress quickly?
Create a one-page wedding plan and share it with everyone helping. When key details are centralized, you avoid last-minute texts and repeated questions, and your support team can solve small problems without involving you.
How far in advance should we build our timeline for a 2026 wedding?
Start a draft as soon as you book your ceremony and reception locations, then refine it 3–4 months out with your photographer and planner. Finalize it 2–4 weeks before the wedding so vendors have clear arrival times and cue points.
How can we make simple decor look high-end?
Repeat one signature element (like bud vases, tapered candles, or a linen color) across multiple areas. Cohesion reads as luxury, and it helps every space feel intentionally styled rather than randomly decorated.
What should go in a reception accessory station?
Include practical, guest-friendly items: blister bandages, heel protectors, blotting papers, hair ties, mints, stain remover wipes, and phone charging options. Keep it neat with baskets and a small sign so it looks like part of your wedding design.
How do we keep our wedding website useful without overwhelming guests?
Focus on essentials: schedule, venue addresses, travel, dress code, registry, and a short FAQ. Add a QR code on your invitation that links directly to a “Details” page, and update the site with day-of parking and weather notes as your date gets closer.