
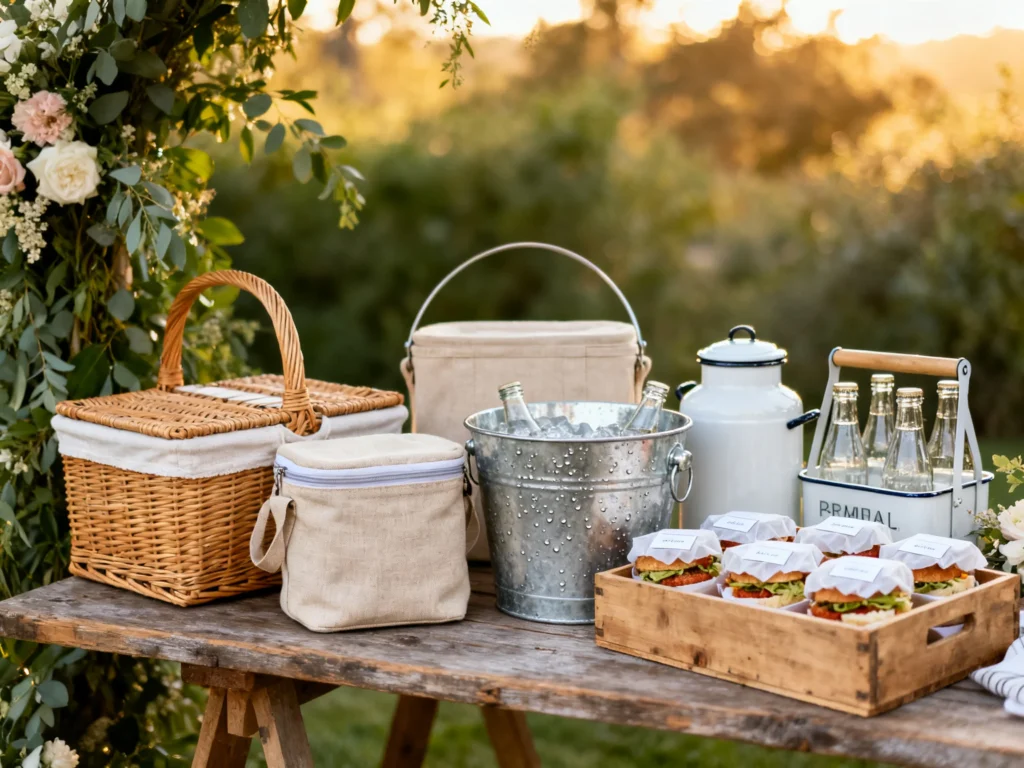
Outdoor weddings are unbeatable for atmosphere: open air, golden light, and that “we’re really doing this” feeling. The catch is logistics—especially keeping food and drinks fresh, safe, and cute while moving them across grass, sand, gravel, or a long path from the parking area.
This guide breaks down stylish food and beverage carrier ideas that actually work outdoors, plus planning advice to avoid warm champagne, melted cheese boards, and frantic last-minute hauling. Think practical, photo-worthy, and friendly to real wedding budgets.
Start with the Realities: Outdoor Weddings Are a Transport Problem
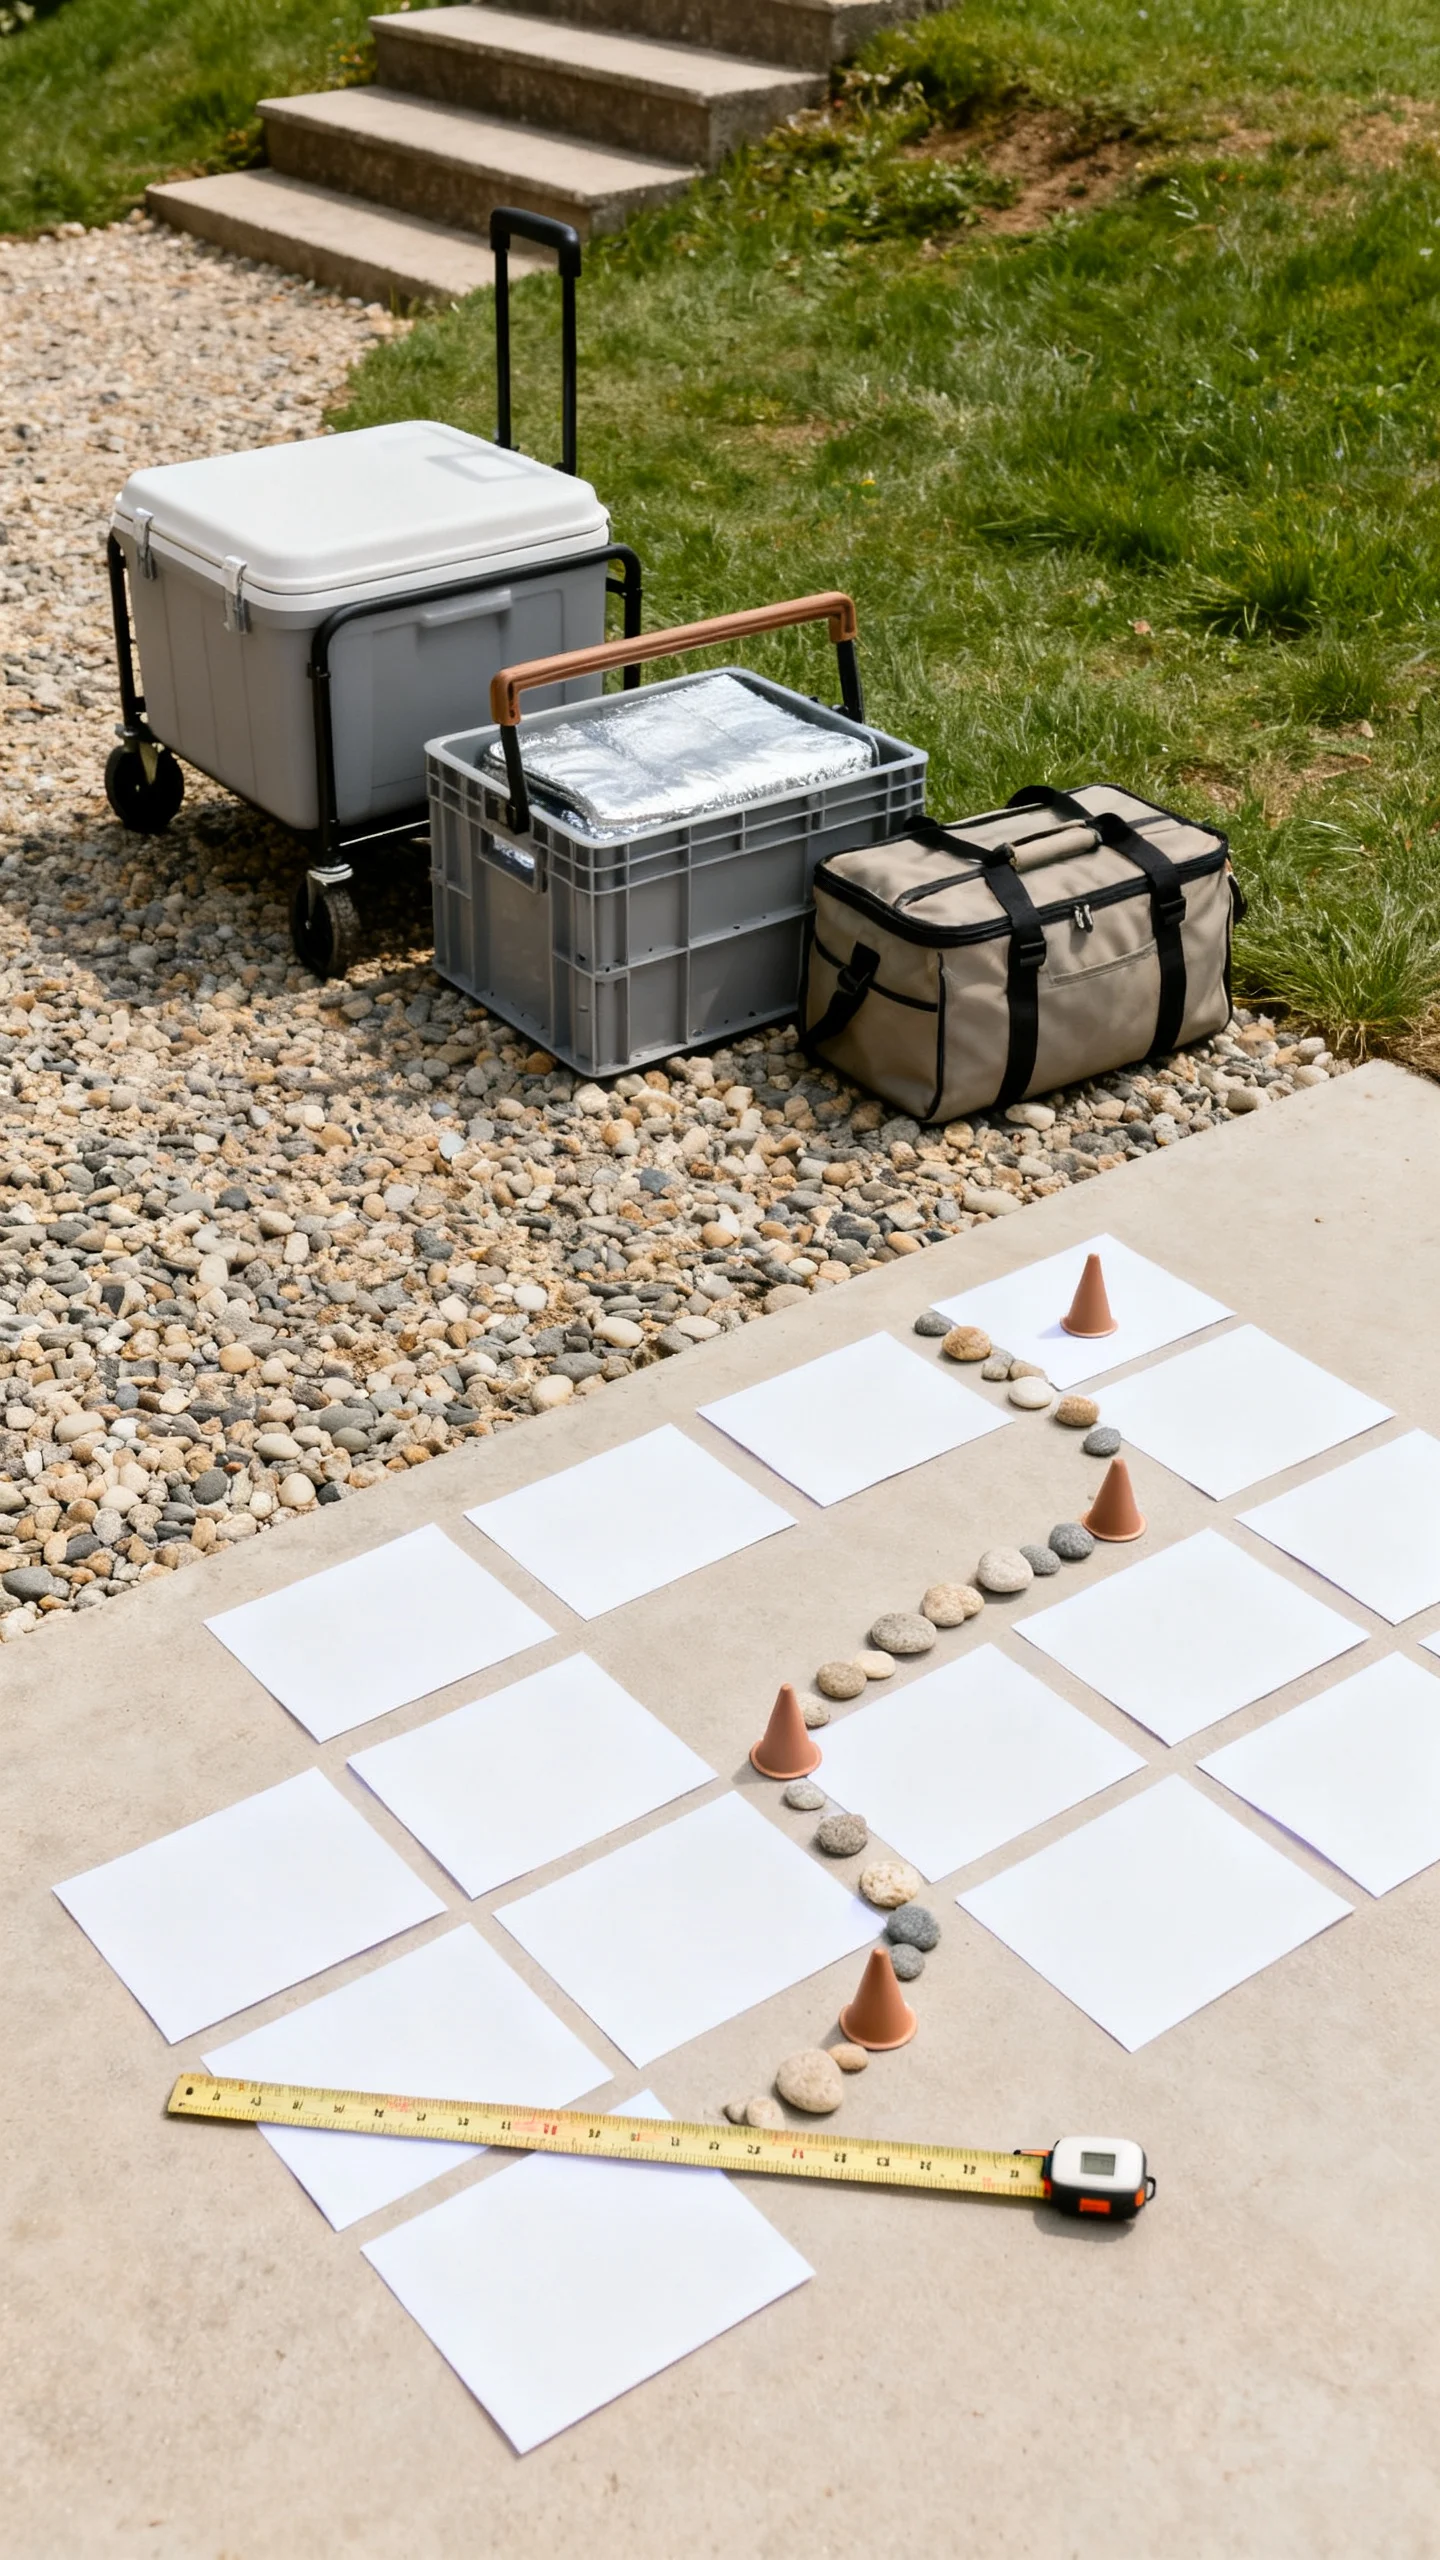
Before you pick carriers based on aesthetics, map your “food journey.” Where is everything prepped? Where is it stored? How far does it travel? Are there stairs, soft ground, narrow gates, or a no-vehicle zone? Outdoor venues often look effortless while quietly requiring a mini operations plan.
A good carrier does three things:
- Protects temperature (cold stays cold, hot stays hot).
- Prevents spills and tipping on uneven terrain.
- Looks intentional in photos and guest-facing moments.
Tip: Ask your venue whether carts or utility vehicles are allowed on the lawn, and if there’s a service route that’s different from the guest walkway. That one answer can change your entire carrier strategy.
Carrier Styling 101: Why These Ideas Look So Good Outdoors
Outdoor weddings already have visual texture—wood, stone, greenery, sky. Carriers that feel “crafted” (wicker, wood, canvas, metal, enamel) photograph beautifully because they echo natural materials and read as part of the décor, not a backstage necessity.
Style-wise, carriers work when they match one of these aesthetics:
- Garden party: woven baskets, linen-lined trays, vintage bottles in crates.
- Modern minimal: matte black drink dispensers, acrylic coolers, clean-lined bar carts.
- Coastal: insulated totes in sand/ivory, rope-handled bins, galvanized tubs.
- Rustic-elevated: stained wood crates, leather-handled carriers, enamelware.
One planning note: carriers show up in a lot of candid photos—cocktail hour, lawn games, welcome drinks—so choosing a cohesive set (even if it’s inexpensive) pays off visually.
Stylish Beverage Carrier Ideas That Handle Outdoor Terrain
Drinks are the fastest way to signal hospitality, but they’re also the fastest thing to turn into a mess. These carrier options balance pretty and practical.
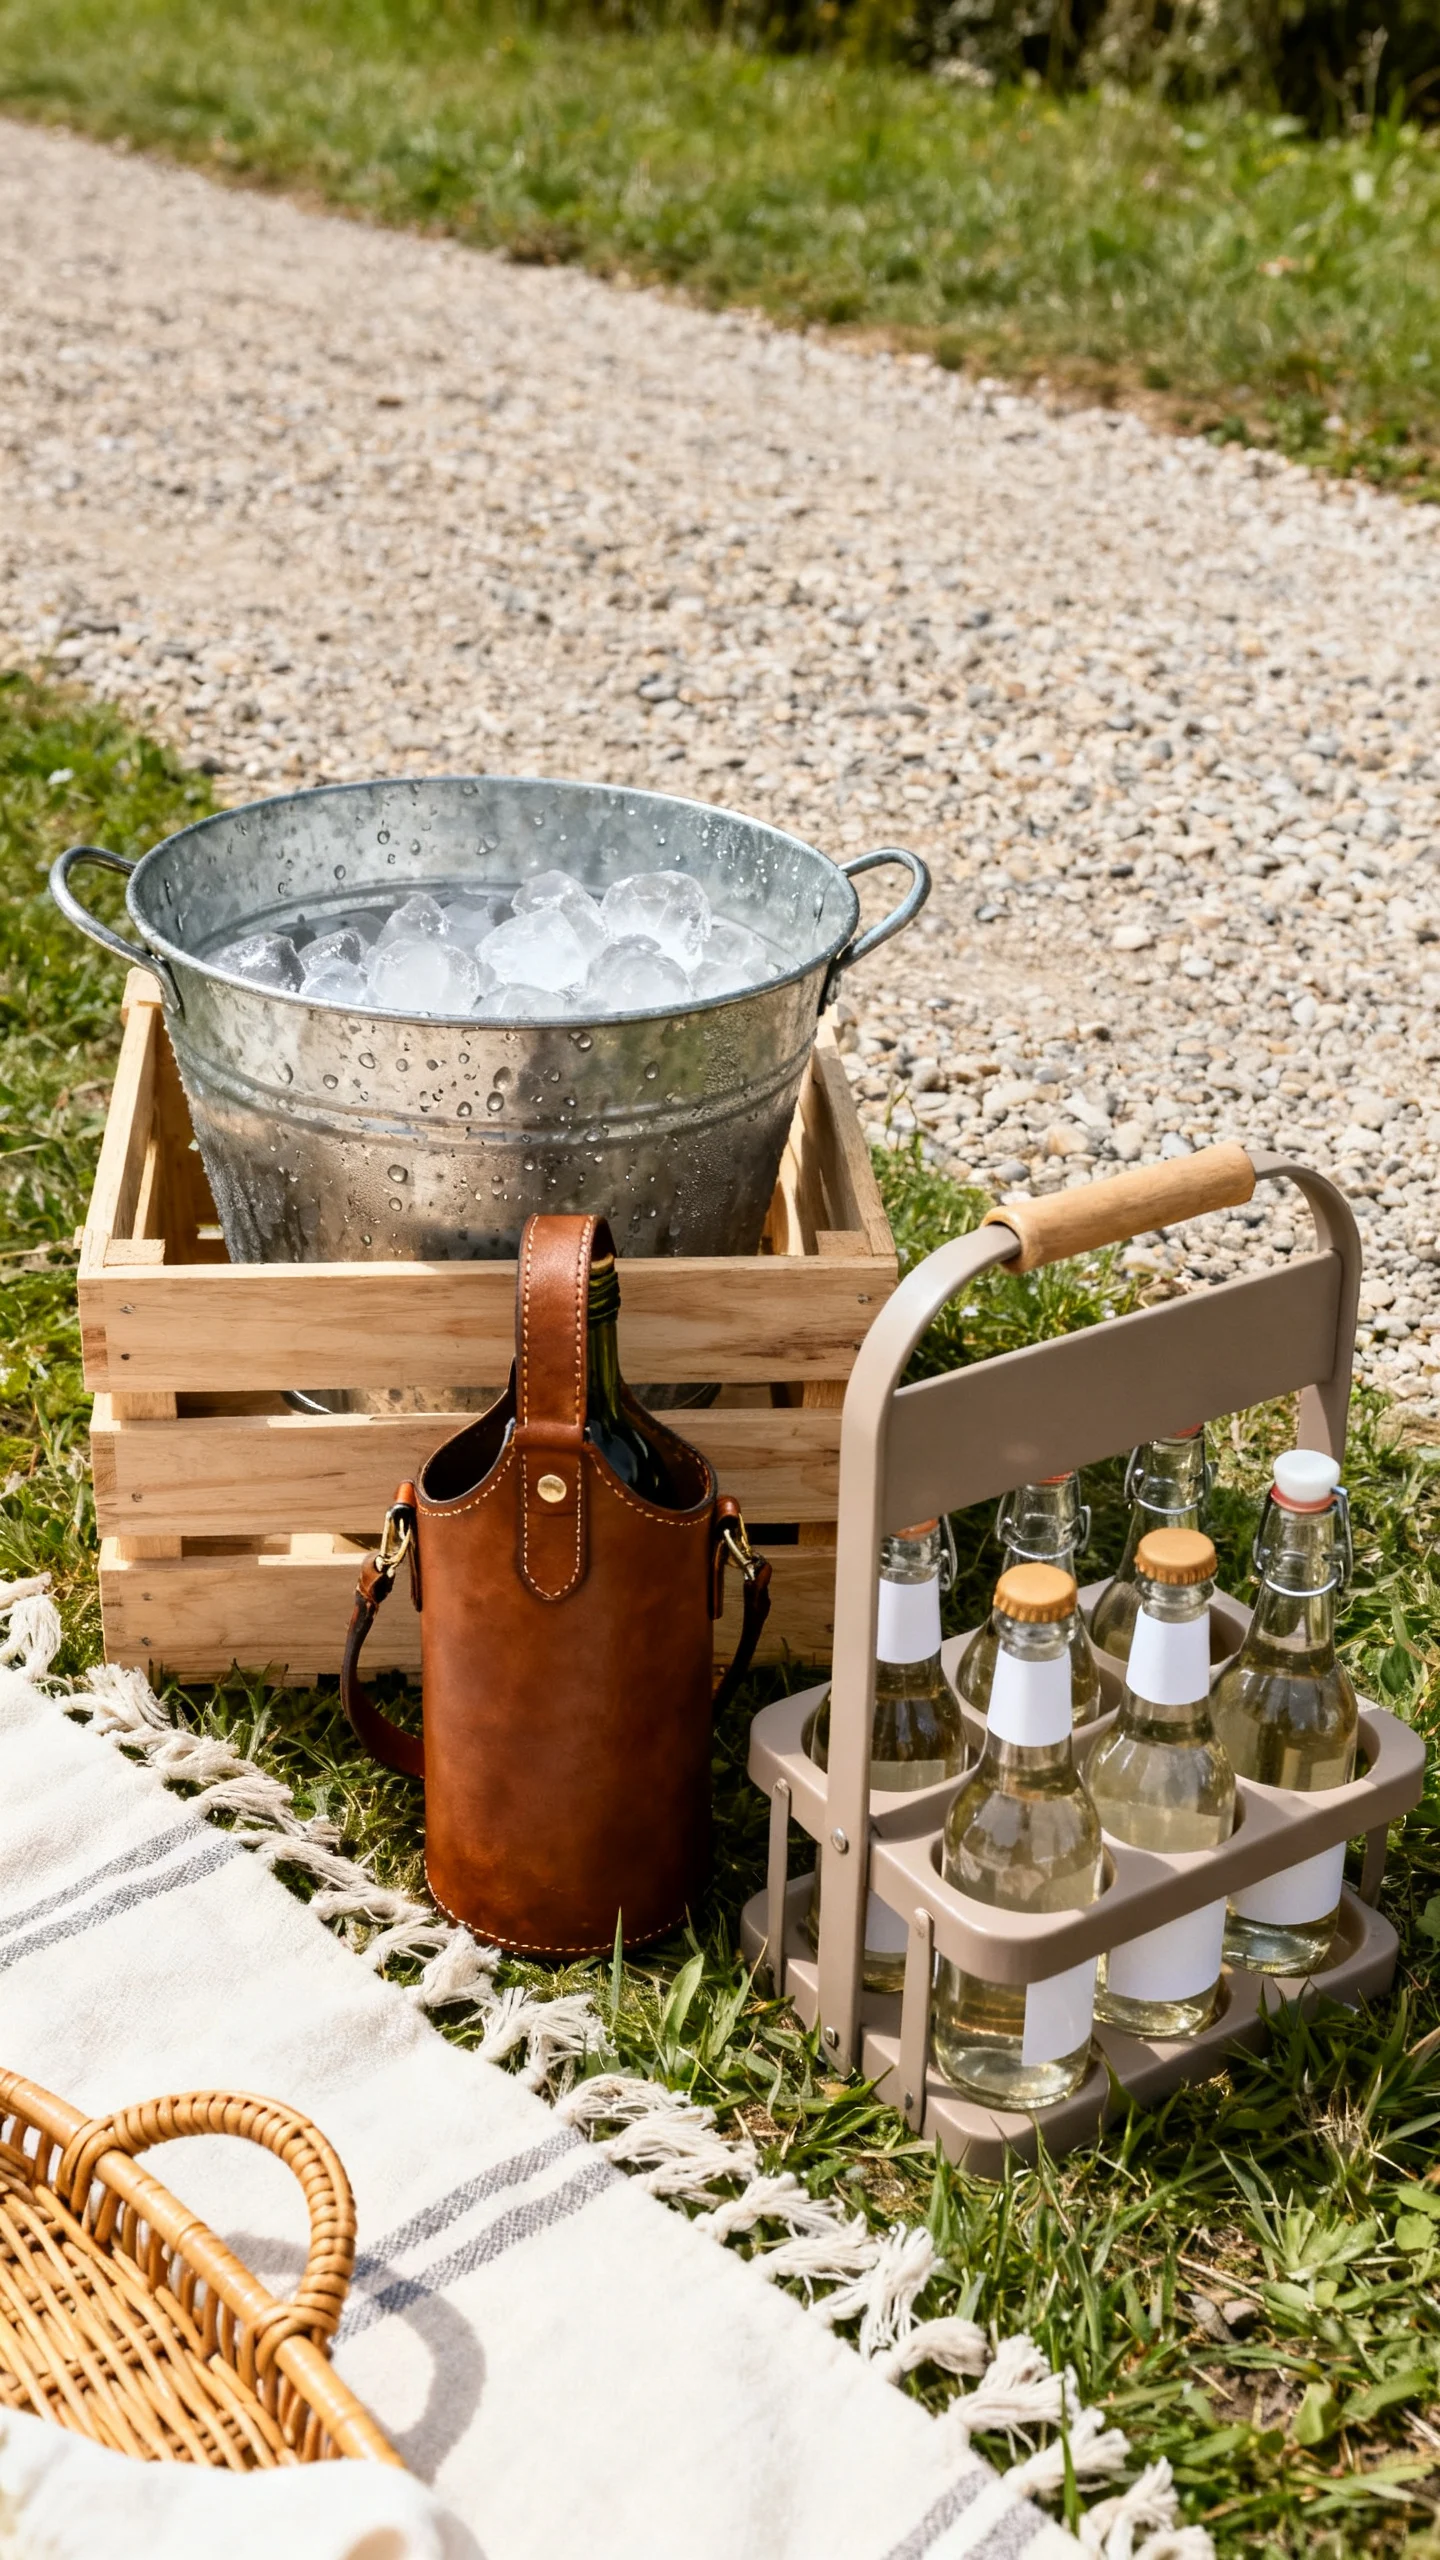
1) Insulated beverage tubs (galvanized, acrylic, or matte metal)
Best for: bottled beer, canned cocktails, sparkling water, soda.
Why it works: Guests can self-serve, and a tub reads like décor when you add a simple sign and a scoop.
Outdoor pro tip: Put tubs on a stable surface (barrel, table, or low cart). On grass, use a plywood “landing pad” under the table legs so it doesn’t sink during the night.
2) Wood crates with removable liners
Best for: welcome drinks, bottled juices, mini wine bottles.
Why it works: Easy to carry in pairs, stacks well, and looks intentional with minimal effort.
Make it safer: Line with a washable plastic bin or a custom-cut waterproof liner so condensation doesn’t warp the wood or drip on outfits.
3) Portable bar cart (with locking wheels)
Best for: signature cocktails, glassware, napkins, garnishes.
Why it works: A cart moves the whole “bar moment” at once—ideal for flipping from ceremony lawn to cocktail patio.
Venue advice: Ask about pathways. Thin wheels hate gravel. If you’re set on a cart, choose larger wheels or plan a route on pavers.
4) Insulated drink dispensers (or double-walled beverage servers)
Best for: batch cocktails, lemonade, iced tea, water with citrus.
Why it works: Clean, modern, and less waste than individual bottles.
Planning note: Dispensers are heavy. Fill them near the serving area rather than carrying them full across the property.
5) Champagne and wine totes for pre-ceremony photos
Best for: keeping bubbly cold while you’re taking portraits.
Why it works: It’s a “bridal party helper” that won’t ruin photos the way a foam cooler can.
Styling tip: Choose a neutral canvas or leather tote that matches your palette; it can double as a keepsake.
Food Carrier Ideas That Keep Everything Intact (and Still Cute)
Outdoor food transport needs two layers of protection: physical stability and temperature control. These options help prevent smashed cupcakes and sweaty charcuterie.
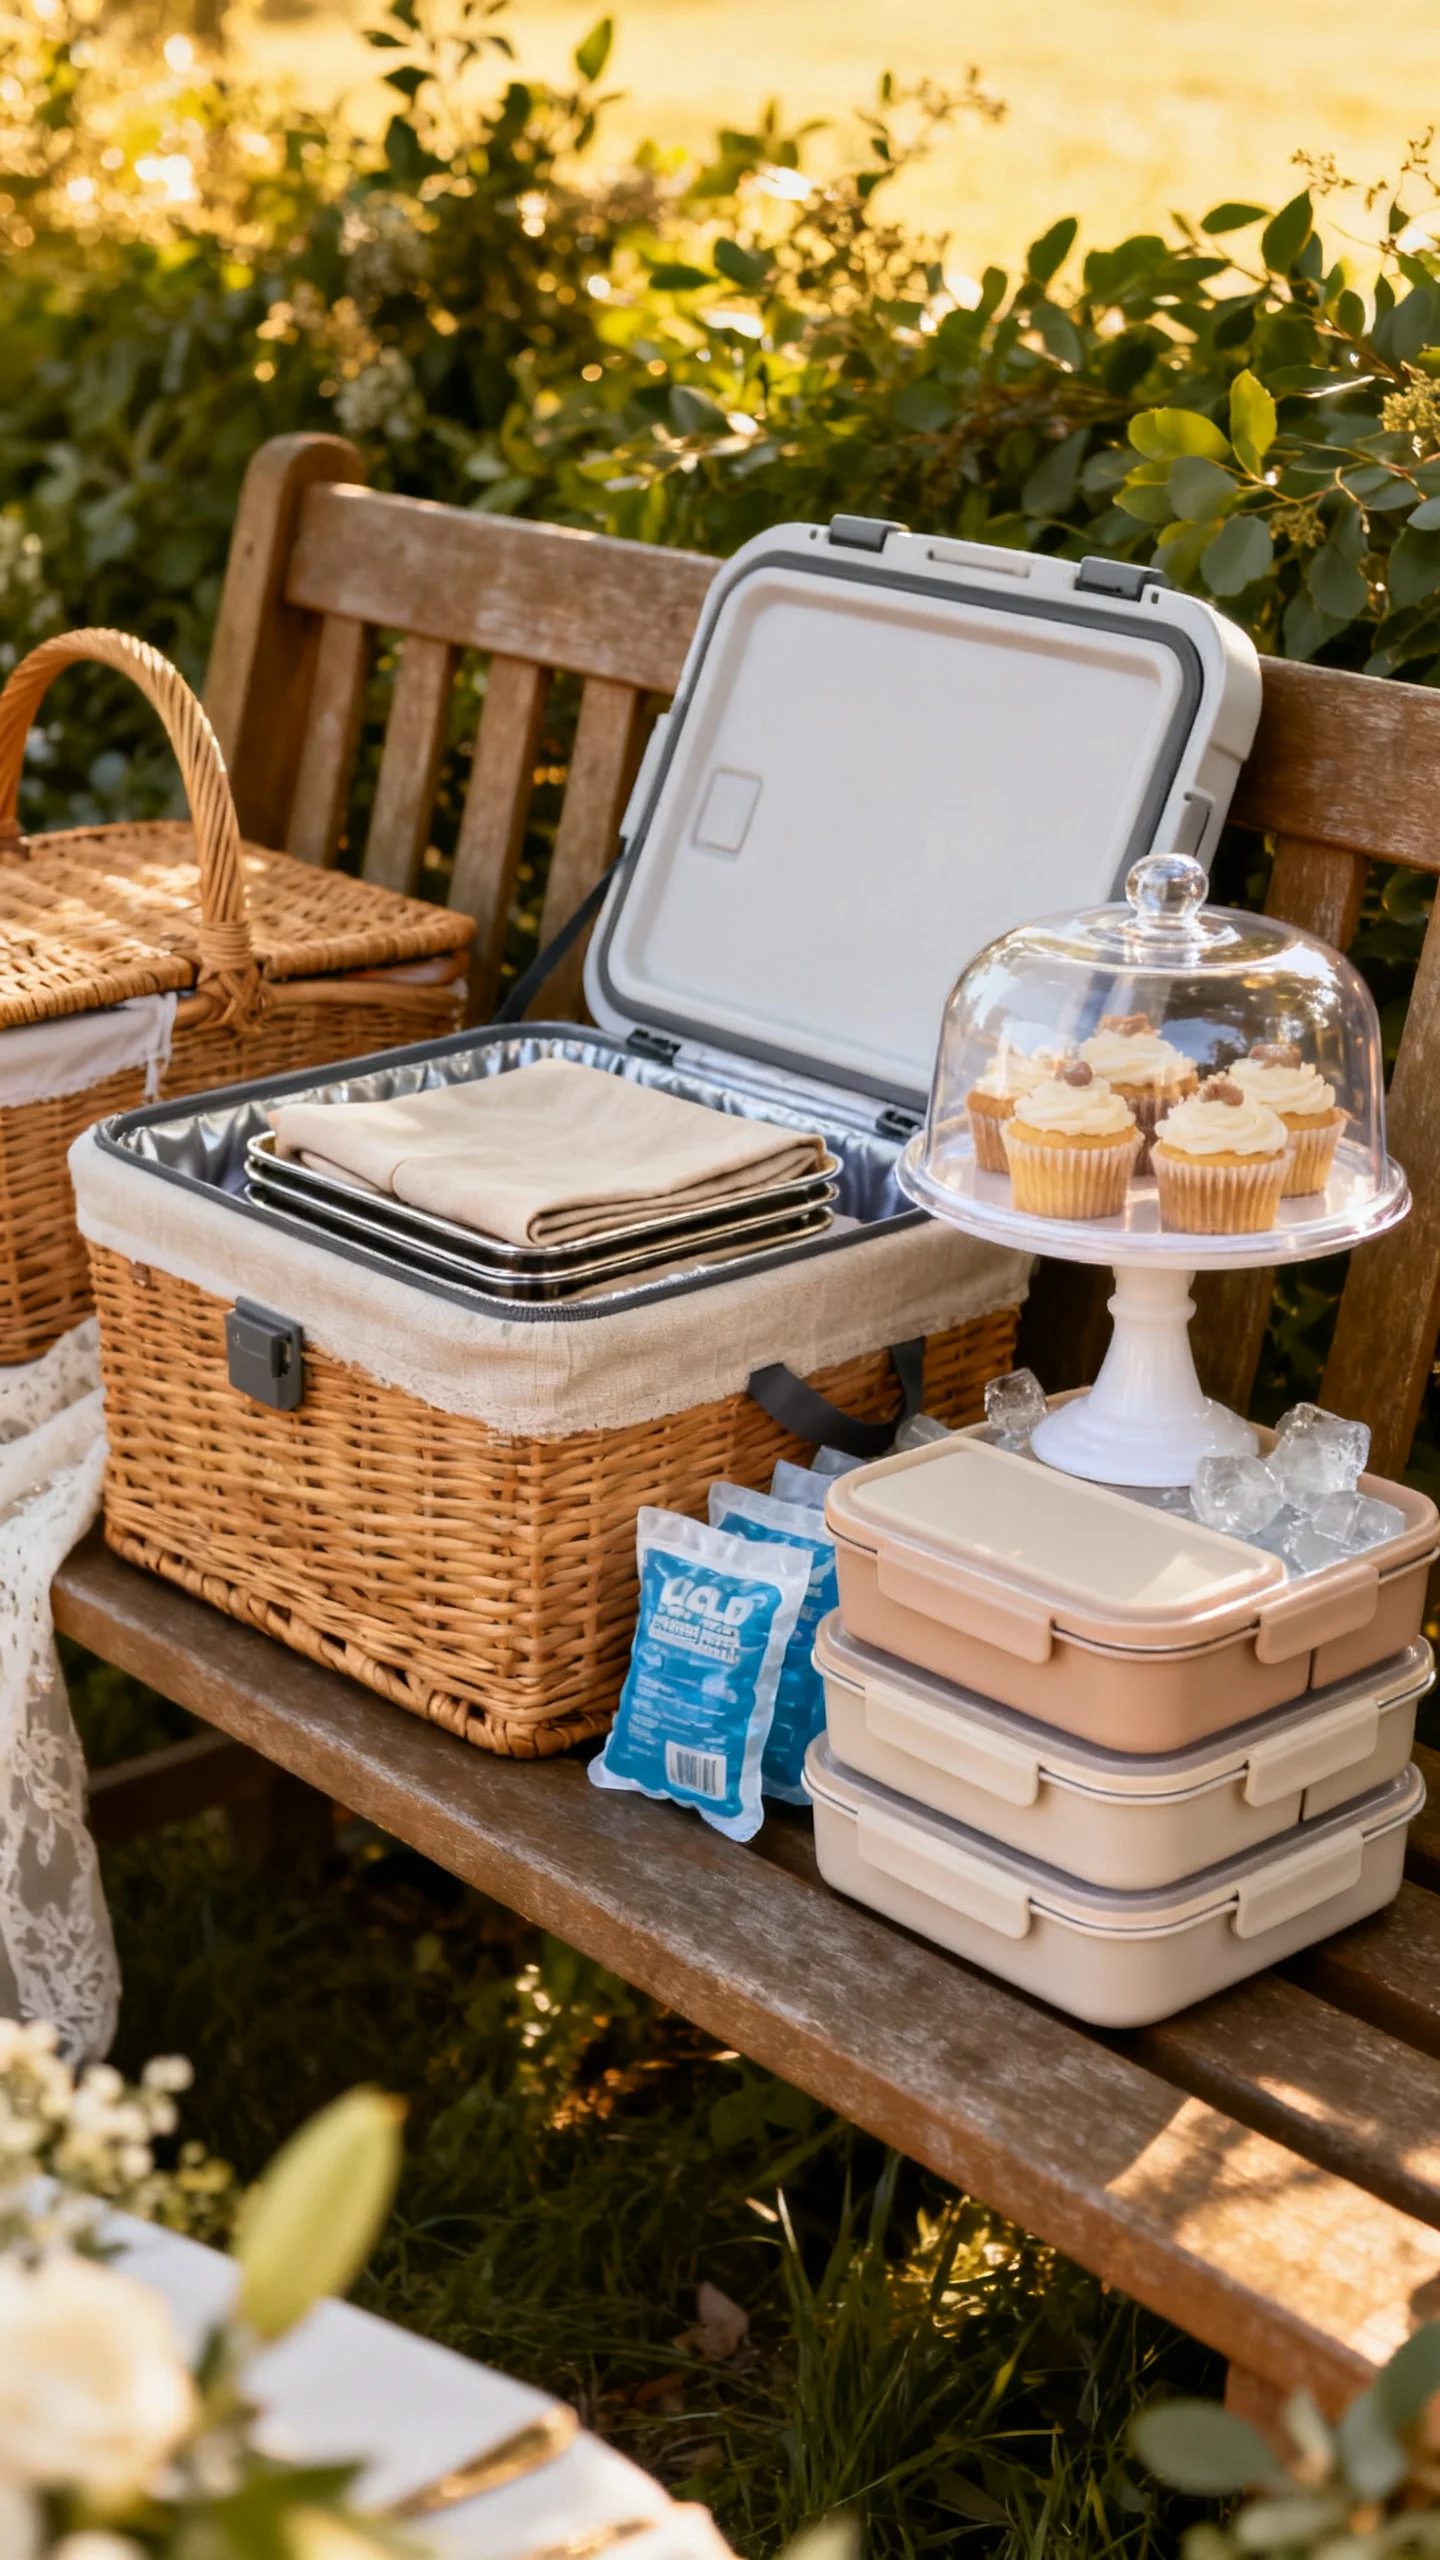
1) Lidded catering trays in woven baskets
Best for: pastries, tea sandwiches, cookies, small bites.
Why it works: The basket gives the “styled picnic” look; the lidded tray gives food safety.
How to use: Pre-portion bites in cups or parchment boats so staff can set out quickly without touching individual items.
2) Tiered carriers (tiffin-style, metal or enamel)
Best for: nuts, candies, mini desserts, garnishes, backup snacks for the wedding party.
Why it works: Compact, stackable, and charming for a garden or vintage vibe.
Realistic note: They’re not for large-scale service, but they’re brilliant as a backup station behind the bar or near the getting-ready suite.
3) Cake and dessert transport: sturdy boxes + a “display swap”
Best for: cakes, cupcakes, macarons, anything delicate.
Why it works: The most stylish dessert is the one that arrives unbroken.
Best practice: Transport in professional boxes/caddies, then transfer to a beautiful stand or tray on-site. If your baker offers delivery, it’s often worth it outdoors—wind and heat are not kind to buttercream.
4) Insulated food bags inside a chic tote or basket
Best for: cheese boards, sushi, sliders, late-night snacks.
Why it works: You get the performance of insulation with the look of a styled carrier.
Budget note: This is a smart “buy once” item you can use for showers, picnics, and future hosting.
Best Ways to Use Carriers Throughout the Wedding Day
Carriers shine when you treat them as part of the timeline, not an afterthought. Here are high-impact moments where the right carrier makes everything smoother (and more photogenic).
Welcome drinks at arrival
Set a beverage tub or crate display near the entry (with signage) so guests can grab water or a canned spritz while they find seats. For warm climates, prioritize water first—hydrated guests are happy guests.
Ceremony-to-cocktail flip
If your ceremony and cocktail hour are in different spaces, use a bar cart or crate system so staff can move quickly. Plan for the “first five minutes” after the ceremony—everyone wants a drink at once.
Sunset snack pass
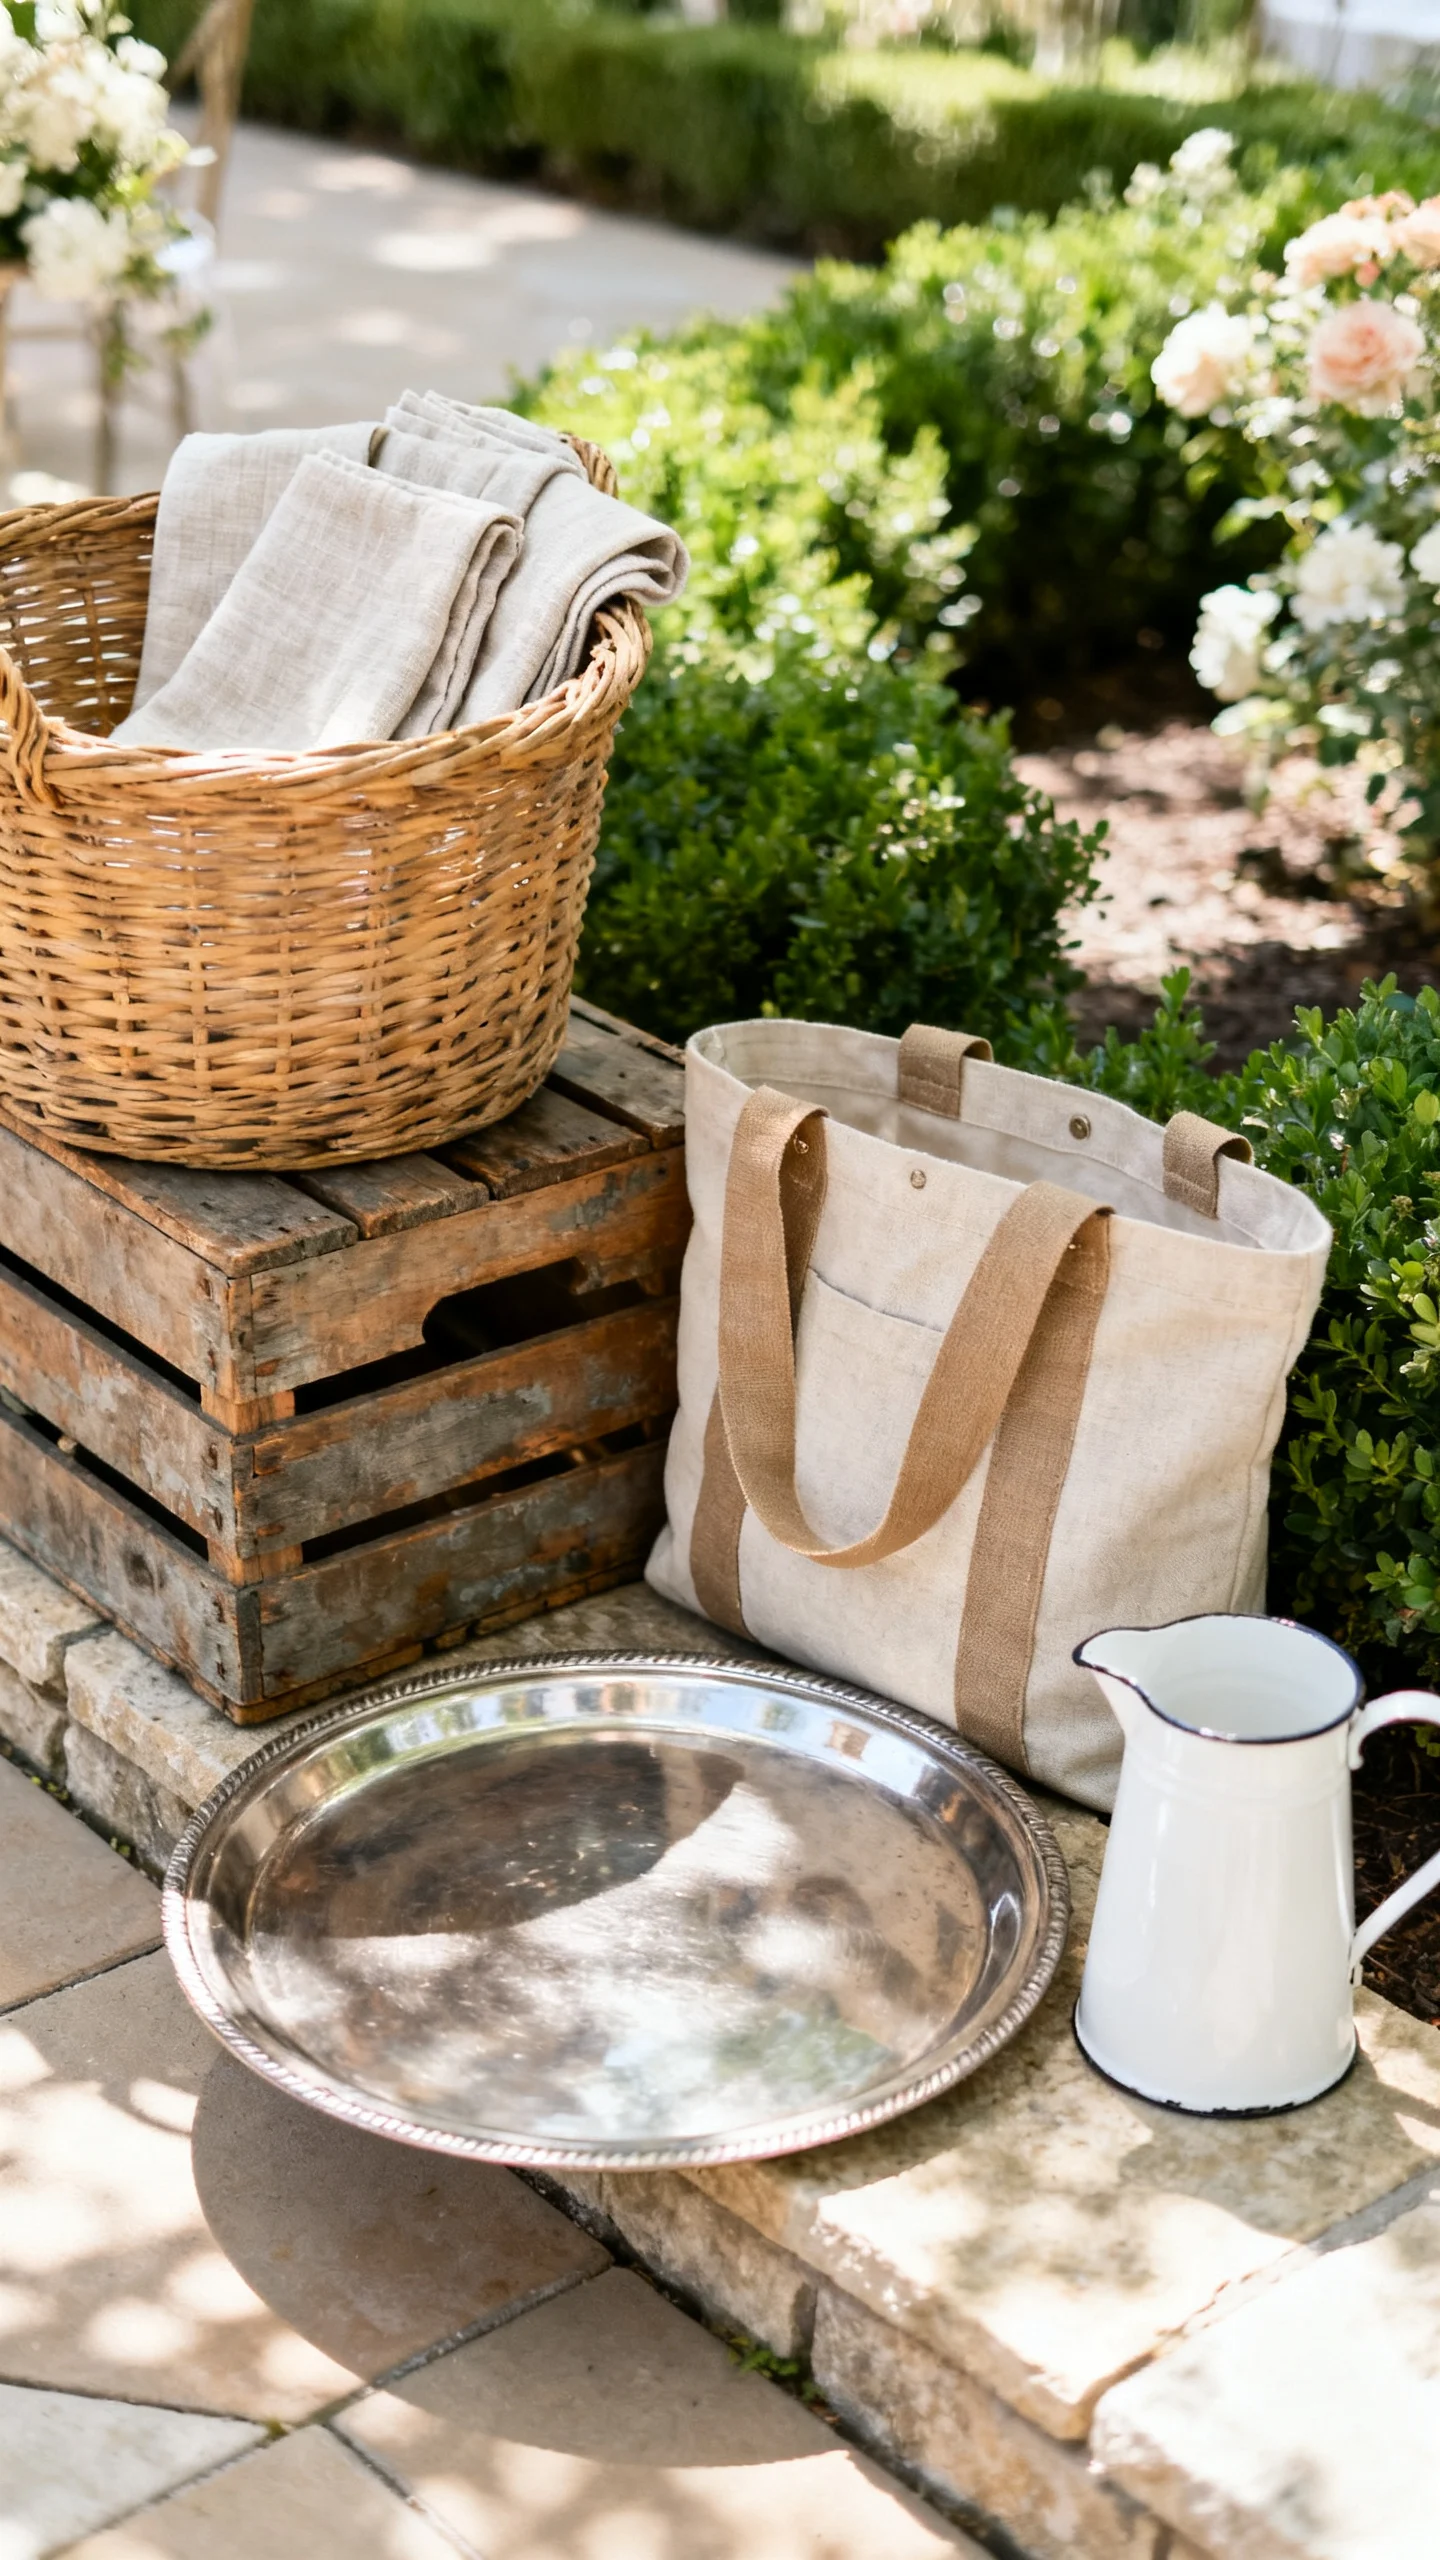
A linen-lined tray with covered bites (or a lidded basket) feels elevated and keeps food protected from bugs. It’s also a great way to keep energy up before dancing.
Late-night treats by the exit
Use a sturdy table with baskets or lidded bins for takeaway snacks. Add napkins and a small trash station so it stays tidy. If you’re doing to-go boxes, keep them in a clean crate so they don’t blow away.
Budget-Friendly Tips That Still Look Intentional
You don’t need a whole inventory of Pinterest-perfect pieces. A few strategic choices can carry the visual weight while keeping costs reasonable.
- Rent where it matters: If your caterer or rental company offers bar carts, beverage tubs, or dispensers, renting can be cheaper than buying—and you won’t store it afterward.
- Buy in a tight color story: Pick one finish (galvanized, matte black, natural wicker, light wood). Consistency reads expensive even when items are thrifted.
- Use liners to “upgrade” basics: A simple plastic bin looks instantly styled with a linen towel, a neat label, and matching tongs/scoops.
- Plan ice like a line item: Couples often budget for alcohol but forget ice. For outdoor weddings, you typically need more than you think, plus a plan for storage (extra coolers kept out of guest view).
Budget reality check: If you’re deciding between prettier carriers and reliable temperature control, choose temperature control. Warm drinks and questionable food safety are the kind of “small” issue guests remember.
Common Mistakes to Avoid (Learned the Hard Way by Many Couples)
- Choosing carriers based on looks only: That adorable open basket won’t survive a walk over gravel with glass bottles. If it tips, you’ll lose product and time.
- Underestimating weight: A dispenser filled with liquid, a fully loaded cooler, or a crate of glass is heavy. Assign carriers to physically capable helpers or staff, and keep loads smaller.
- Skipping lids and covers: Outdoors means wind, dust, and bugs. Use lidded trays, domes, or food-safe wraps—especially for sweets.
- Ignoring sun exposure: A “shaded” spot at 4 p.m. might be full sun by 5 p.m. Do a site walk at the same time of day as your reception if possible.
- No plan for empties and trash: Beverage tubs need an empties bin nearby, or bottles will pile up on tables. Keep it discreet but accessible.
Styling and Planning Advice for a Polished Outdoor Setup
If you want those effortless, editorial-looking hosting moments, focus on a few high-return details.
Anchor carriers with a “base”
Place tubs and crates on a stable table, barrel, or cart and add a small rug or ground cloth underfoot if the area is dusty or muddy. This creates a defined station (and saves heels from sinking).
Make serving tools part of the look
Match scoops, tongs, and stirrers to your metals. A cohesive tool set looks luxe and speeds up service. Also: keep backup tools. Outdoors, things get misplaced.
Label everything clearly
Labels aren’t just cute—they reduce lines and questions. Include:
- What the drink is (and whether it’s alcoholic)
- Allergen notes for snacks
- A gentle reminder if glass isn’t allowed in certain areas
Plan a behind-the-scenes “refresh kit”
Have one tote dedicated to keeping stations looking crisp: extra napkins, a towel for condensation, trash bags, a box cutter, a marker, bug-safe wipes for tables, and a small flashlight for later.
Final Takeaway: Choose Carriers That Serve the Day, Not Just the Photo
The most stylish outdoor weddings are the ones that feel easy for guests. When carriers are sturdy, insulated, and thoughtfully placed, everything flows—drinks stay cold, food looks fresh, and your vendor team can focus on hospitality instead of damage control. Pick a cohesive material story, prioritize temperature and stability, and build your layout around the terrain. Your future self (and your shoes) will be grateful.
Outdoor wedding magic is real—just give your food and drinks the same planning energy you’re giving your florals. A few smart carriers can turn a logistical challenge into a charming, guest-friendly design moment.
FAQ
How many beverage tubs or coolers do we actually need for an outdoor wedding?
For a typical 75–125 guest wedding with self-serve options, plan on at least two guest-facing beverage tubs (one can be water/soft drinks, one can be beer/canned cocktails) plus one or two “backstock” coolers kept out of sight for refills. If your bar is fully staffed and makes cocktails to order, you may still want a separate hydration station so the bar line doesn’t get clogged.
What’s the best way to keep drinks cold without ugly coolers everywhere?
Use one or two stylish guest-facing tubs or dispensers, then hide the heavy lifting: keep basic coolers behind a hedge, under a staffed bar table with linen, or in a service area. Assign one person (or a bartender) to refresh the pretty tubs from the hidden coolers so the look stays consistent.
Is glass a bad idea for outdoor weddings?
Not always, but it depends on the venue rules and terrain. On sand, near pools, or on rocky ground, glass can be risky and sometimes prohibited. If you want the elevated look, consider high-quality acrylic glassware and serve beer/canned drinks in tubs so nothing fragile needs to travel far.
What’s the biggest food safety issue outdoors, and how do we avoid it?
Temperature drift is the main concern—cold foods warming up and hot foods cooling down too long. Work with your caterer on timing and holding equipment, keep cold items in insulated bags/coolers until the last possible moment, and avoid placing food stations in direct sun. When in doubt, serve smaller batches more often rather than putting everything out at once.