A bride sash can be adorable, photogenic, and surprisingly useful for corralling attention during busy pre-ceremony moments—but it’s also one of the easiest accessories to make look a little… souvenir-shop. The good news: “bride sash” doesn’t have to mean glittery, scratchy ribbon and oversized letters.
Below are classy bride sash ideas that feel intentional, elevate your look, and fit real-world wedding settings (from city hall to a black-tie ballroom). You’ll also get smart budget guidance, styling notes, and the most common planning mistakes to avoid so your sash looks polished, not overdone.
What Makes a Bride Sash Look Classy (Not Cheap)
Before you pick a style, it helps to know what reads “elevated” at a glance. A classy sash usually has:
- Quality materials: double-faced satin, silk ribbon, matte crepe, velvet, or organza—not thin single-layer polyester with a shiny glare in photos.
- Low-contrast design: tone-on-tone, soft metallic thread, or subtle lettering (think small scale and intentional placement).
- Clean finishing: neatly stitched edges, no fraying, secure closure (pin, hidden snap, or proper knot), and no bubbling or twisting.
- Thoughtful typography: simple serif, modern script, or minimal sans serif—avoid oversized block letters that dominate every photo.
A quick rule: if the sash becomes the loudest thing in your outfit, it will look novelty. If it supports the look and photographs well from 6–10 feet away, it’ll read classy.
When a Sash Actually Works (And When to Skip It)
Not every wedding moment needs a sash. The best use cases are times when you want clear “bride energy” without changing your whole outfit:
- Bachelorette night out: when you’ll be in public and want a fun, identifiable accessory.
- Getting ready: paired with a robe, pajama set, slip dress, or matching sets for the bridal party.
- Bridal shower or luncheon: especially if you’re doing mingling-style hosting and want guests to find you easily.
- Rehearsal dinner: only if your look is simple and the vibe is more celebratory than formal.
Skip the sash if your event is very formal (black-tie, cathedral ceremony) or if the sash feels like it competes with your dress, veil, or jewelry. You can also skip if you’re already doing a statement accessory (bold headband, dramatic earrings, cape, or embellished mini dress) and want your photos to feel timeless.
Tone-on-Tone Satin: The Easiest “Quiet Luxury” Option
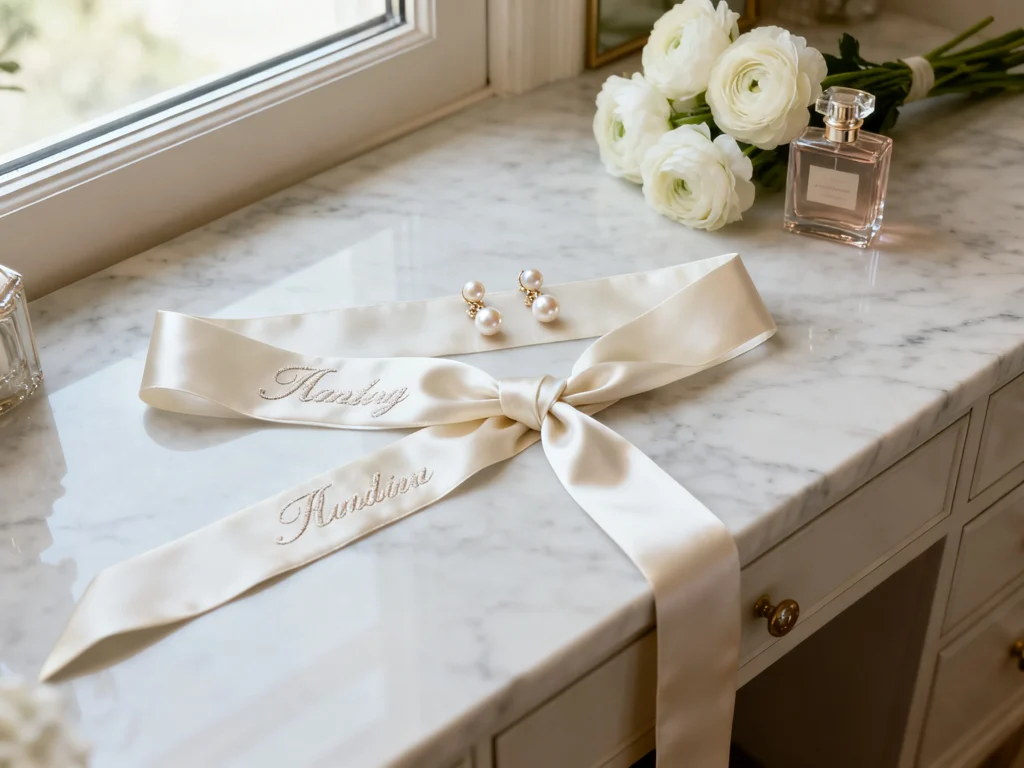
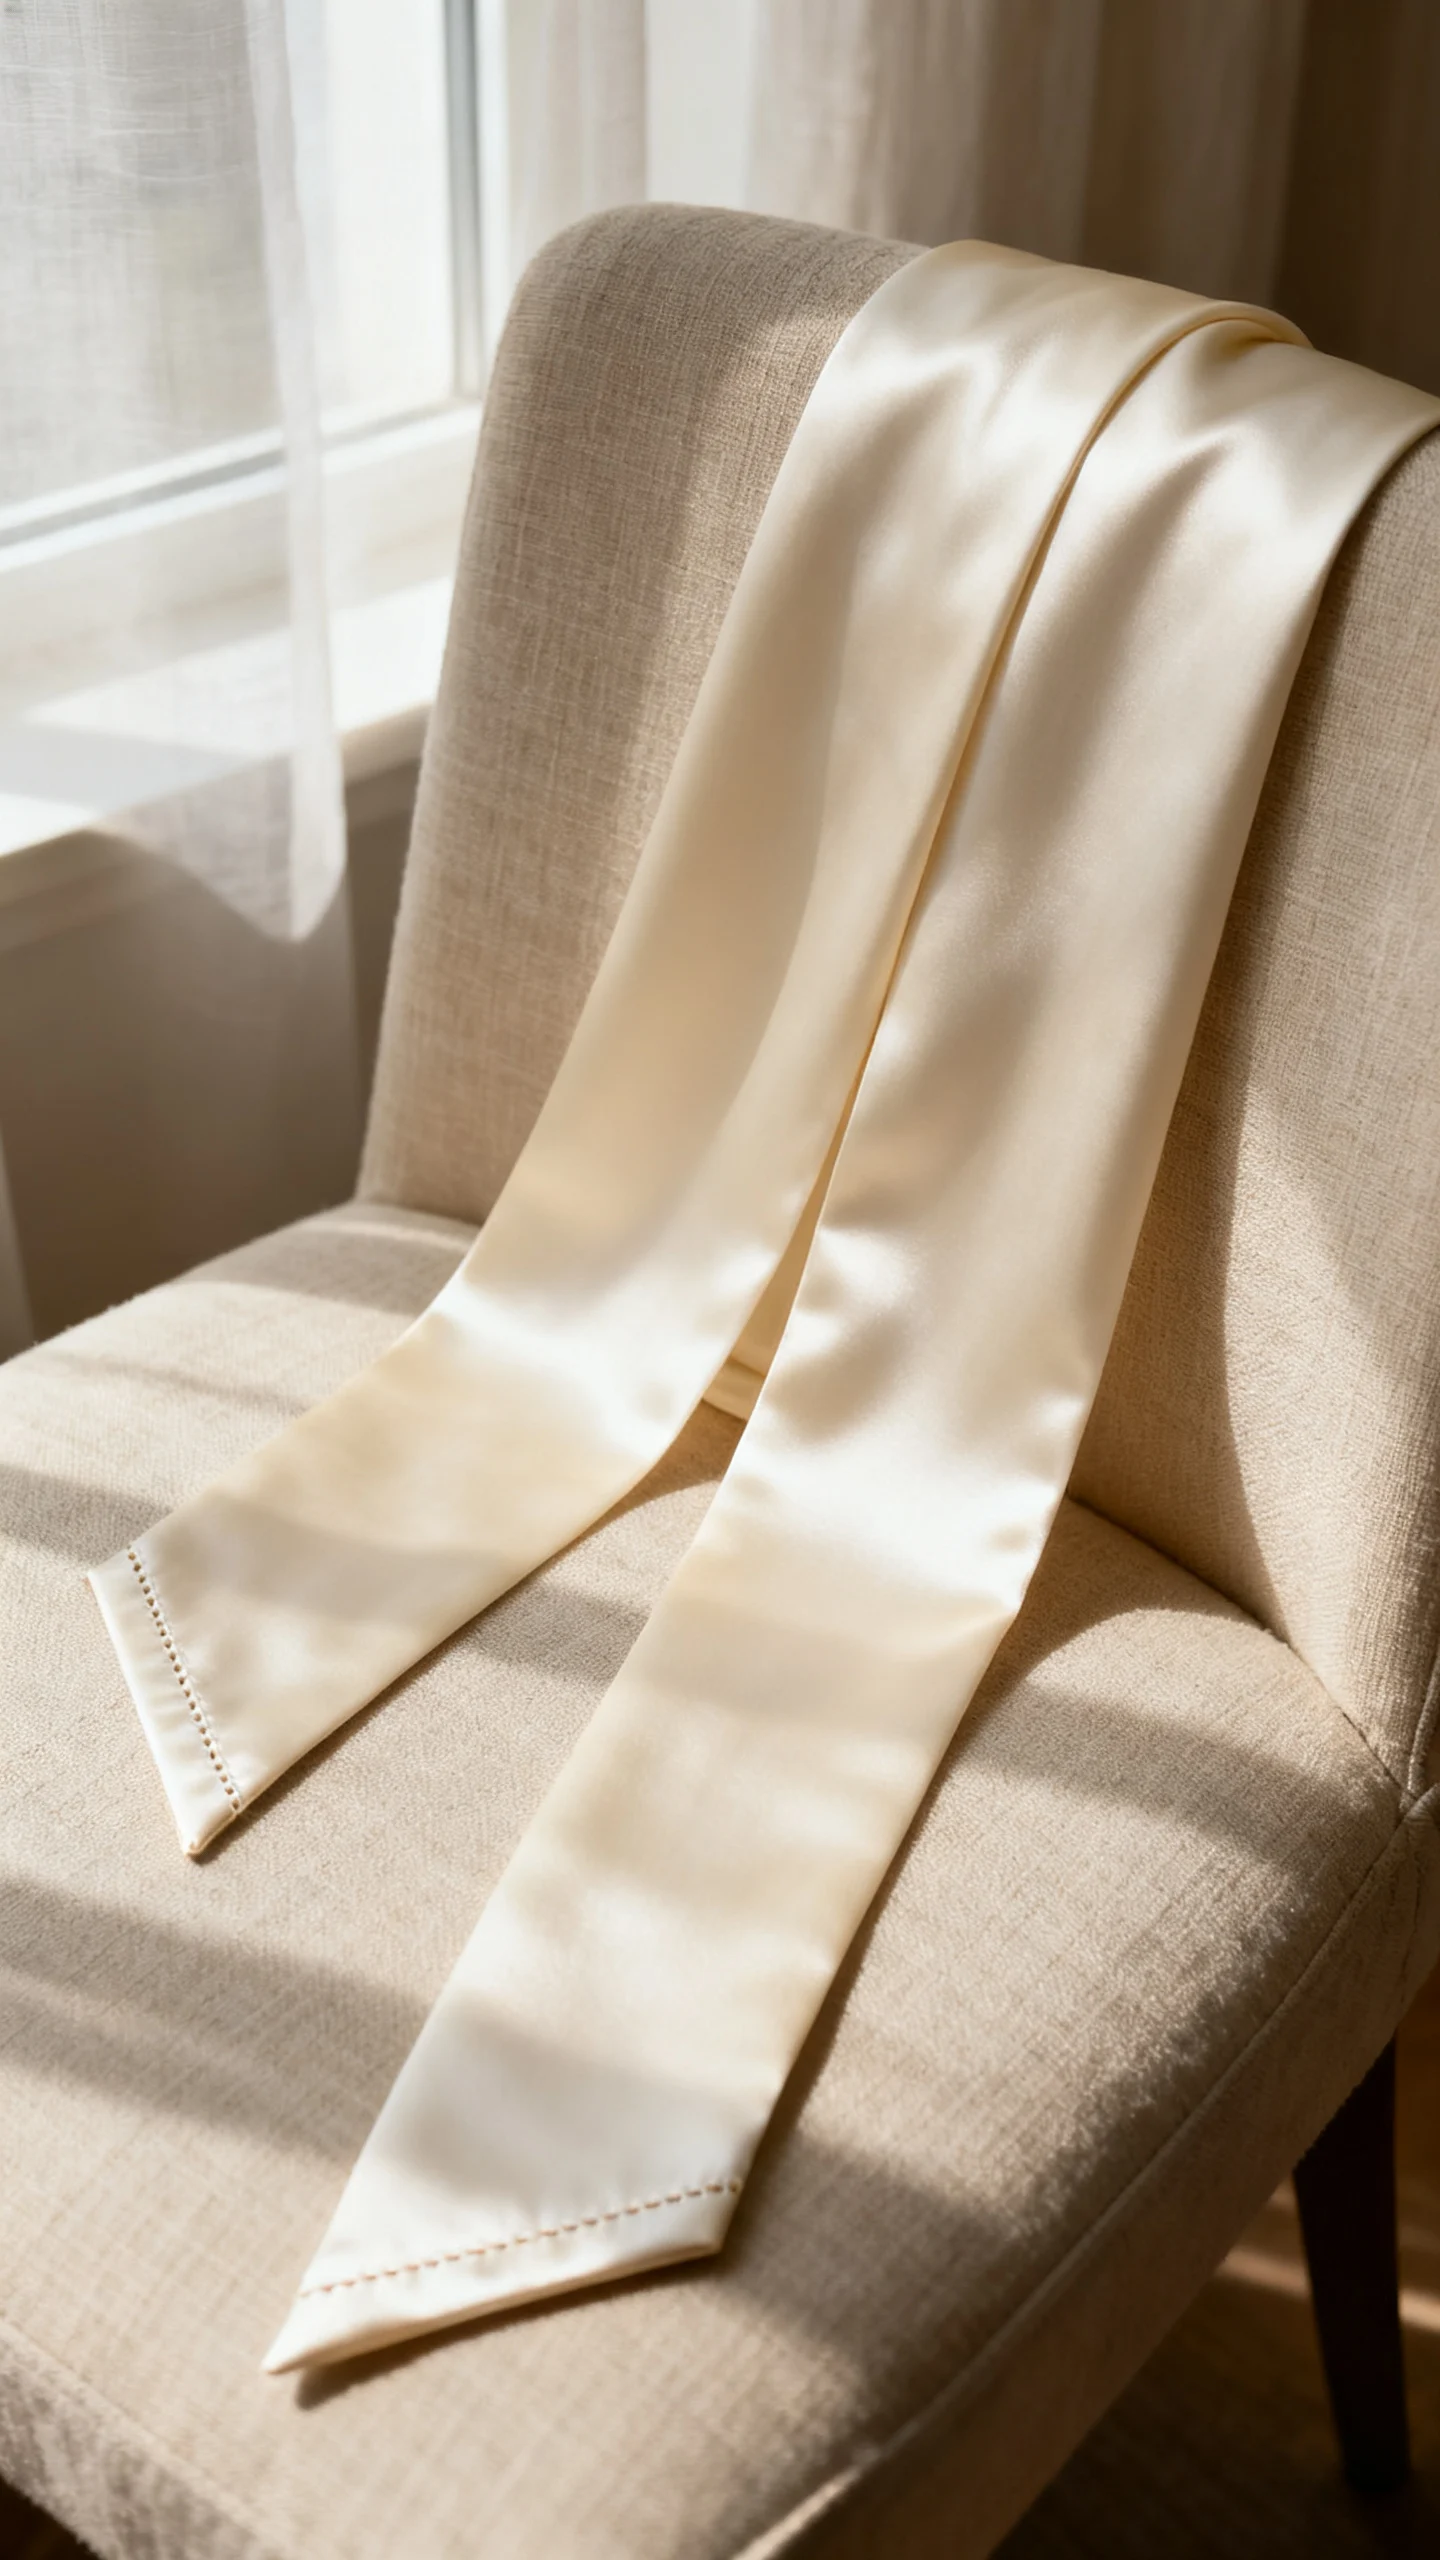
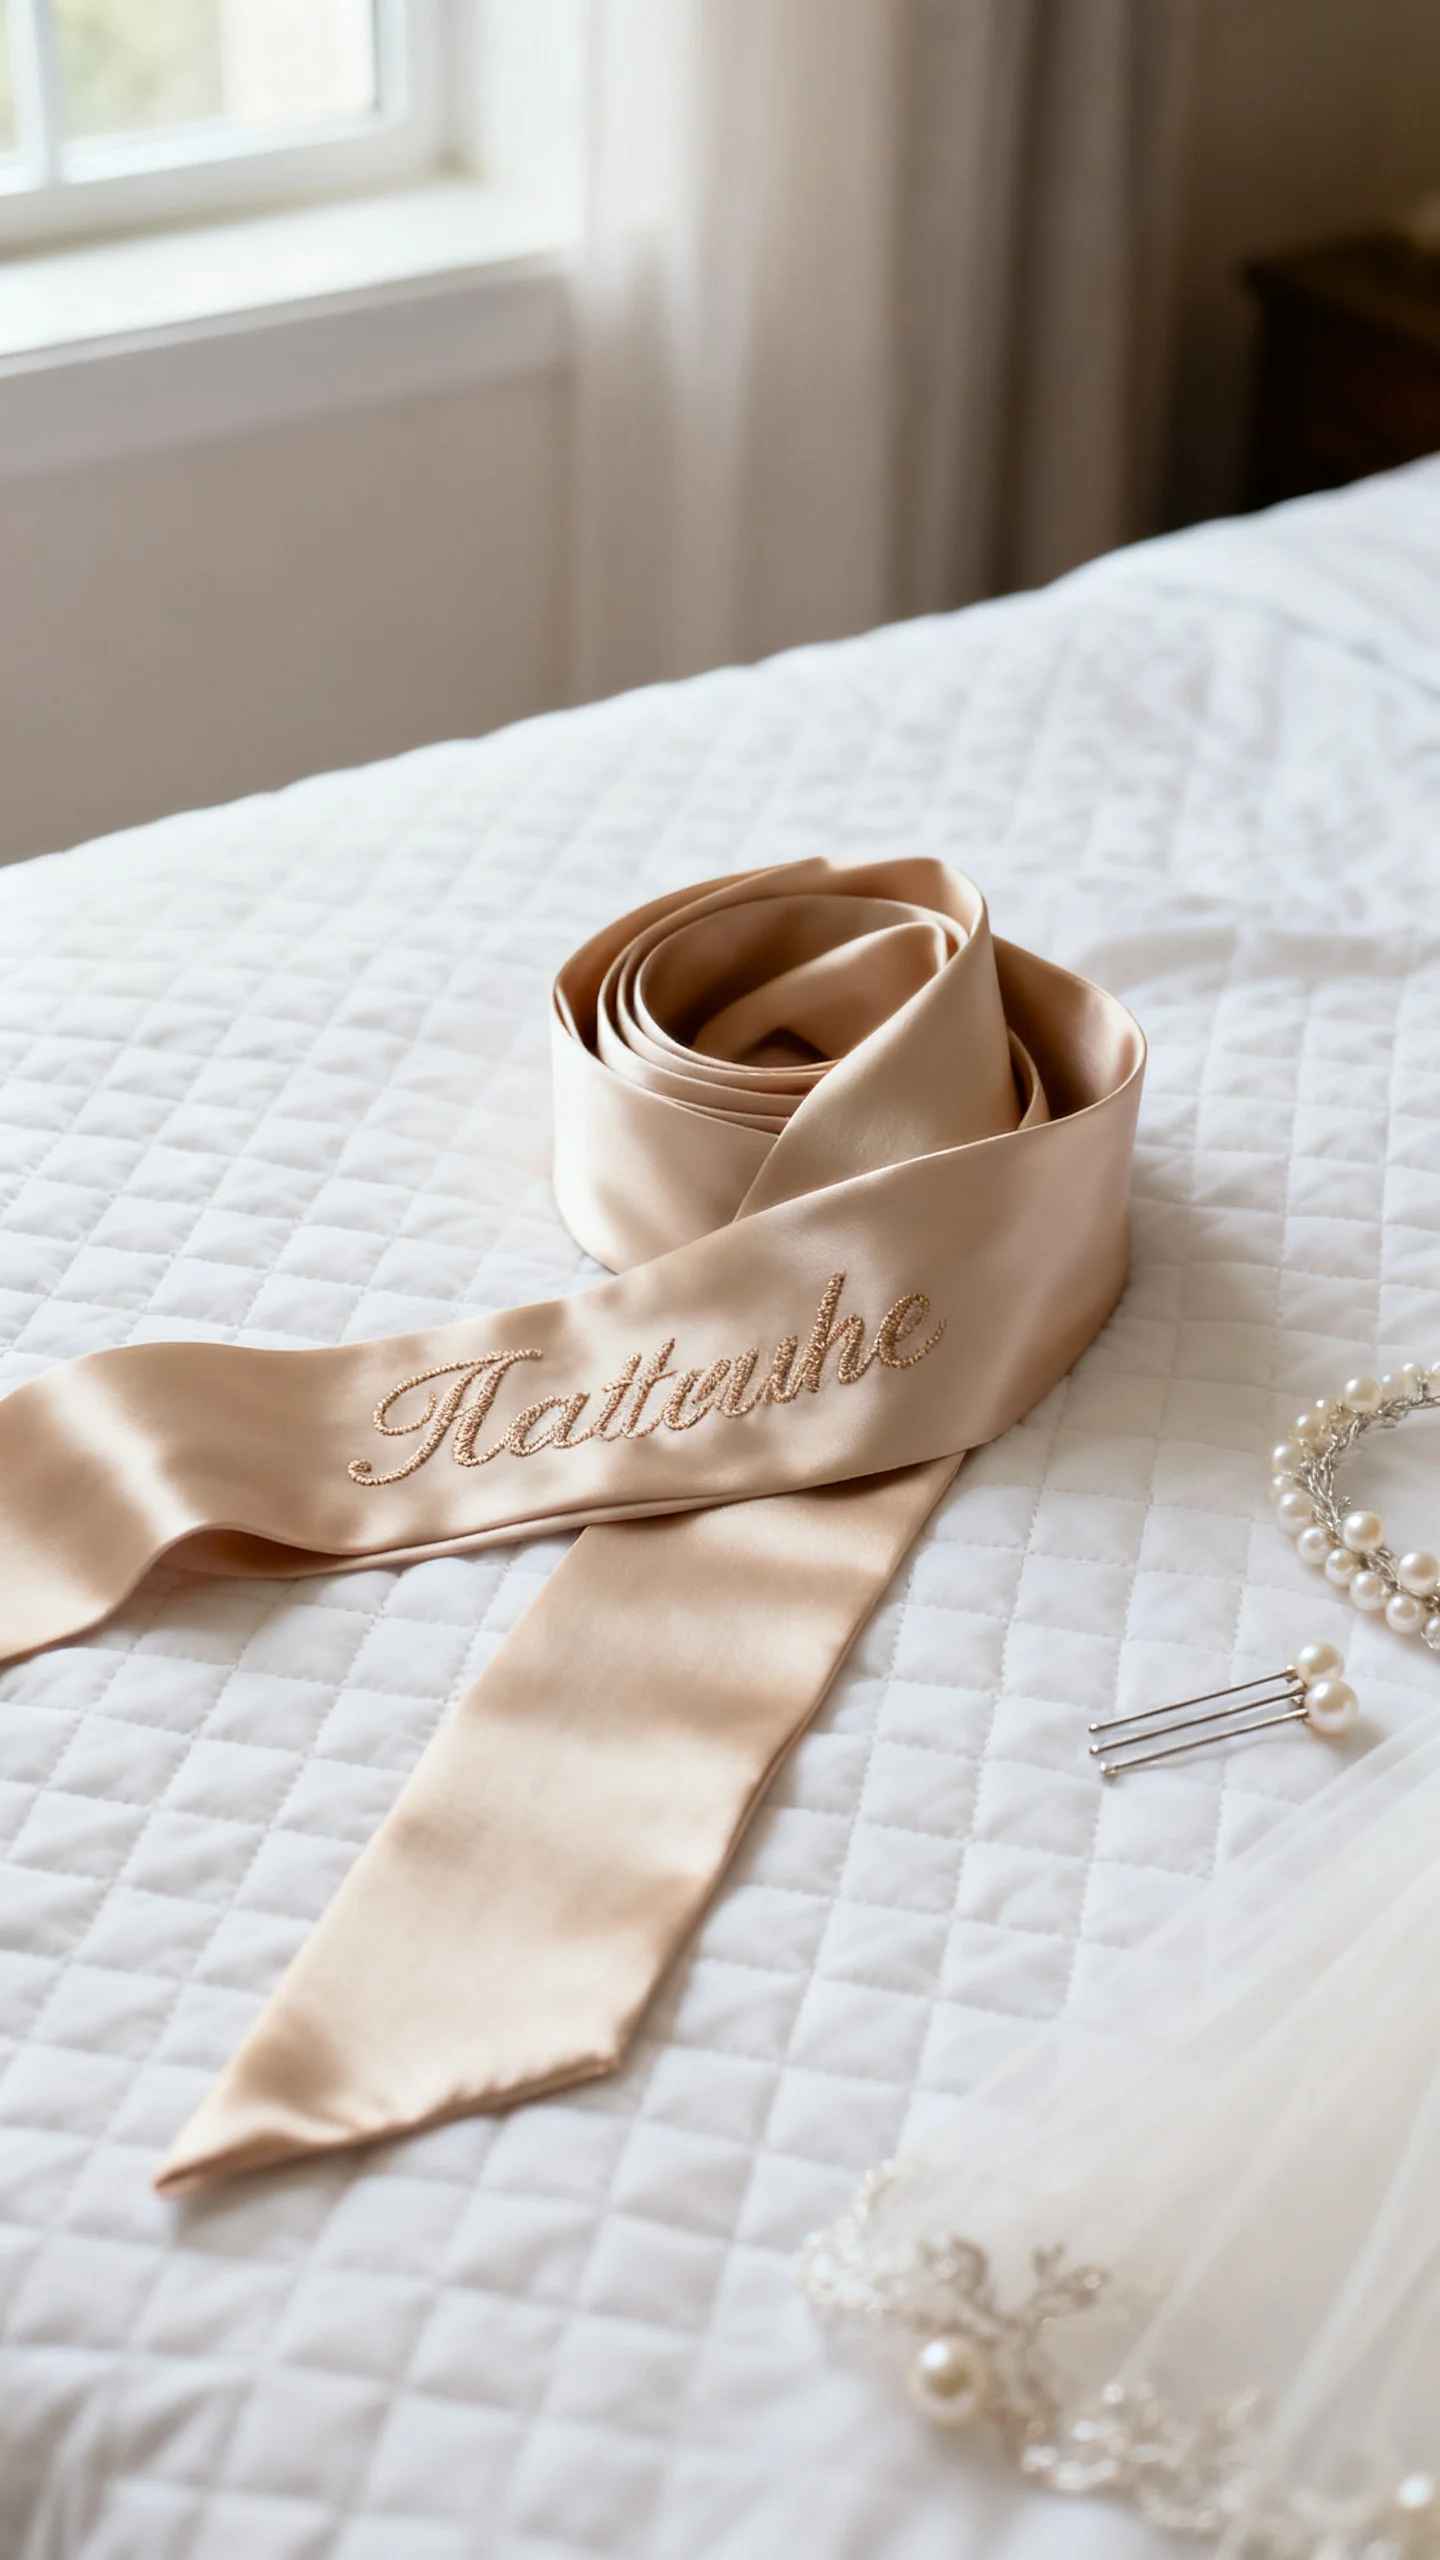
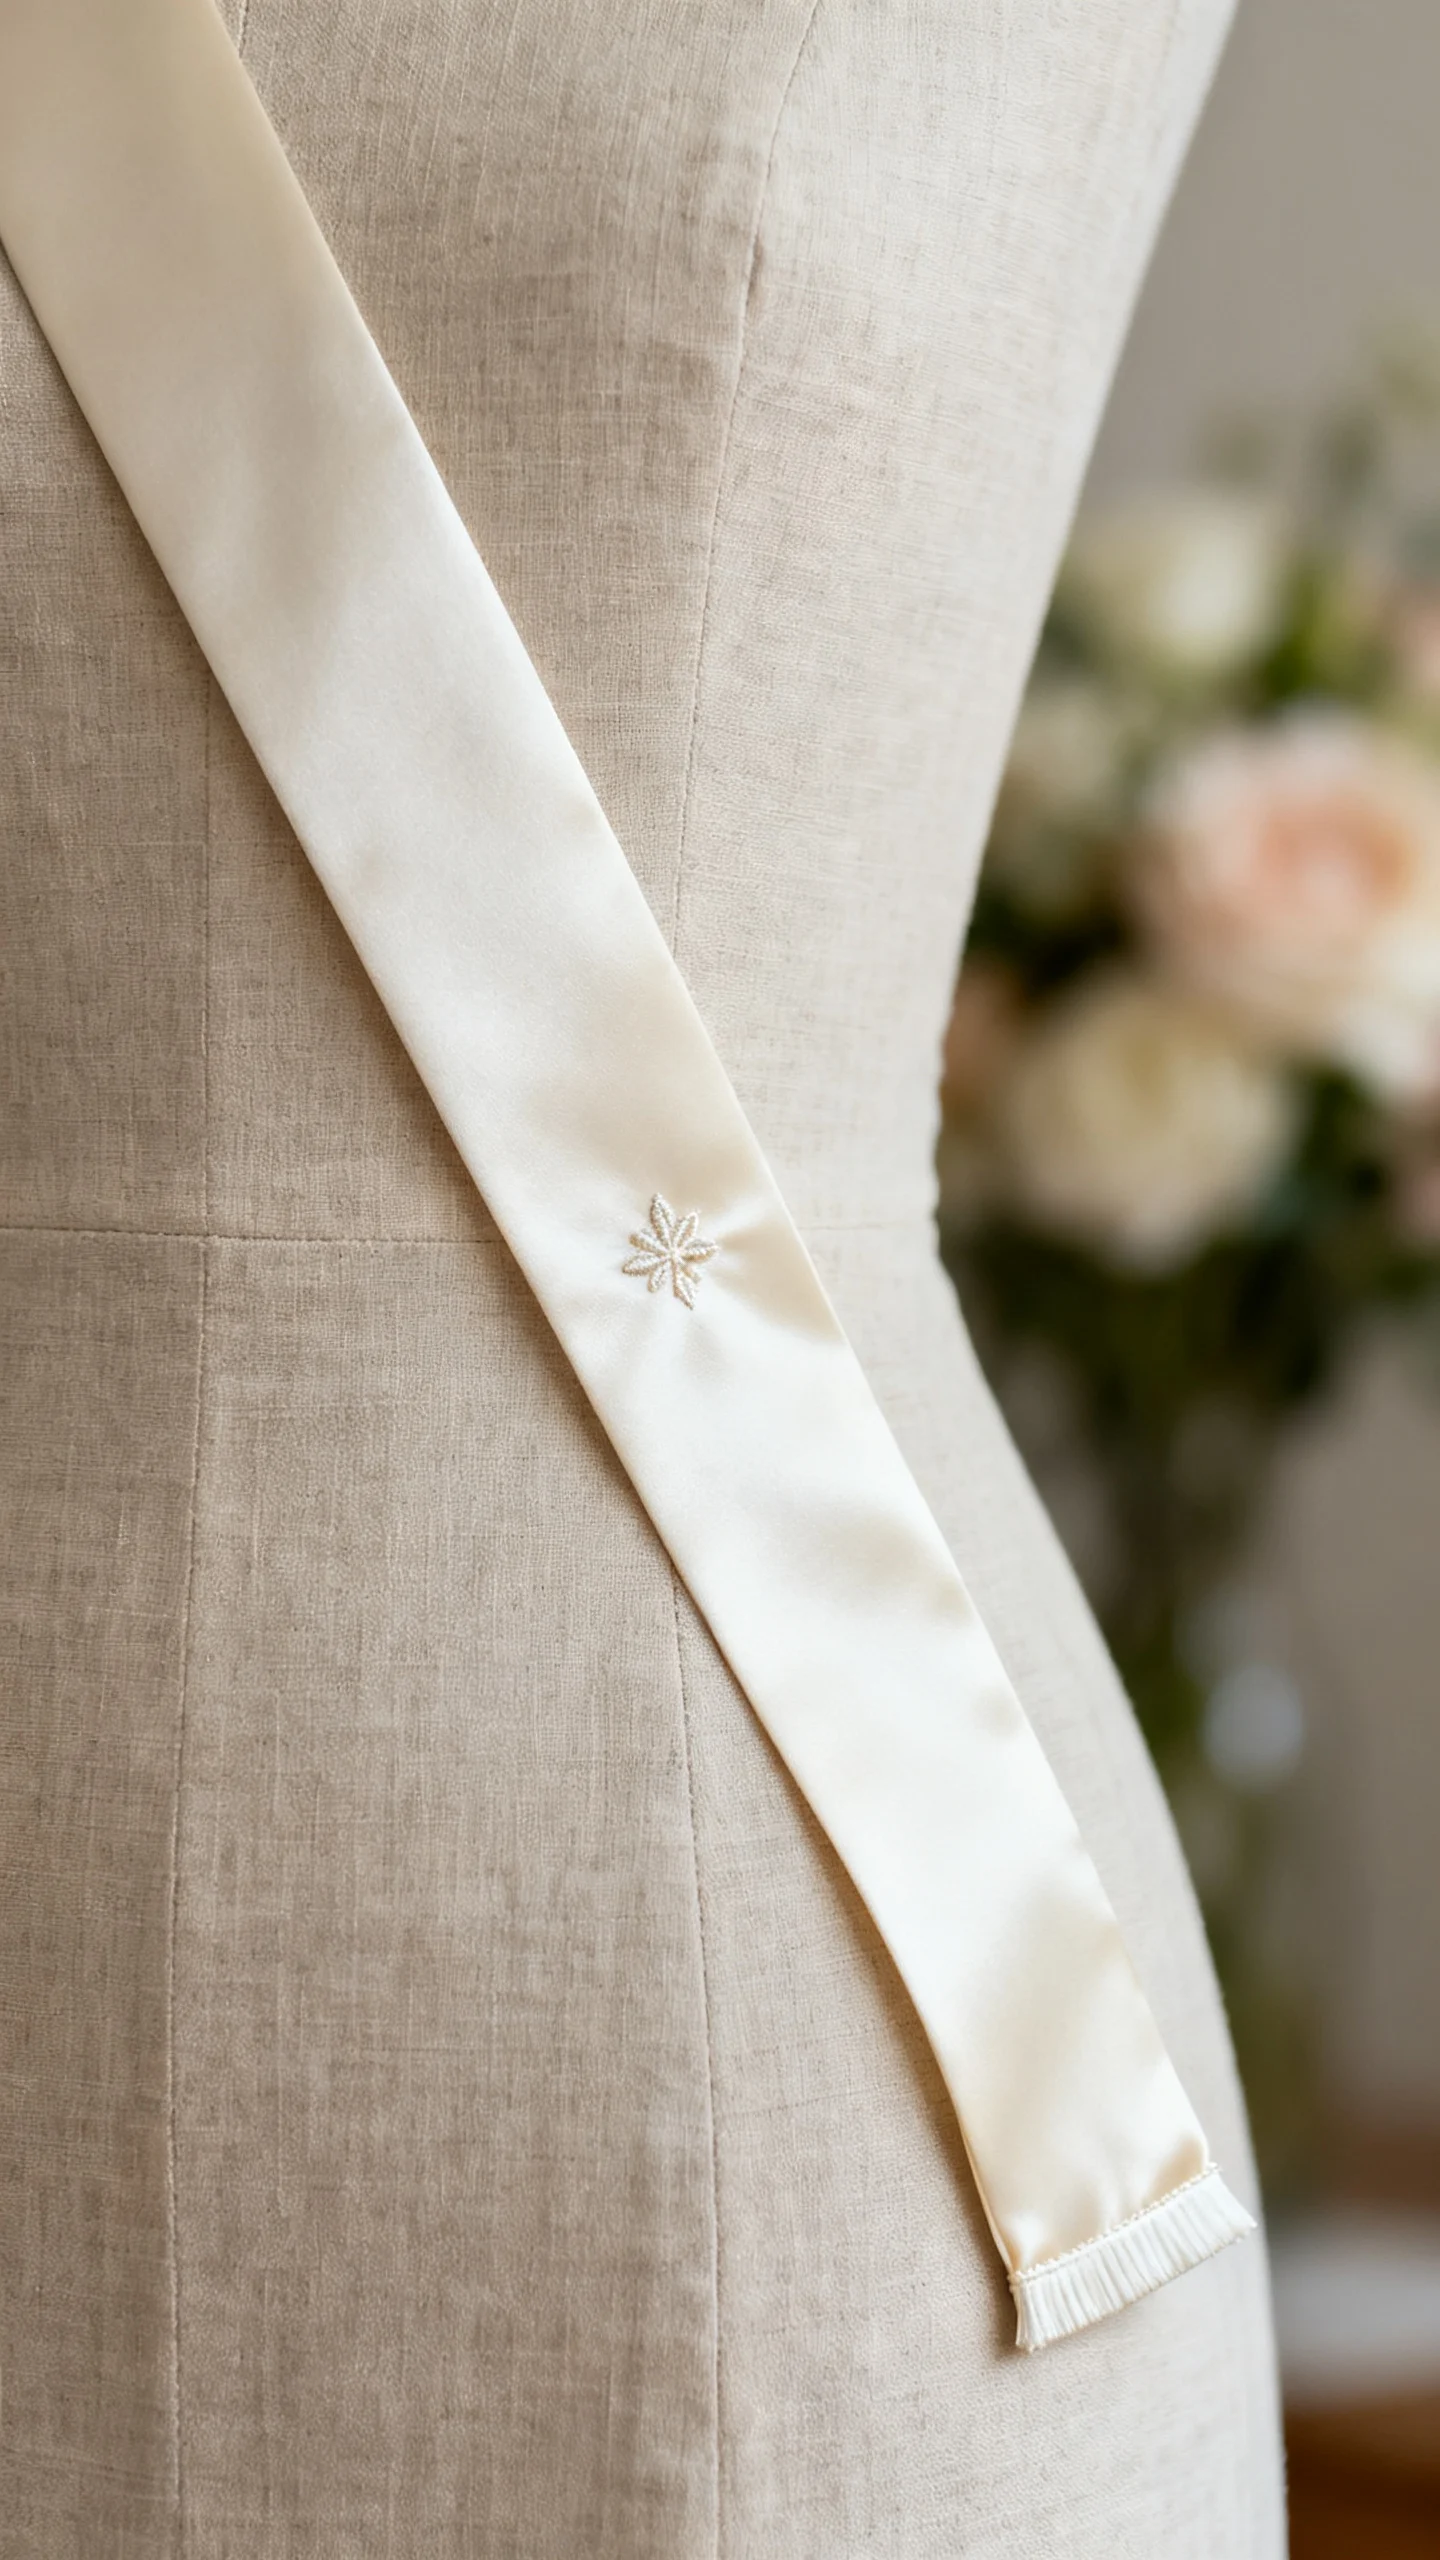
If you want a bride sash that never looks cheap, start with tone-on-tone satin: ivory sash with ivory embroidery, white on white, champagne on champagne. This is the closest thing to “quiet luxury” in sash form because it reads like part of the outfit instead of party décor.
Why it works: It photographs softly, it doesn’t cast weird color reflections, and it pairs with almost any bridal look—from crisp minimal dresses to romantic lace.
Best ways to use it:
- Over a silky slip dress for getting ready photos.
- With a tailored blazer dress for a city vibe.
- With a simple white midi dress for a shower or brunch.
Budget note: Expect around $20–$45 for a decent satin sash, and $45–$80 for higher-quality materials with custom embroidery and finished edges. If you’re trying to stay under $25, prioritize fabric thickness and edge finishing over extra add-ons.
Minimal Embroidery (Small Placement, Big Difference)
Oversized “BRIDE” across your torso is what pushes a sash into novelty territory. A more elevated approach is minimal embroidery: small, centered text near the hip, or a short phrase on the tail end.
Why it works: The message is still clear, but it doesn’t hijack every photo. It also looks more like a bespoke accessory than a mass-produced party item.
Styling tips:
- Choose thread in soft metallic (champagne gold, brushed silver) instead of high-shine foil.
- Keep the font simple; one script word can be pretty, but skip the overly swirly “wedding craft” styles.
- Ask for embroidery that’s scaled to your body—petite brides often look swallowed by large lettering.
Planning tip: If you’re doing professional photography at the shower or rehearsal, ask your photographer for a few sash photos early, then take it off for the rest. You get the “bride moment” without wearing it for hours.
Silk Ribbon Sash with a Wax Seal or Charm (Ultra-Refined)
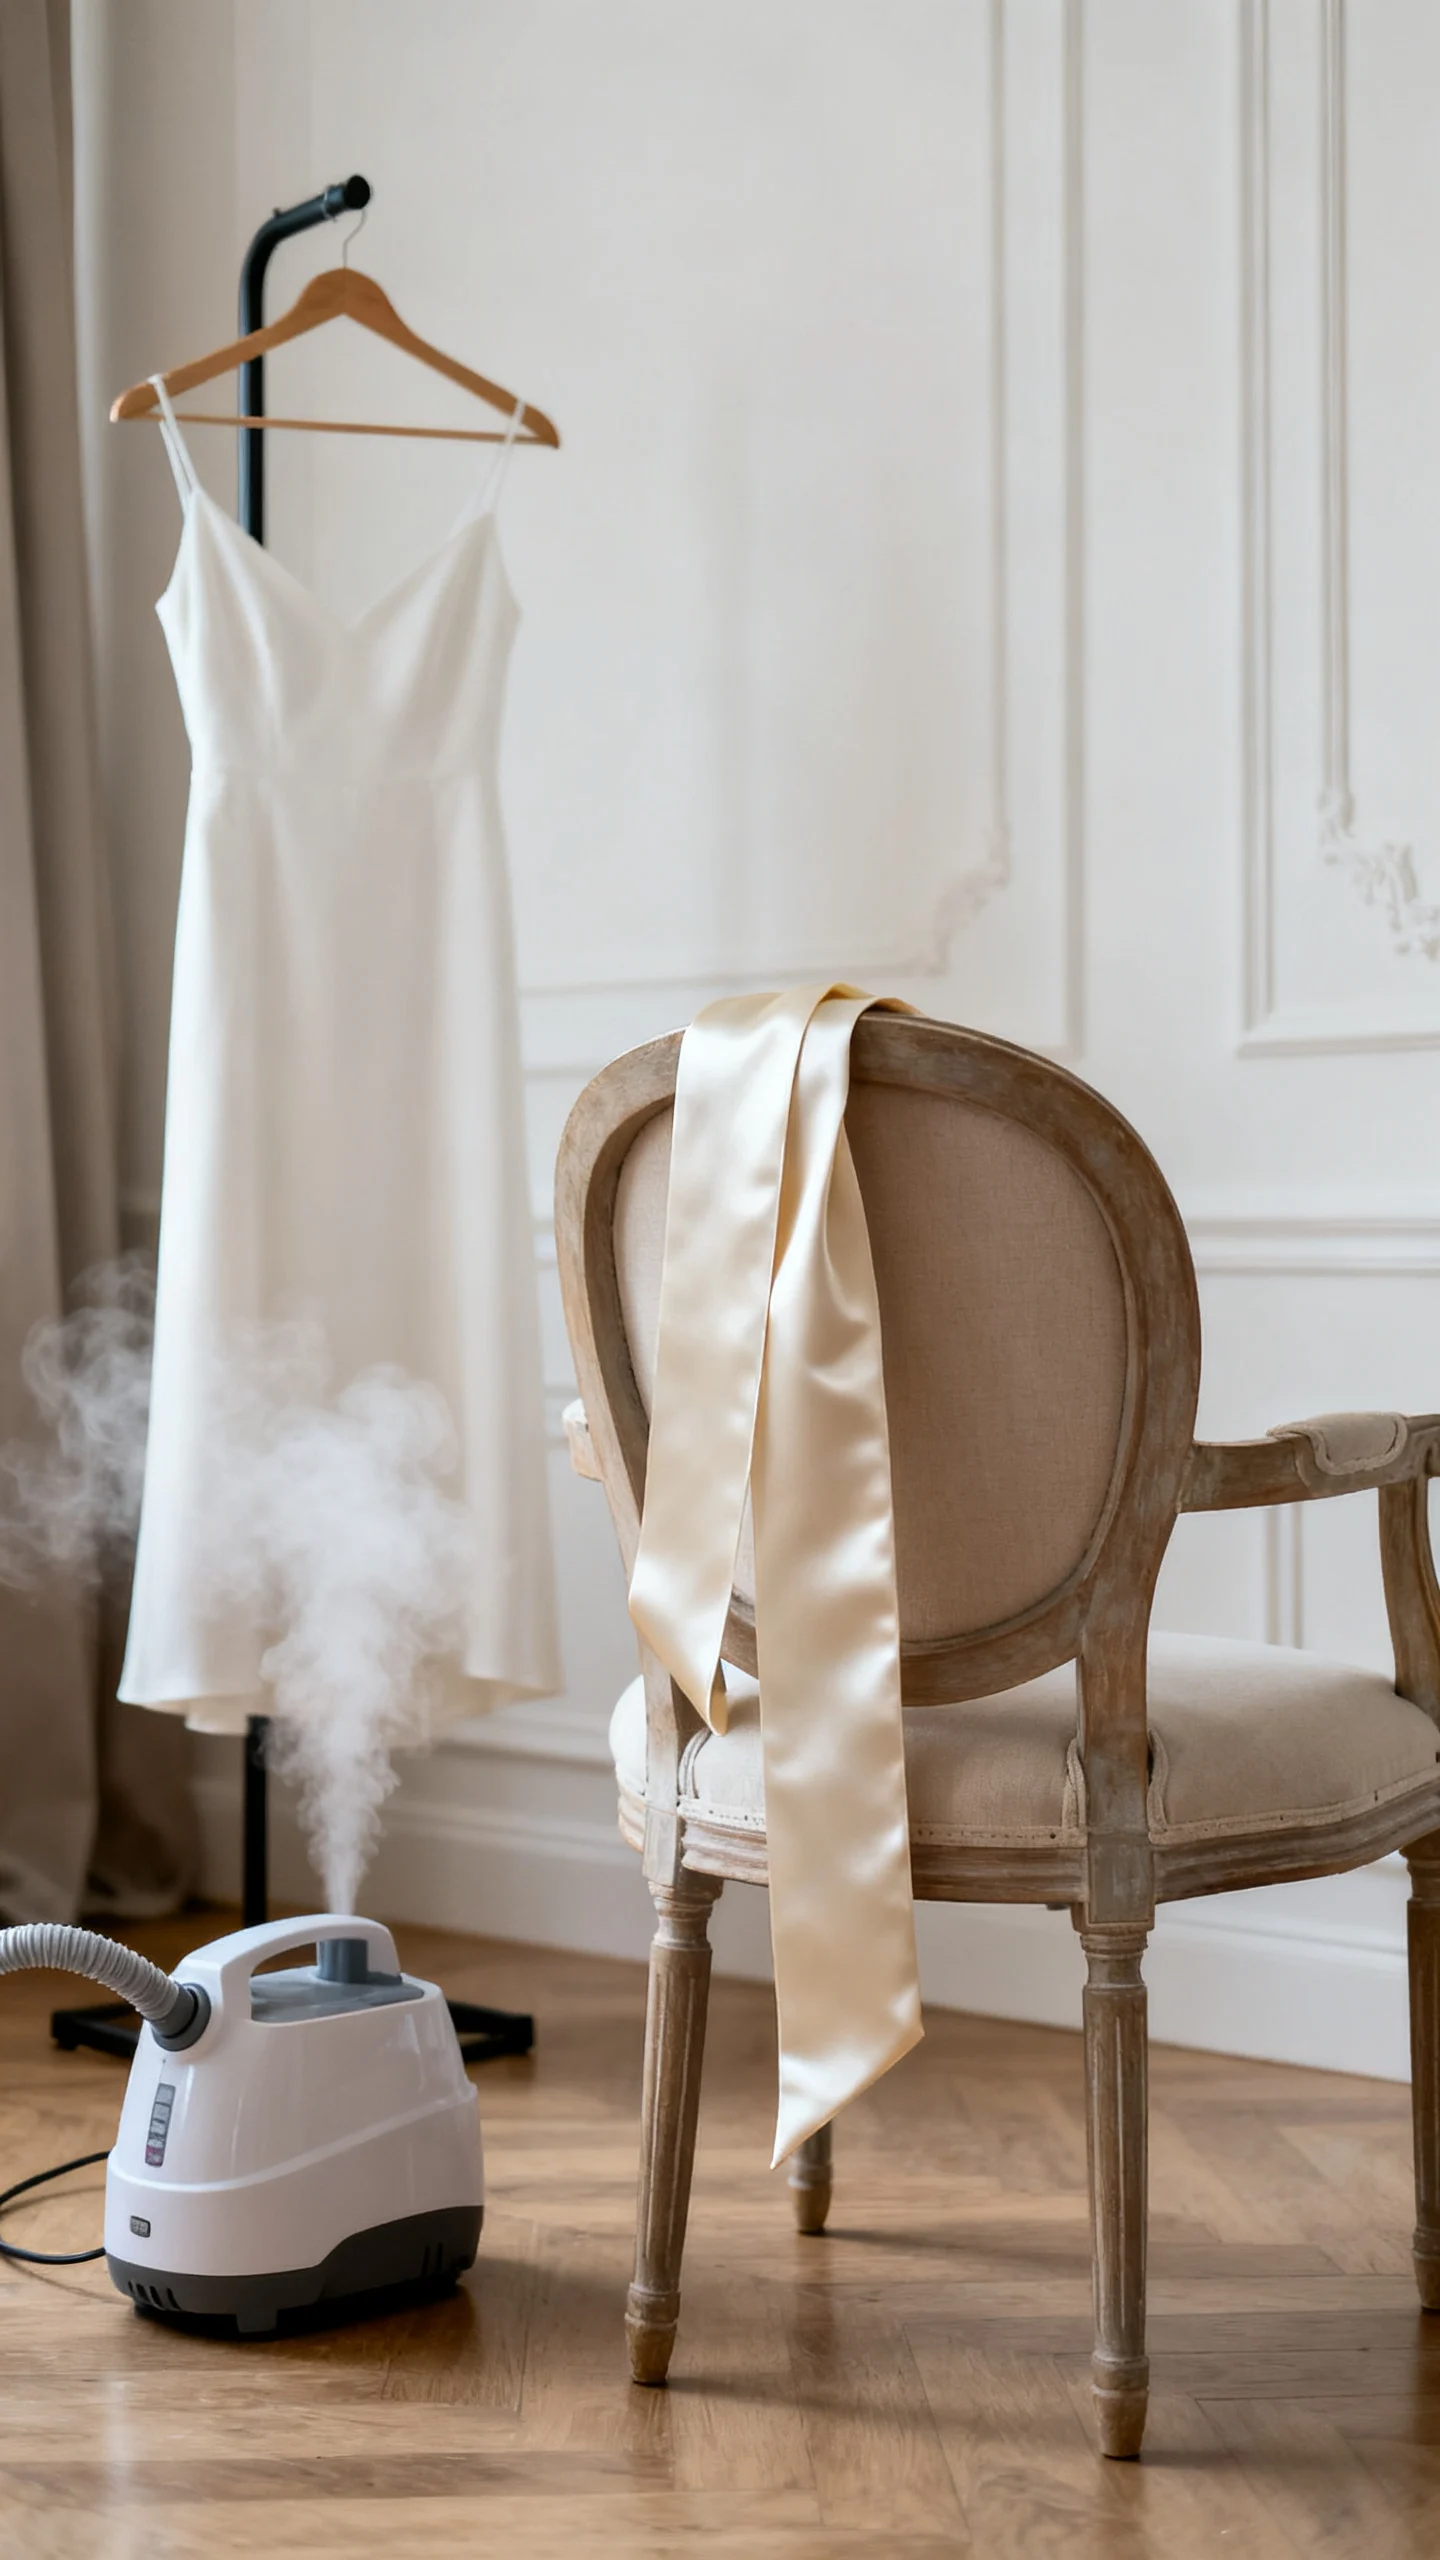
For a bride sash that feels more like couture styling than party wear, go for a silk ribbon sash tied at the waist or draped as a sash, finished with a small wax seal detail or a single charm (pearl, initial, or tiny locket).
Why it works: Silk ribbon has natural texture and movement. It looks expensive in photos, especially in soft lighting, and a single focal detail reads intentional.
Best ways to use it:
- At a bridal luncheon or garden shower with a simple dress.
- As a “getting ready” waist tie over a slip for a romantic editorial feel.
- At a destination wedding welcome dinner with a minimal outfit.
Venue advice: This option is especially great for outdoor venues (vineyard, garden, coastal) where a delicate, airy accessory matches the setting. In a neon-lit bar or club bachelorette setting, silk can feel too subtle—save it for daytime events and photos.
Budget note: Real silk ribbon costs more than satin. Plan around $25–$60 depending on width and length. If you want a wax seal, do a test run—some seals can crack if flexed, so consider a charm or pin alternative for durability.
Blazer-Friendly Sash Styling (For Modern City Brides)
If you’re wearing a blazer dress, white suit, or tailored separates, a traditional diagonal sash can look out of place. Try a short sash or ribbon pinned from lapel to waist (or even tied on a handbag handle) instead.
Why it works: Tailoring calls for clean lines. Smaller placements keep the look sharp and modern.
How to nail it:
- Choose a narrower width (1–2 inches) so it doesn’t overpower lapels.
- Use a hidden safety pin or a magnetic brooch-style closure to protect fabric.
- Keep text subtle or skip text entirely and let the styling communicate “bride.”
Common pitfall: Pinning directly through delicate suiting fabric can leave holes. If your outfit is a rental or an investment piece, use a ribbon tied around your waist under the blazer (like a belt) or attach it to a bag instead.
Velvet or Matte Ribbon for Winter Weddings (Cozy, Not Costume)
For winter events, a velvet sash can be gorgeous—if you keep it minimal. Think deep ivory velvet, champagne velvet, or a soft taupe ribbon with tiny tonal embroidery. The goal is “warm luxury,” not holiday pageant.
Why it works: Velvet absorbs light instead of reflecting it, which automatically reads more expensive in photos. It also pairs beautifully with winter textures like faux fur wraps, cashmere, and satin slip dresses.
Best ways to use it:
- Rehearsal dinner at a cozy restaurant or private room.
- Getting ready in a suite with soft lighting and neutral tones.
- Bridal portraits with a winter coat for a fun detail shot.
Budget note: Velvet ribbon can range widely. A good-quality velvet sash usually lands around $18–$50. If you’re keeping costs low, buy velvet ribbon by the yard and have a tailor finish the ends (often $10–$25) for a clean look.
Budget-Friendly Tips That Still Look Expensive
You don’t have to spend a lot to avoid a cheap look—you just need to spend intentionally.
- Buy blank, then customize: A high-quality blank satin or silk ribbon plus a small monogram (embroidered or iron-on stitched patch) can look more elevated than a fully pre-made glitter sash.
- Choose fewer words: “Bride” or your new last name in small text looks better than long phrases. Fewer letters also means cheaper customization.
- Skip rhinestones: If you want sparkle, choose metallic thread or a single brooch pin. Rhinestones often photograph harshly and can shed.
- Use a tailor or seamstress for finishing: Clean edges are everything. A quick hem or bias binding instantly upgrades the look.
- Repurpose something you already own: A beautiful ribbon from gift wrap, a sash from a bridesmaid dress, or a scarf can become a bride sash with the right pin or charm.
Reality check: the “cheap” look usually comes from frayed edges, flimsy fabric, and loud design—not from the price tag alone.
Common Mistakes That Make a Bride Sash Look Overdone
- Wearing it for the entire event: A sash is best used strategically. Wear it for arrivals, toasts, or a quick photo set, then remove it to feel more natural and polished.
- Too many bridal identifiers at once: If you have a veil, tiara headband, “bride” bag, and sash, the look turns costumey fast. Pick one hero piece.
- Ignoring your outfit neckline: A diagonal sash over a strapless or one-shoulder look can cut the lines in awkward ways. Try a waist sash or handbag tie instead.
- Clashing whites: Bright optic white against creamy ivory can look accidental (and show up strongly in photos). Match undertones as closely as possible.
- Wrong scale for photos: Tiny letters can disappear in group shots; huge letters can dominate close-ups. Aim for medium scale and test with a quick phone photo from several distances.
How to Match Your Sash to Your Venue and Photo Style
One of the best ways to keep a sash from looking cheap is to match it to the atmosphere.
- Ballroom or black-tie venue: Consider skipping the sash, or choose tone-on-tone embroidery and wear it only while getting ready.
- Garden, winery, coastal: Silk ribbon, organza, or a delicate waist tie looks romantic and natural.
- Downtown/industrial/rooftop: Keep it modern—narrow ribbon, minimal text, blazer-friendly placement.
- Rustic barn or casual lodge: Matte ribbon, subtle embroidery, and warm neutrals look thoughtful without feeling too precious.
Photo tip: Ask your photographer to capture one wide shot (full outfit), one mid shot (you with guests), and one close-up detail. If the sash looks loud in any of those, scale it back or reserve it for just a few moments.
Smart Planning Advice: Timing, Comfort, and Keepsakes
A sash should make your day easier, not fussier. Keep these practical details in mind:
- Pack it in a garment bag pocket: Don’t toss it loose in a tote. Wrinkles and creases read messy fast.
- Have a plan for removal: Designate a bridesmaid to stash it safely when you’re done—especially at restaurants and venues where items get left behind.
- Avoid itchy materials: If it scratches your neck or rubs your arm, you’ll fidget in photos. Softer ribbons and lined sashes are worth it.
- Consider a “heirloom edit”: If you want to keep it, choose embroidery with your wedding date or initials on the tail end. It becomes a keepsake you can tuck into your wedding memory box.
Final Takeaway: The Classiest Bride Sash Is the One That Feels Intentional
A bride sash looks elevated when it complements your outfit, suits your venue, and is used with a light touch. Prioritize fabric quality, subtle design, and clean finishing. Wear it for the moments it adds value—photos, entrances, hosting—then let your bridal look stand on its own.
When in doubt, go tone-on-tone with minimal embroidery. It’s the simplest way to get the “bride” moment without the overdone vibe.
FAQ
Do bride sashes look tacky in photos?
They can if the fabric is flimsy, the lettering is oversized, or the design is very glittery. A thicker satin or silk ribbon with minimal, tone-on-tone text photographs much more like a styled accessory than a party prop.
What color sash works best with an ivory dress?
Choose ivory, champagne, or a warm white that matches your dress undertone. Bright optic white against ivory can look mismatched in photos, especially in natural light.
How do I wear a sash without ruining my outfit fabric?
Use a hidden pin through a seam or thicker area, or choose a sash that ties (waist ribbon) instead of pins. For blazers and delicate fabrics, consider attaching the ribbon to your handbag handle or using a magnetic brooch-style closure.
Is it worth customizing a sash, or should I buy a generic one?
Customization is worth it if it’s minimal and well done—think small embroidery with your initials or wedding date. If your budget is tight, buy a high-quality blank ribbon and keep the design simple; good materials and clean edges matter more than extra words.