
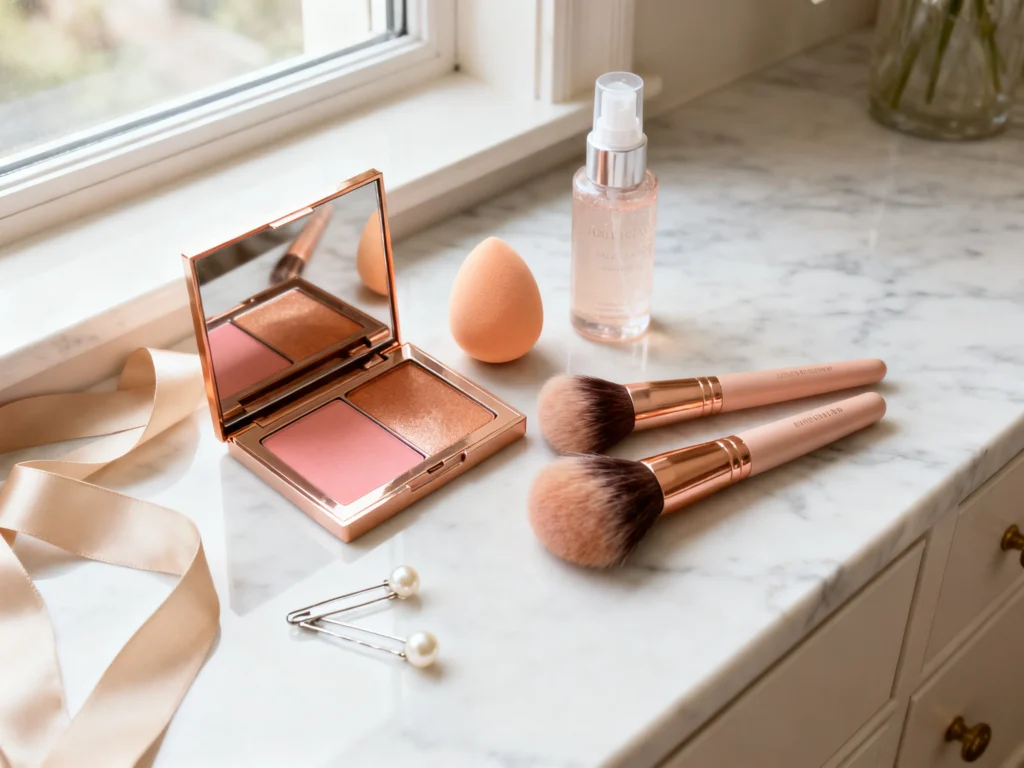
Bridal glow makeup is having a moment for good reason: it reads romantic in person, luminous in photos, and timeless a decade later. The sweet spot is a soft blush and bronzer look—warmth where the sun would naturally hit, plus that “just married” flush that makes skin look alive, not overly done.
This guide is built for real wedding mornings: varying budgets, unpredictable lighting, emotional hugs, and long timelines. Below you’ll find practical bridal glow makeup ideas, how to choose blush/bronzer placement for your features and venue, and the planning details that keep your glow looking fresh from first look to last dance.
Why Soft Blush + Bronzer Bridal Glow Works (In Real Life and In Photos)
The reason this style wins for weddings is simple: it mimics natural dimension. Bronzer warms the perimeter and adds gentle sculpting without the harshness that heavy contour can create in daylight. Blush brings youthfulness and health to the center of the face—exactly where cameras and guests focus.
Soft blush and bronzer also play nicely with changing lighting. Ceremonies often start in bright daylight, move to golden hour portraits, then head into indoor reception lighting. A softly built base with warm tones tends to stay flattering through all of it, while overly cool contour and ultra-white highlighter can shift unexpectedly under flash.
Most importantly, it pairs with almost every bridal style: clean modern satin gowns, lace romance, sleek updos, loose waves, minimalist veils, and bold florals. You’re not locking yourself into a trend that could feel dated quickly.
Choose Your Glow Based on Venue Lighting (This Matters More Than You Think)
Before you decide “dewy” versus “soft matte,” look at your venue and timeline. Lighting can make the exact same makeup look either ethereal or overly shiny.
Outdoor garden, beach, or winery ceremony
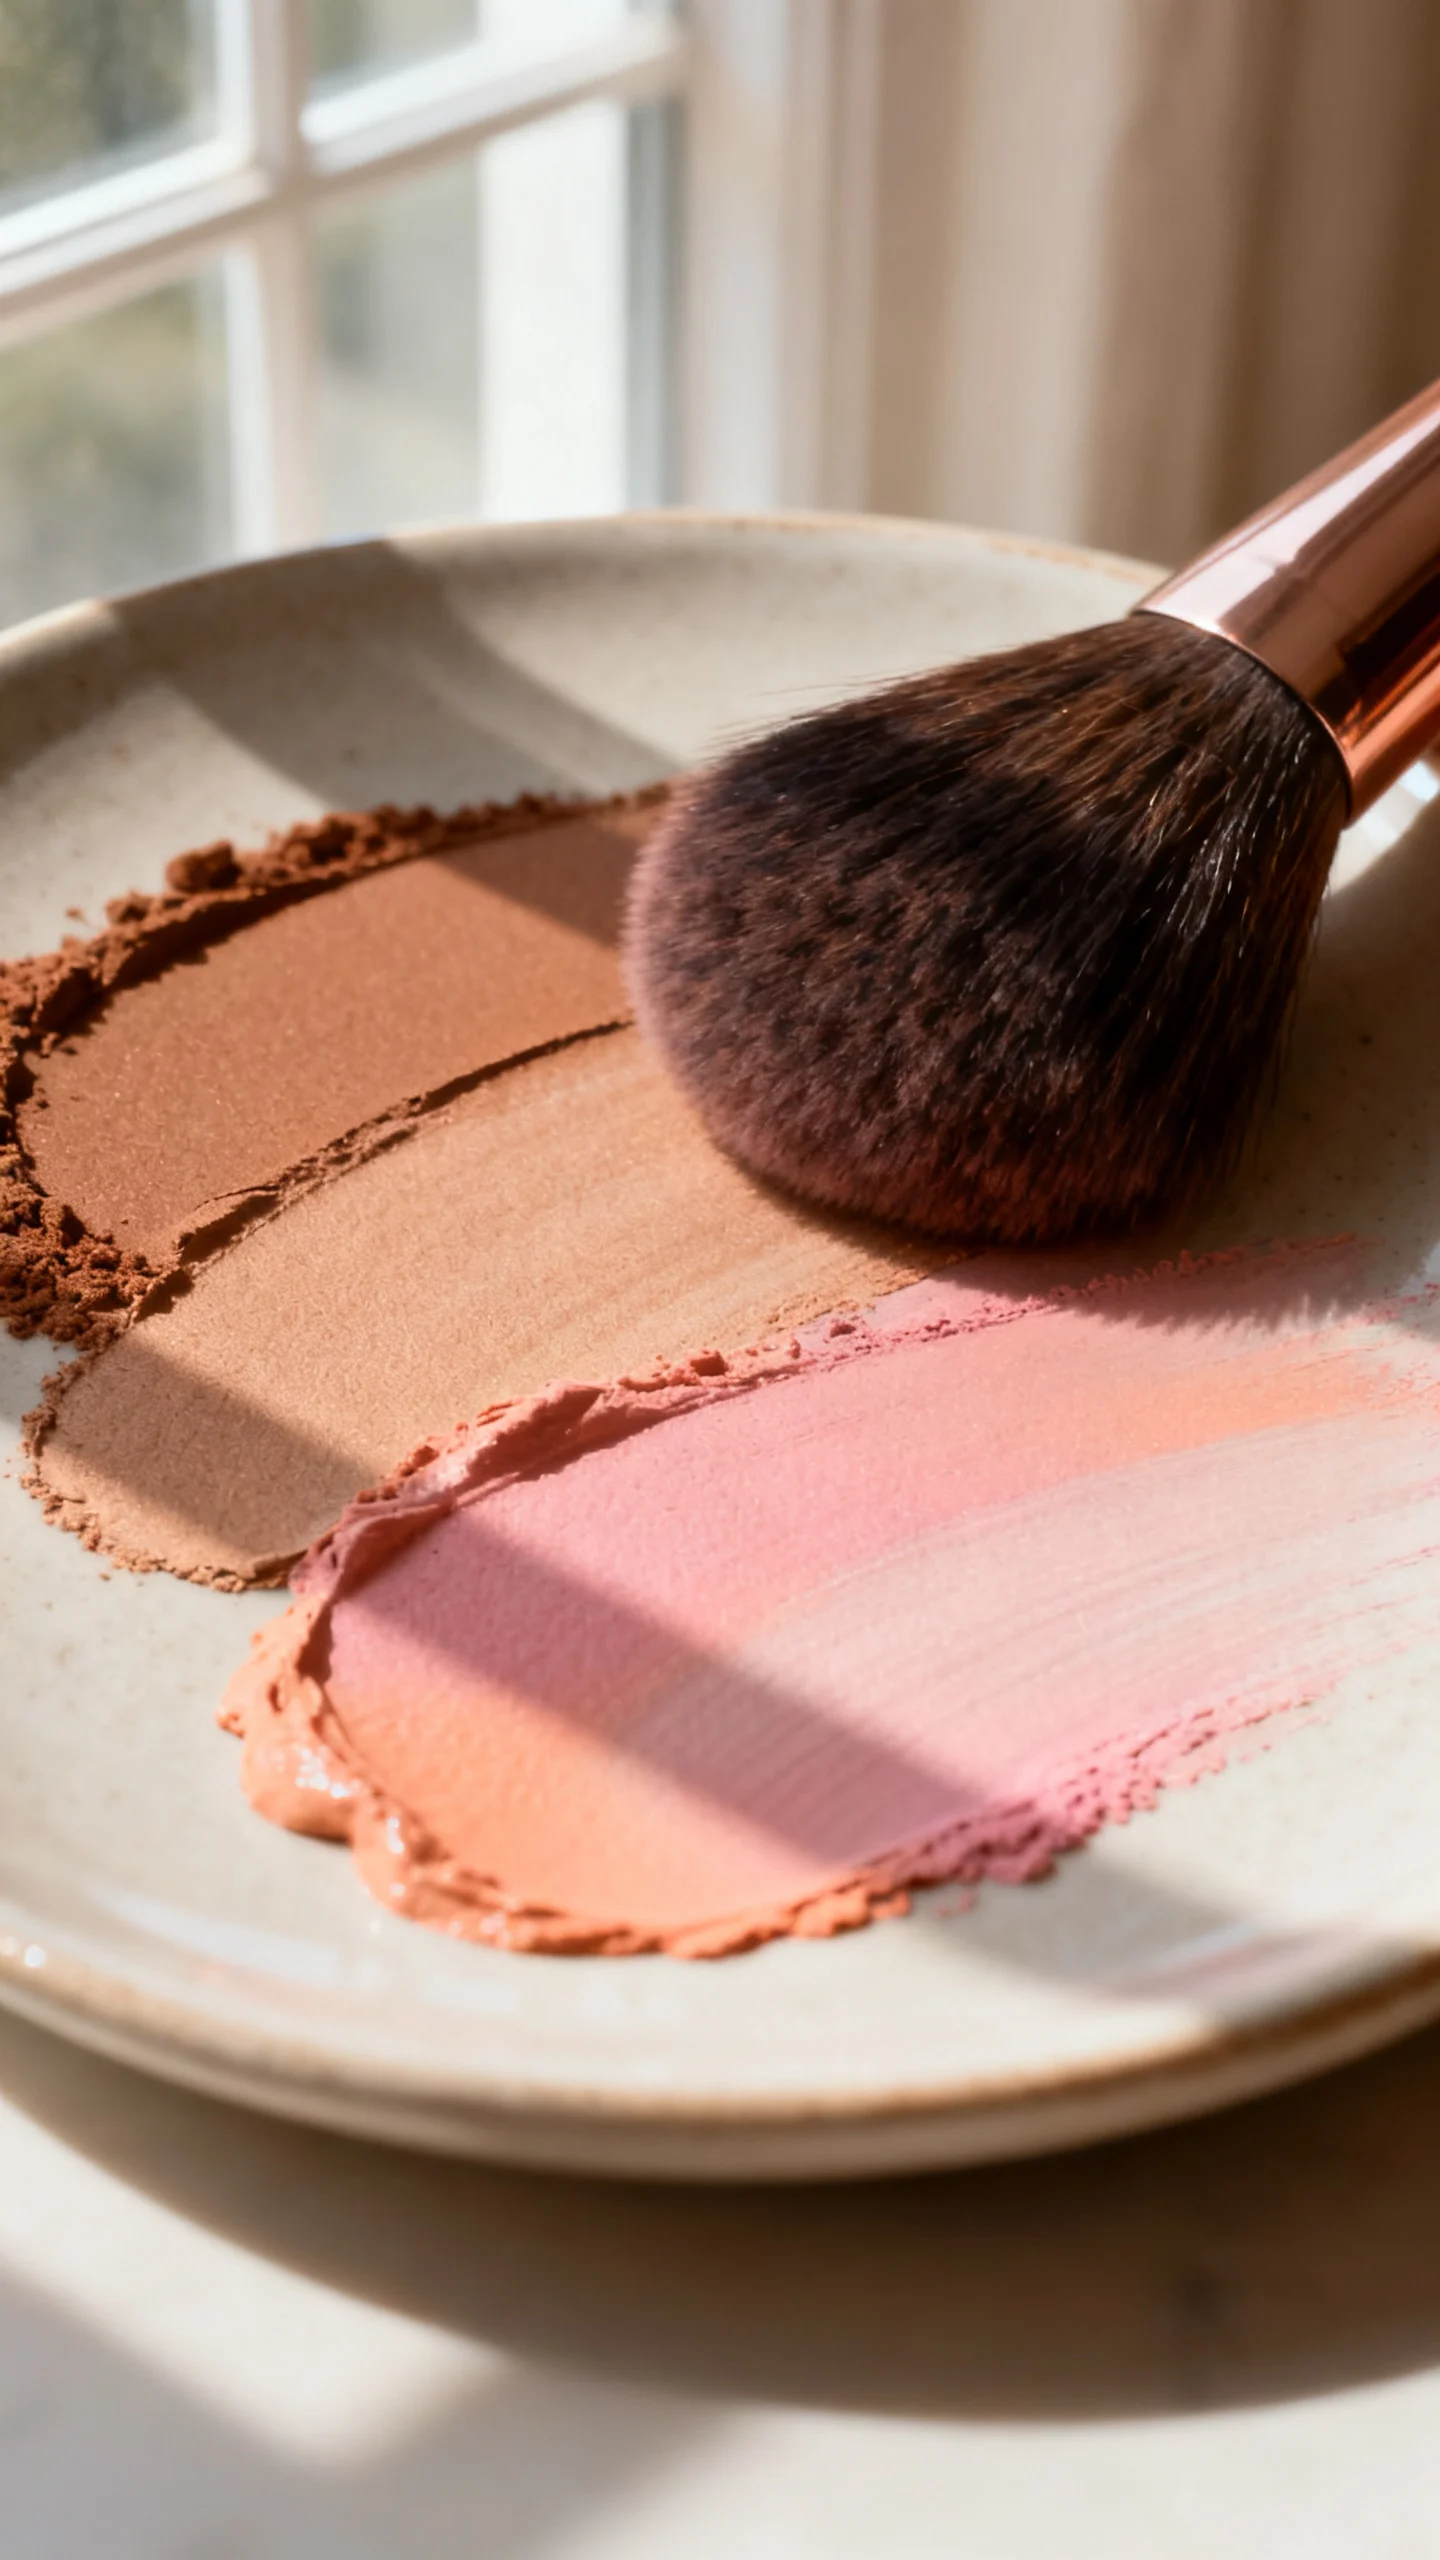
Go for “glow but set.” Use a radiant base in thin layers, then set only where needed (usually the center of the forehead, around the nose, and chin). Cream blush and cream bronzer look especially natural outdoors, but they need a light veil of translucent powder to prevent migrating in heat.
Indoor ballroom or hotel lighting
Ballrooms can be dim with spot lighting. Slightly stronger blush and bronzer reads better from a distance and keeps you from looking washed out. Opt for satin finishes rather than super-dewy products, which can reflect oddly under uplighting.
Barn, tented reception, or string-light setting
These spaces can run warm and yellow. Choose blush tones that won’t turn orange under warm bulbs—soft rose, neutral peach, or muted berry are usually safe. Ask your photographer if flash will be used heavily; if yes, avoid high SPF base products and overly reflective powders to reduce flashback.
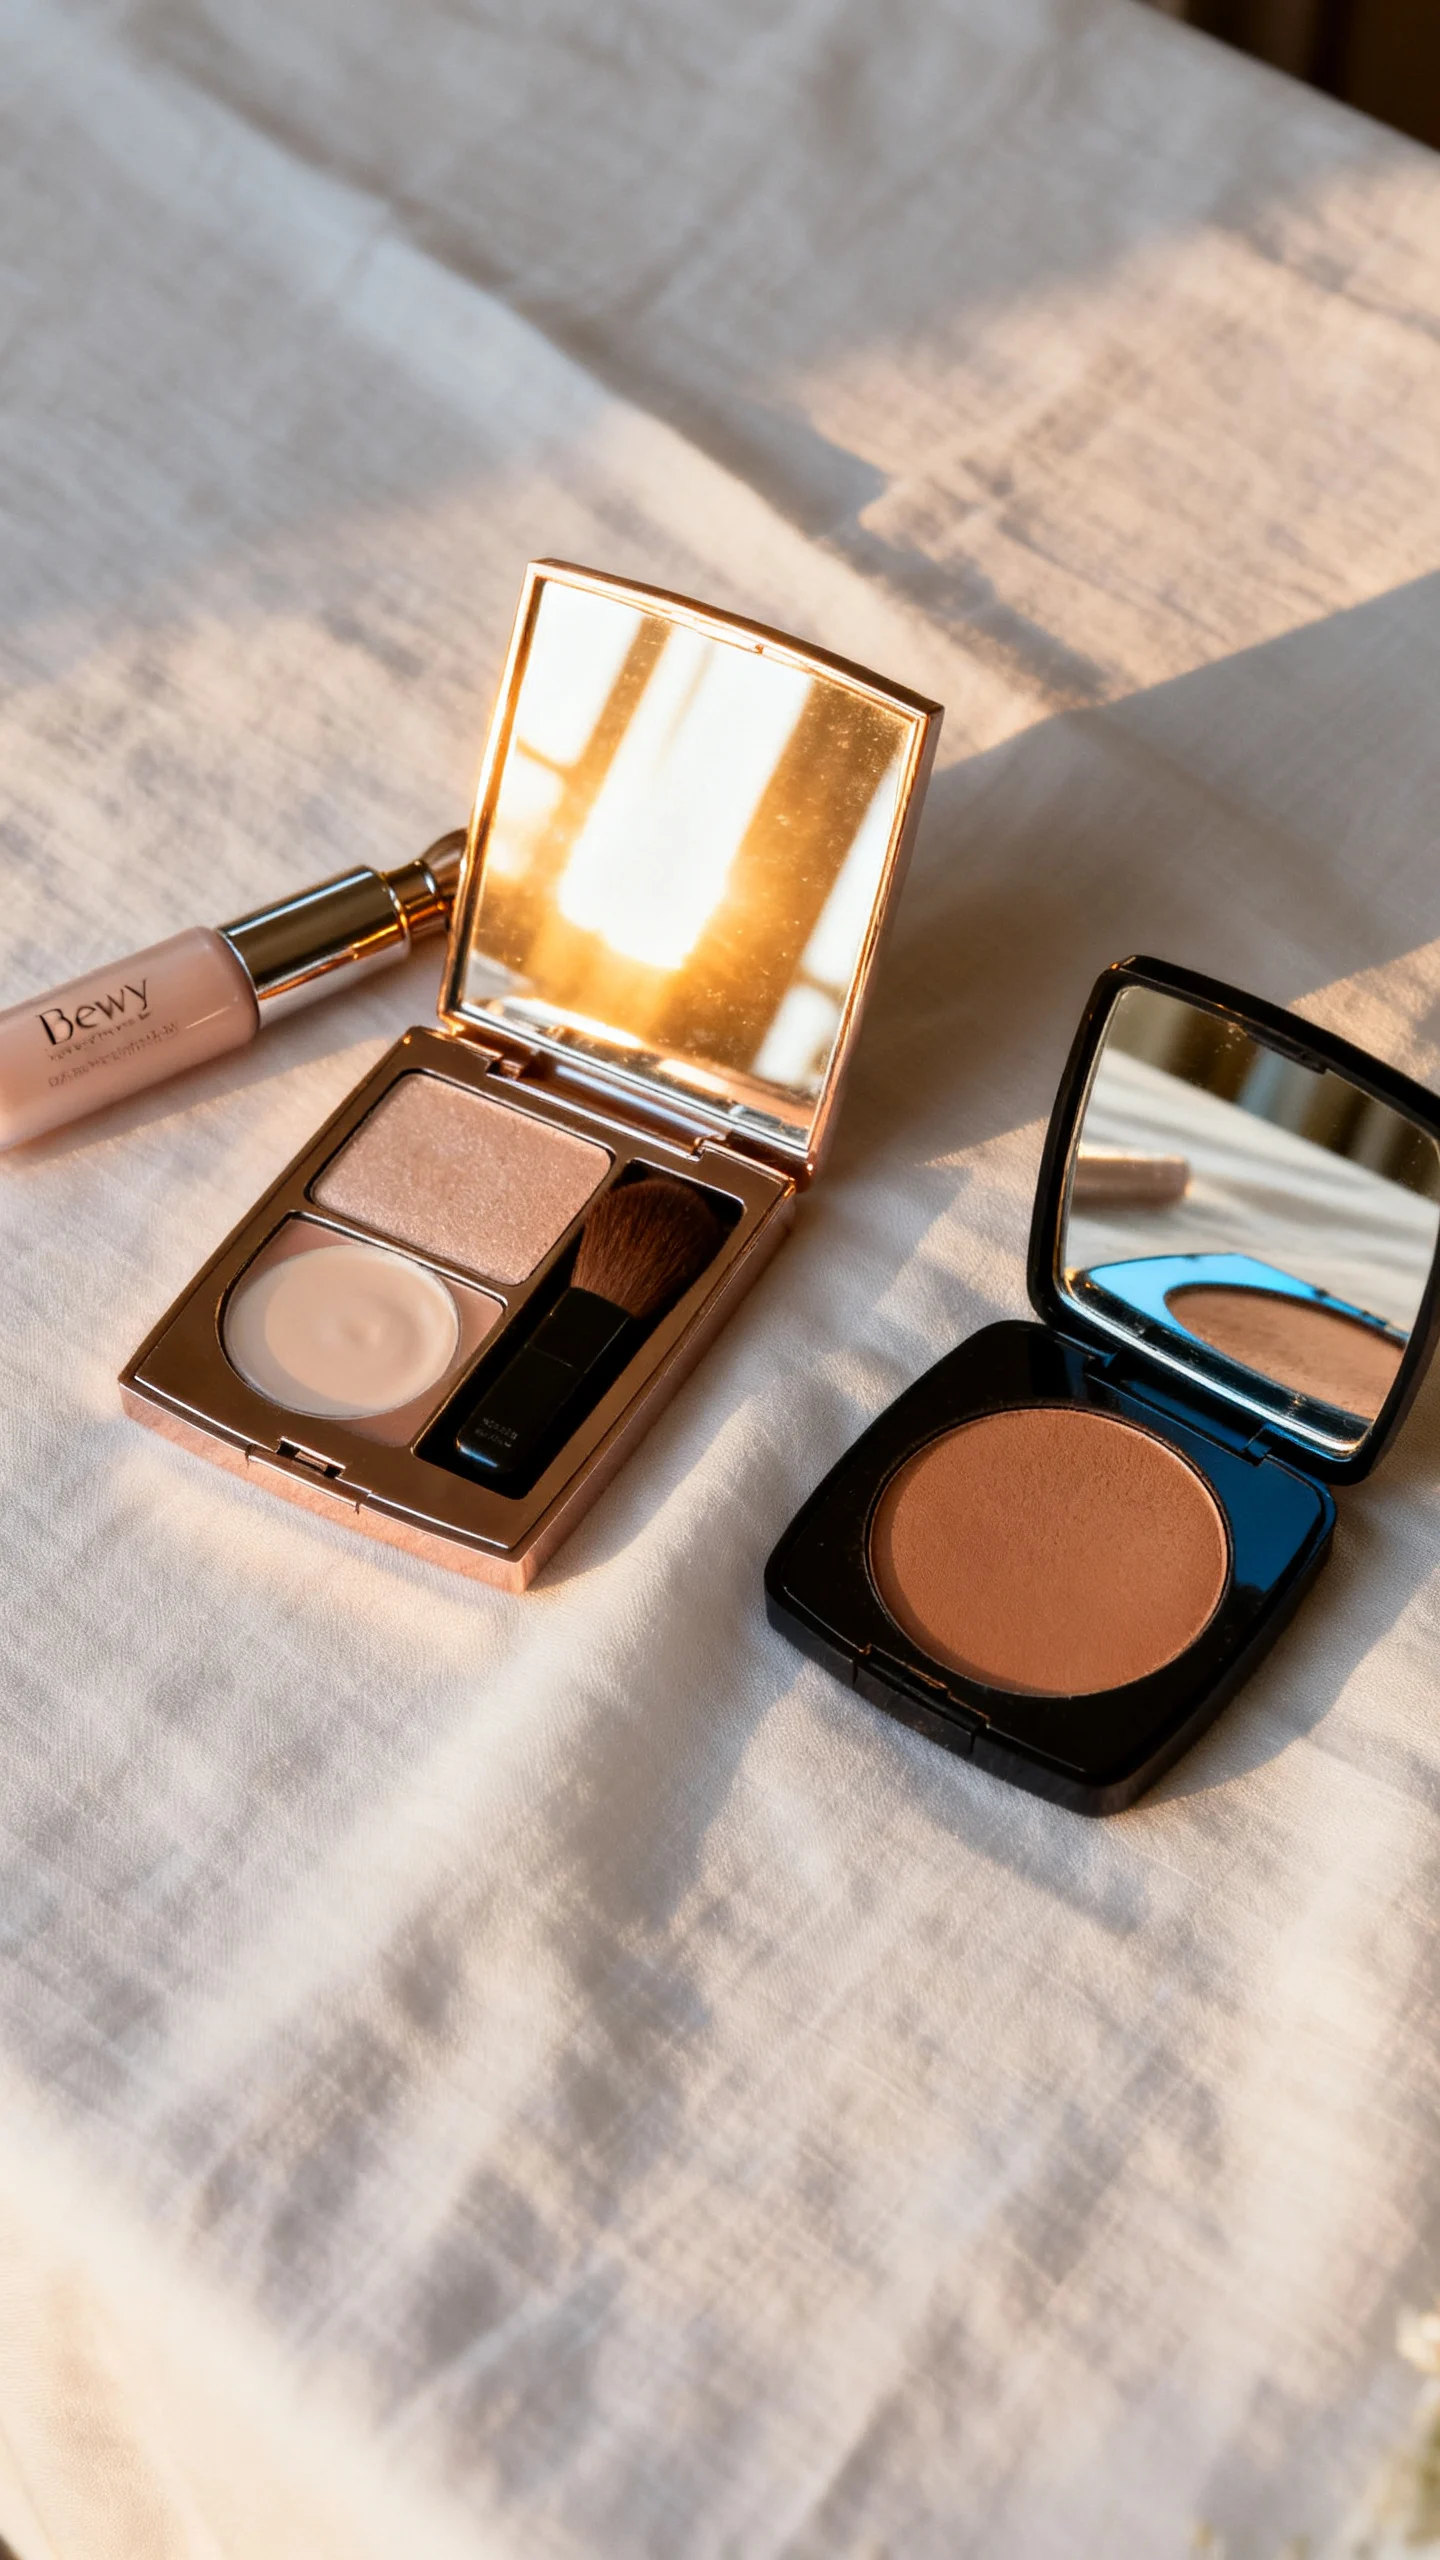
Bridal Glow Makeup Ideas: Soft Blush + Bronzer Looks to Bring to Your Trial
Bring photos, but also bring “makeup language.” Instead of only saying “natural,” describe finish, intensity, and what you want emphasized. Here are bridal-ready directions that translate well in trials.
1) Fresh Peach Glow (the universally flattering crowd-pleaser)
Bronzer: warm-neutral, softly blended along temples, hairline, and high cheek perimeter. Blush: peach with a hint of pink placed on the apples and swept slightly back. Best for: spring/summer weddings, tan or medium skin, golden jewelry, outdoor ceremonies.
2) Romantic Rose Flush (soft, classic, a little editorial)
Bronzer: neutral bronze, more diffused than “sculpted.” Blush: dusty rose layered from mid-cheek up toward the temples for a lifted look. Best for: formal venues, cathedral ceremonies, classic veils, cool-to-neutral undertones.
3) Soft Sun-Kissed Bronze (glowy but grounded)
Bronzer: a touch more present across the outer cheek and temples; keep it sheer so it reads like warmth, not contour. Blush: warm pink-peach placed slightly higher to avoid dragging the face down. Best for: destination weddings, late summer/early fall palettes, bronzy eye looks.
4) Blurred Berry-Flush Glow (the “photographs like a dream” option)
Bronzer: soft neutral bronze; keep it lighter so the blush can be the star. Blush: muted berry or rosy mauve, applied as a stain effect and softened at edges. Best for: fall/winter weddings, candlelight receptions, deeper skin tones, or anyone who wants a “bit more” color without looking heavy.
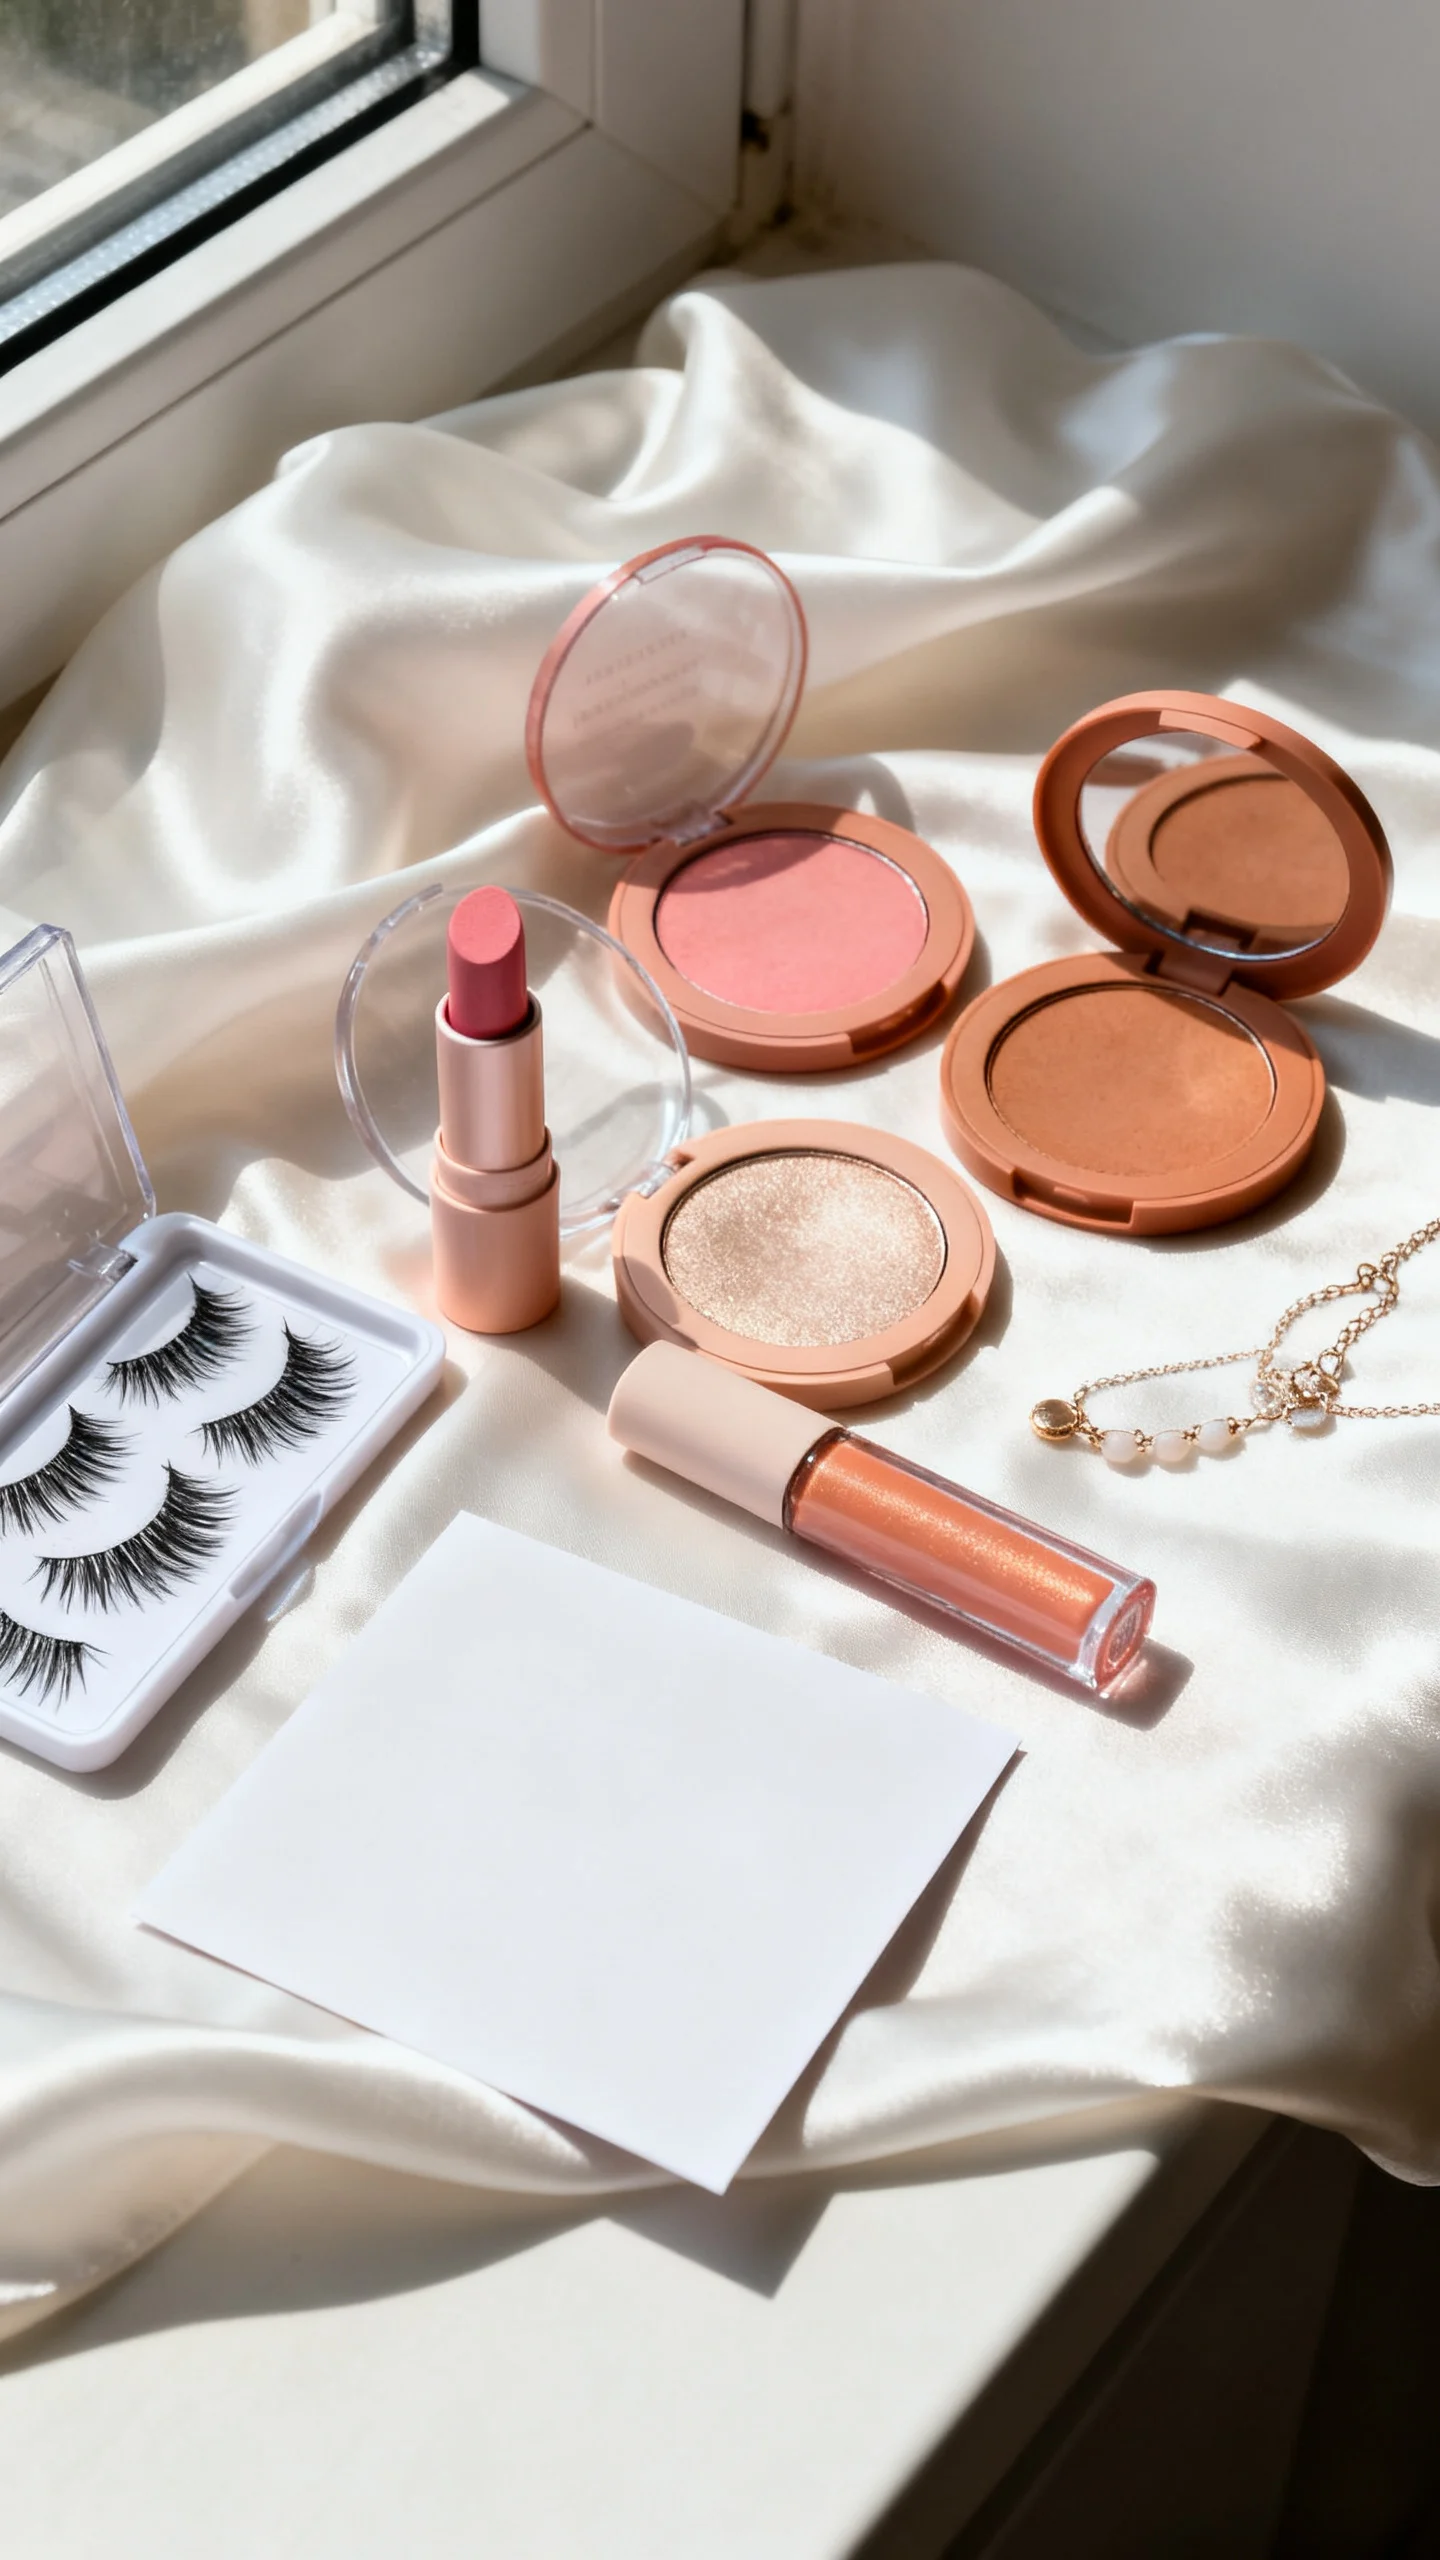
How to Place Blush and Bronzer for a Bridal Face (Not Everyday Makeup)
Wedding makeup has a job: look balanced in close-ups and from 15 feet away. Placement is everything, especially with soft tones.
Bronzer placement that stays bridal
Keep bronzer on the perimeter: hairline, temples, and the outer cheekbone area. A light sweep under the jaw can help in photos, but avoid a dark stripe—this is where transfer to dress collars can happen.
Blend up, not down: diffused edges create that “glow from within” effect. If bronzer is dragged downward, it can read muddy in photos and pull features down.
Blush placement for a lifted, long-wear flush
For rounder faces, place blush slightly higher and more back (mid-cheek toward temple) to create lift. For longer faces, keep blush more centered on the cheeks to avoid elongating further.
Layer cream + powder: a thin cream blush under a matching powder blush is one of the most reliable ways to stay fresh through ceremony, cocktails, and dancing—especially if tears are expected.
Highlighter: keep it quiet and strategic
If you want glow, highlight only the high points where light naturally hits: top of cheekbones, a touch on the brow bone, and a tiny tap on the cupid’s bow. Avoid heavy highlight on the nose tip if you’ll be photographed with flash; it can read like an oily hotspot.
Budget Notes: What’s Worth Paying For (and What You Can DIY)
Bridal makeup budgets vary wildly, and “expensive” doesn’t always mean “better for you.” Here’s how to spend intentionally.
If you’re hiring a pro
Typical ranges vary by market, but many artists price bridal makeup higher than bridesmaids because of timing, kit upgrades, and touch-up support. Expect add-ons for early start times, travel, parking, and extra artists for a large bridal party.
What’s worth paying for: a trial (especially if you’re choosing soft blush/bronzer and want it calibrated to your undertone), long-wear complexion prep, and an artist who understands photography lighting.
Where to save: skip overly complex add-ons you don’t need (body glow products can transfer), or reduce service count by having a confident bridesmaid do her own makeup with guidance. If budget is tight, prioritize the bride’s makeup and have bridesmaids choose a simplified “glowy skin + mascara + lip” routine.
If you’re doing your own makeup
DIY can look stunning if you practice and build a small, reliable kit. You don’t need 20 products; you need products that layer well and photograph cleanly.
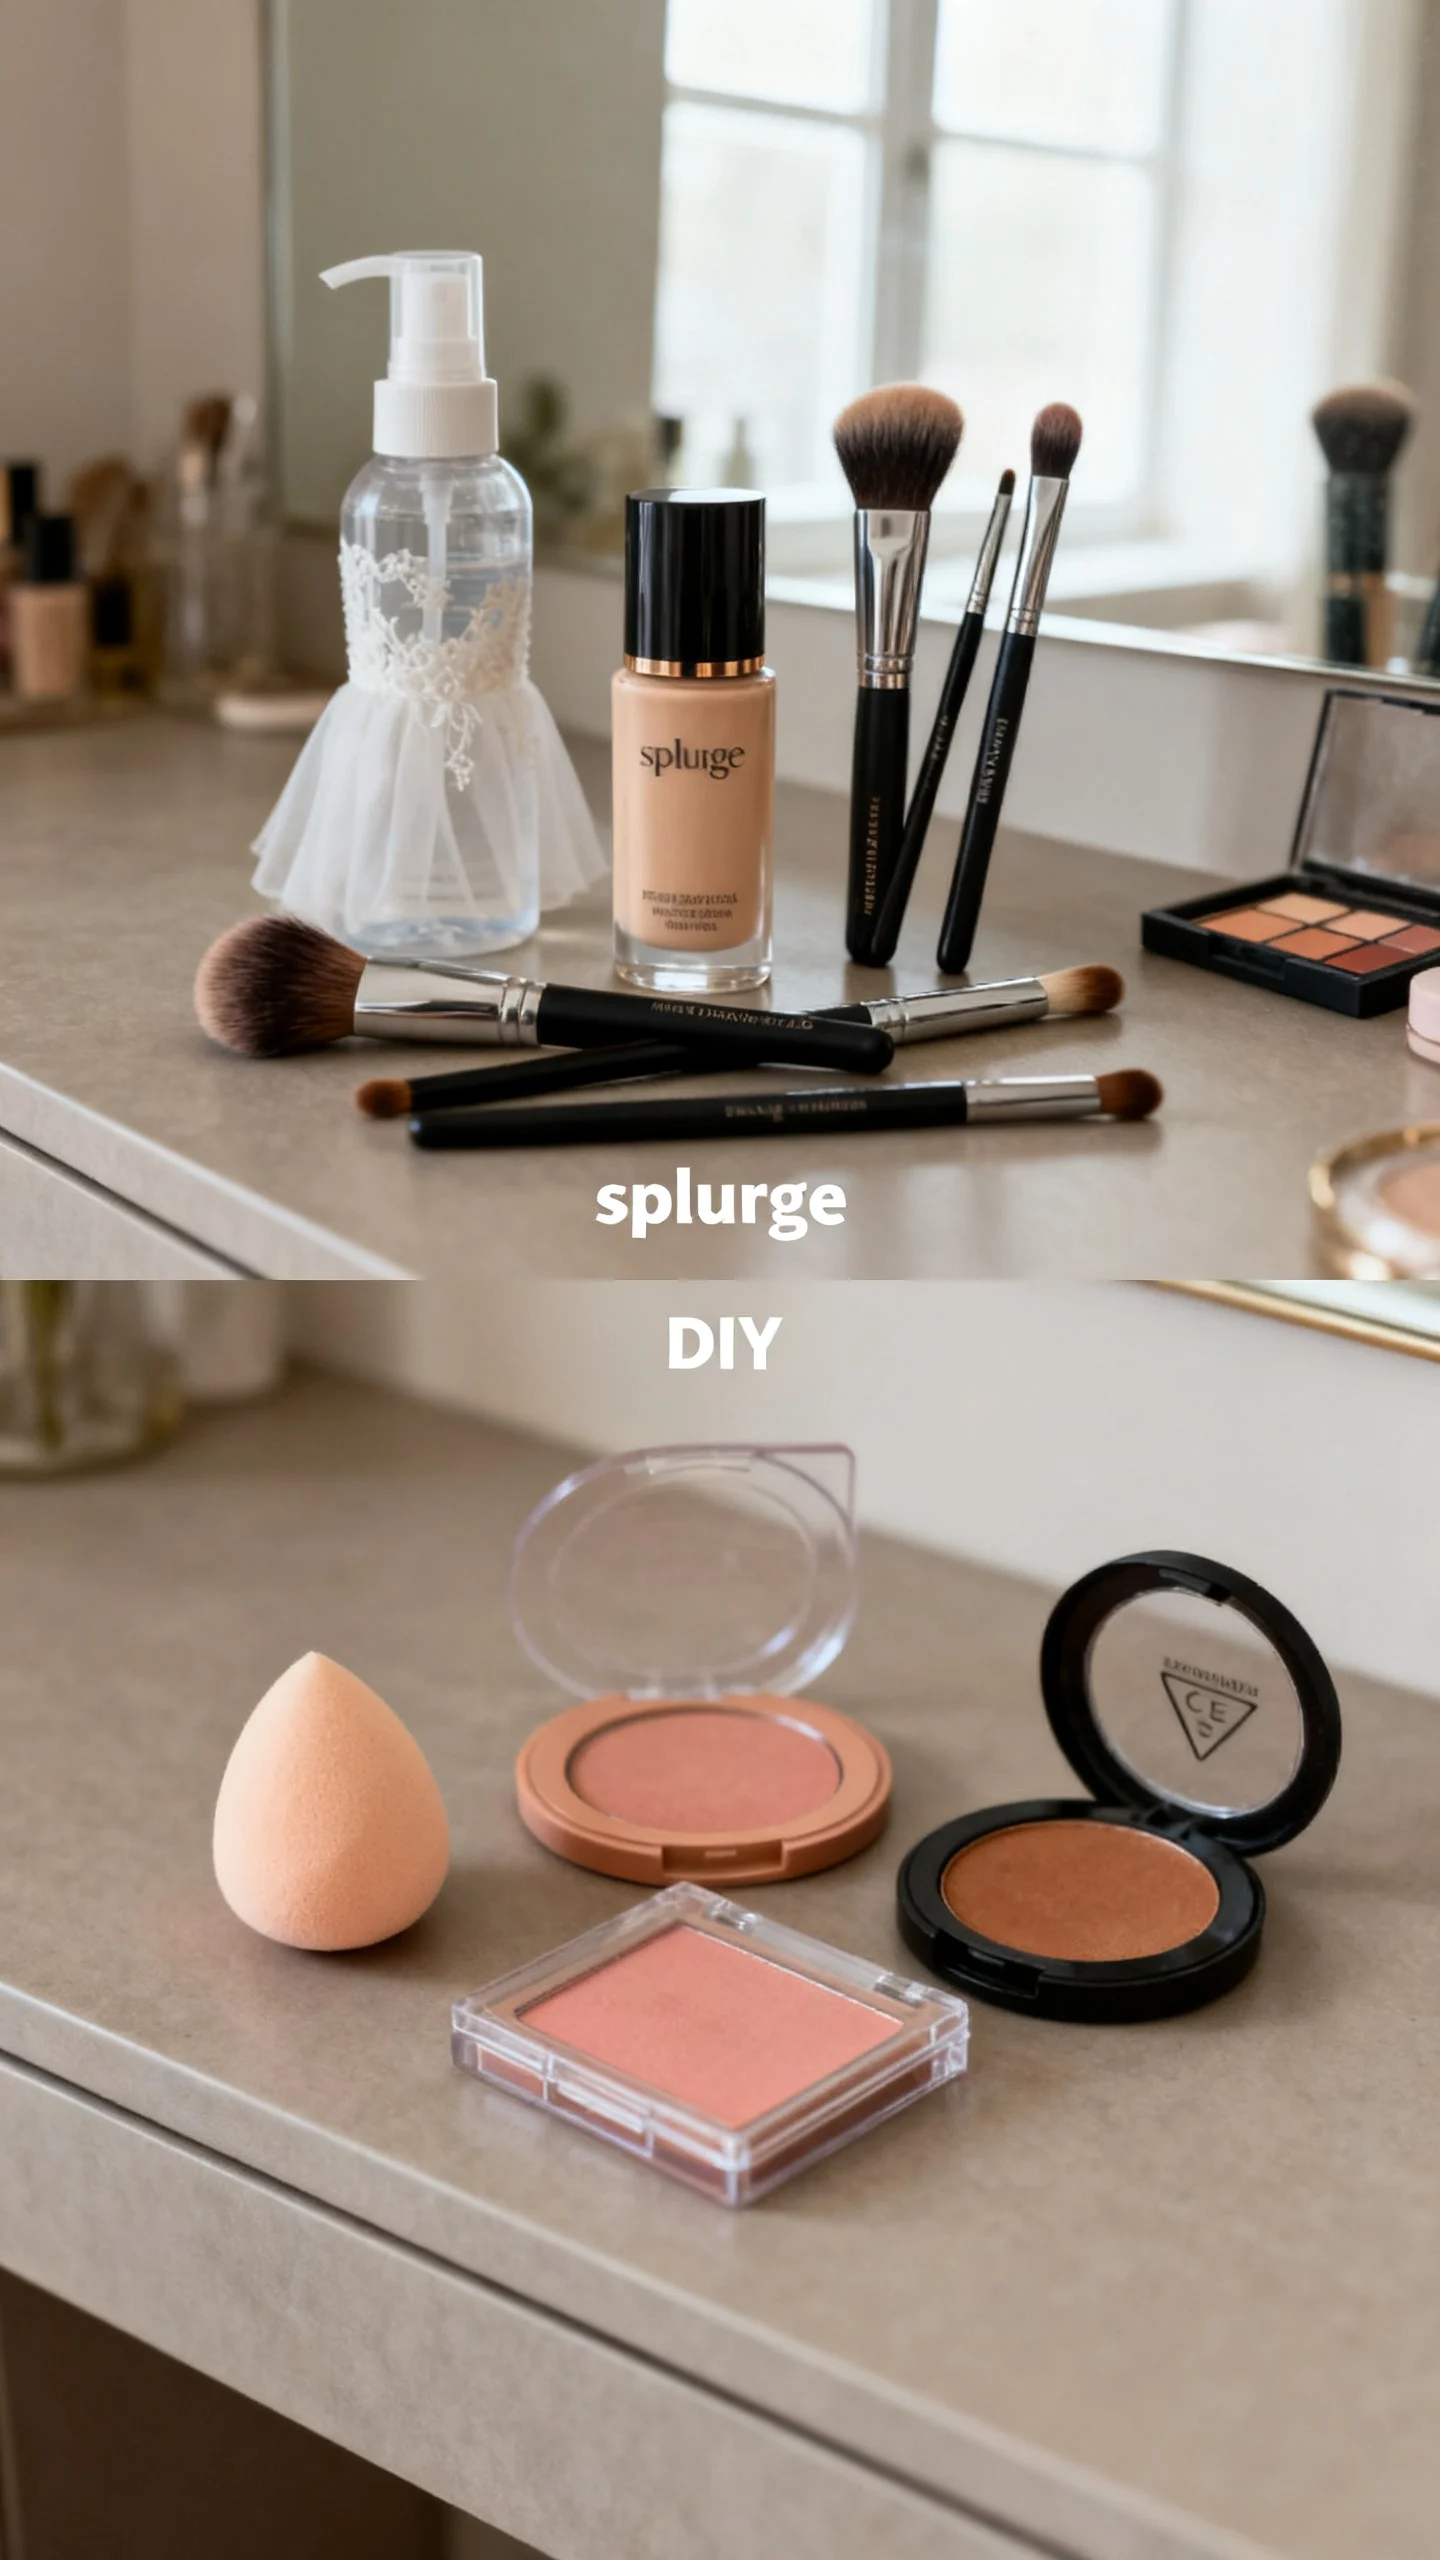
Smart DIY shopping list priorities: a dependable base (tinted moisturizer + concealer, or a long-wear foundation you’ve tested), cream blush, bronzer that blends easily, a setting spray you trust, and a lipstick that fades gracefully. Spend most on base and blush—those make the look.
Money-saving trick: choose multi-use products (cream blush that can also be a lip tint; bronzer that can warm the crease). Fewer layers often look more expensive than a complicated face that’s fighting itself.
Best Ways to Make the Glow Last Through a Full Wedding Timeline
Soft blush and bronzer looks are meant to be fresh—not melted. Longevity is about prep, thin layers, and having the right touch-up plan.
Prep like your photos depend on it (because they do)
Hydrate the skin the week of, but keep wedding morning skincare simple. Avoid trying new acids, peels, or heavy oils within 3–5 days. The goal is smooth texture, not a surprise reaction.
On the day, moisturize, let it sink in, then prime only where needed. If you’re oily, focus primer on the T-zone. If you’re dry, focus on hydration and skip heavy mattifying primers that can make blush/bronzer patchy.
Layering strategy for blush and bronzer
Rule of thumb: cream for realism, powder for staying power. Apply cream bronzer and blush first, then lightly set with powder bronzer/blush in matching tones. This keeps the look soft but durable.
Touch-up kit that actually helps
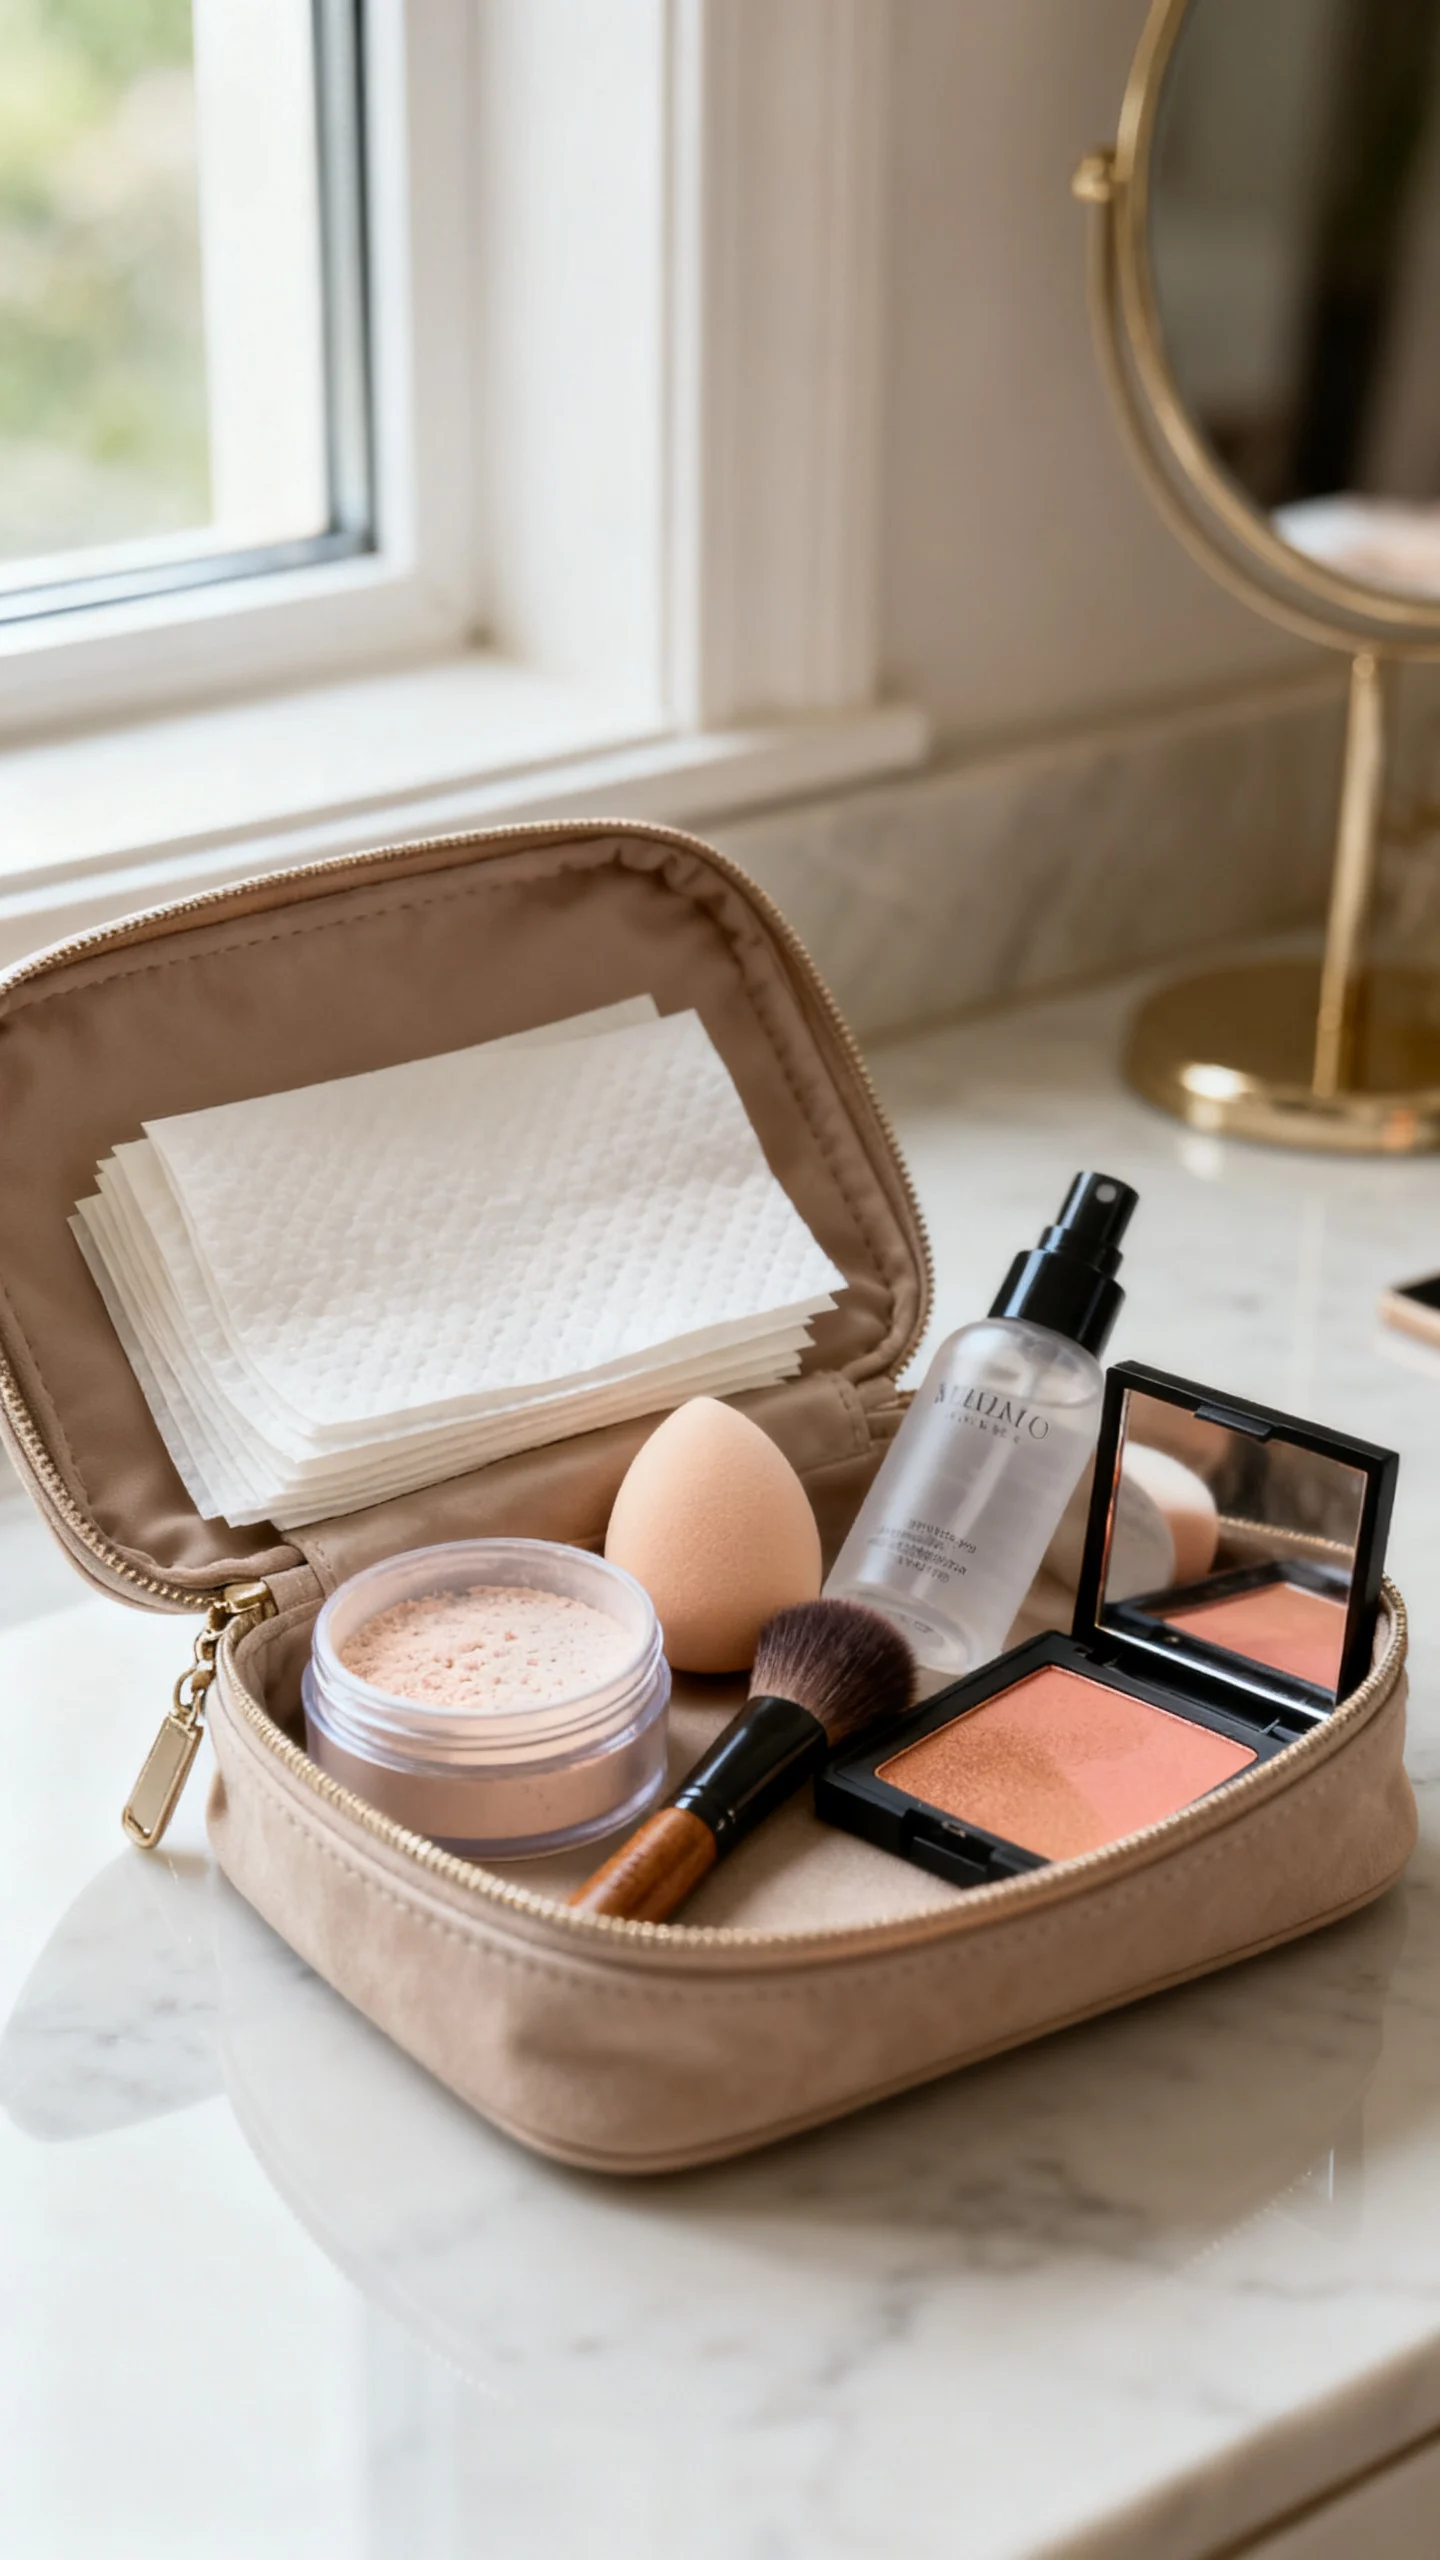
Pack blotting papers, a mini pressed powder (or translucent powder), your lip product, and a small brush. Skip bringing five palettes; you won’t use them. For glow, consider a travel setting spray rather than adding more highlight later.
Timing tip: build in a 10-minute “glow check”
Schedule a quick mirror check right before the ceremony and again before grand entrances. These are the two moments you’ll be photographed the most, and a tiny adjustment (blot + reapply lip + tap blush) makes a big difference.
Common Mistakes to Avoid with Soft Blush + Bronzer Bridal Makeup
These are the issues that most often turn a dreamy glow into something you regret in photos.
Choosing bronzer that’s too orange or too dark
Bronzer should look like warmth, not a new skin tone. If it’s pulling orange in your trial, switch to a more neutral shade or use less product and build gradually. For deeper skin tones, look for bronzers with rich, true-brown or red-brown undertones rather than ashy powders that can look gray.
Placing blush too low
Low blush placement can drag features down and can read like redness rather than a romantic flush. Keep the strongest color higher on the cheek and blend outward.
Overdoing shimmer
Glow is not the same as glitter. In wedding photos, visible shimmer particles can look textured. Opt for a satin sheen and reserve any sparkle for eyes if that’s your style.
Skipping a flash test
If your photographer uses flash (most do at receptions), take a phone photo with flash at your trial, especially if you’re using SPF, silica-heavy powders, or ultra-reflective products. A quick test can prevent a “white cast” surprise.
Not planning for tears, hugs, and heat
If you’re emotional (or it’s a humid venue), choose waterproof mascara, a long-wear base, and cream products set with powder. Also consider how often you’ll be hugging people—transfer is real, especially with bronzer along the jawline and body glow on shoulders.
Styling Notes: Matching Your Glow to Hair, Dress, and Florals
Bridal makeup looks best when it feels like part of the whole design, not a separate decision.
Dress color and fabric
Bright white satin is reflective and can make very soft makeup appear even softer—so you may want slightly more blush than you think. Warmer ivory lace pairs beautifully with peachy or rosy tones and a gentle bronzed perimeter.
Hair color and accessories
Golden hair accessories and warm-toned jewelry love peach and bronze. Silver and pearls pair beautifully with rose and neutral bronzer. If you’re wearing a strong hairpiece or veil detail, keep cheek shimmer subtle so the overall look stays elevated.
Florals and overall palette
If your bouquet is blush/ivory/green, lean into rose or peach cheeks. If your palette includes terracotta, rust, or sunset tones, choose bronzer that’s warm-neutral and a blush that echoes the flowers (but still looks natural on skin).
Final Takeaway: Your Best Bridal Glow Is the One That Holds Up to Your Day
Soft blush and bronzer bridal glow makeup works because it’s adaptable: you can make it barely-there or more defined without losing that wedding-day softness. Choose placement that lifts, shades that match your undertone, and finishes that suit your venue lighting. Most of all, plan for longevity—thin layers, set strategically, and do a flash test—so your glow looks intentional from aisle to after-party.
When in doubt, aim for “fresh, warm, and well-blended.” That combination is timeless, flattering, and always camera-friendly.
FAQ
How do I pick between peach blush and rosy blush for my wedding?
Match your undertone and your overall styling. Peach tends to flatter warm and neutral undertones and looks especially cohesive with gold jewelry and warm florals. Rosy or dusty rose is gorgeous on cool-to-neutral undertones and pairs beautifully with pearls, silver, and classic romantic styling. If you’re unsure, test both in daylight and take a flash photo.
Should I use cream or powder bronzer for bridal glow?
For most brides, a combination works best: cream bronzer for a natural skin-like finish, then a light dusting of powder bronzer to lock it in. If you’re very oily or your ceremony is outdoors in heat, powder may wear longer. If you’re dry or getting married in cooler weather, cream can look smoother and more luminous.
How can I keep blush looking fresh without constant touch-ups?
Use the layering method: apply a thin cream blush, then set it with a matching powder blush. Keep the strongest pigment higher on the cheeks and blend well so fading looks graceful. Also, avoid heavy skincare oils right before makeup—slippage is a common reason blush disappears.
What’s the biggest “glowy bride” mistake in photos?
Too much reflectivity in the center of the face—especially the nose and forehead—can read as shine under flash or strong venue lighting. Keep glow focused on cheekbones, use setting powder strategically in the T-zone, and do a quick flash test during your trial so your makeup reads luminous, not oily.