
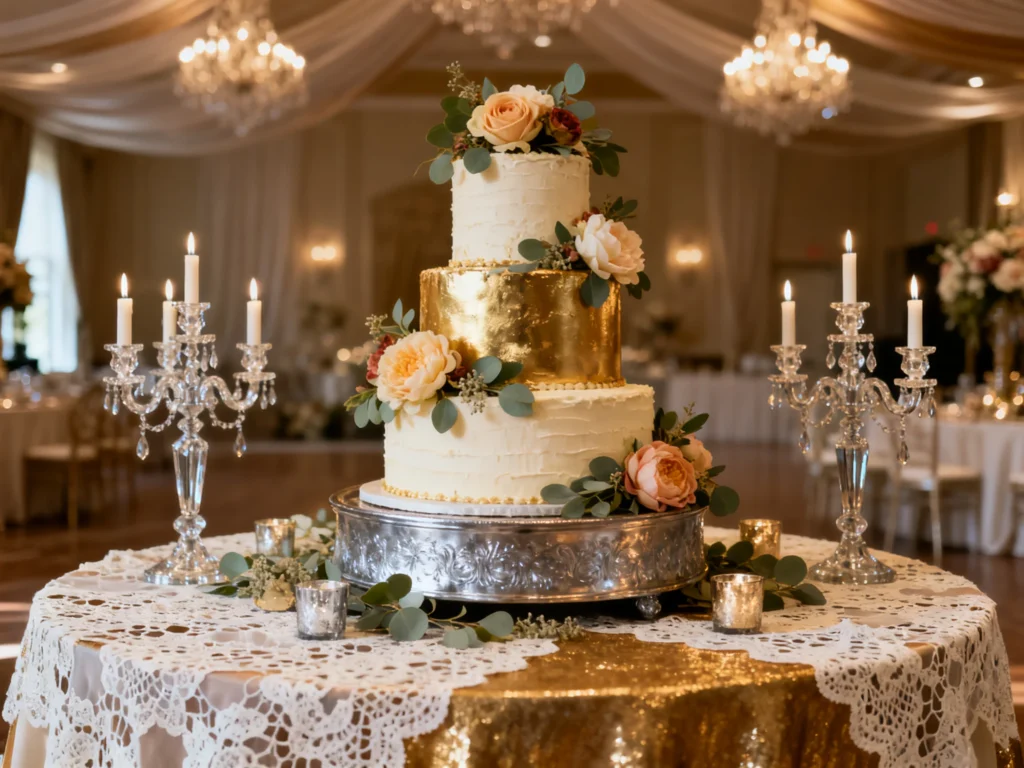
Your cake table is more than a place to park dessert—it’s a mini moment that guests naturally photograph, circle back to, and remember. With a few intentional decoration choices, you can make the display look curated (not cluttered), on-theme (not random), and elevated (without feeling fussy).
Below are practical cake table decoration ideas that work across styles—from garden romance to modern minimalism—plus simple pitfalls to dodge so your dessert display stands out for all the right reasons.
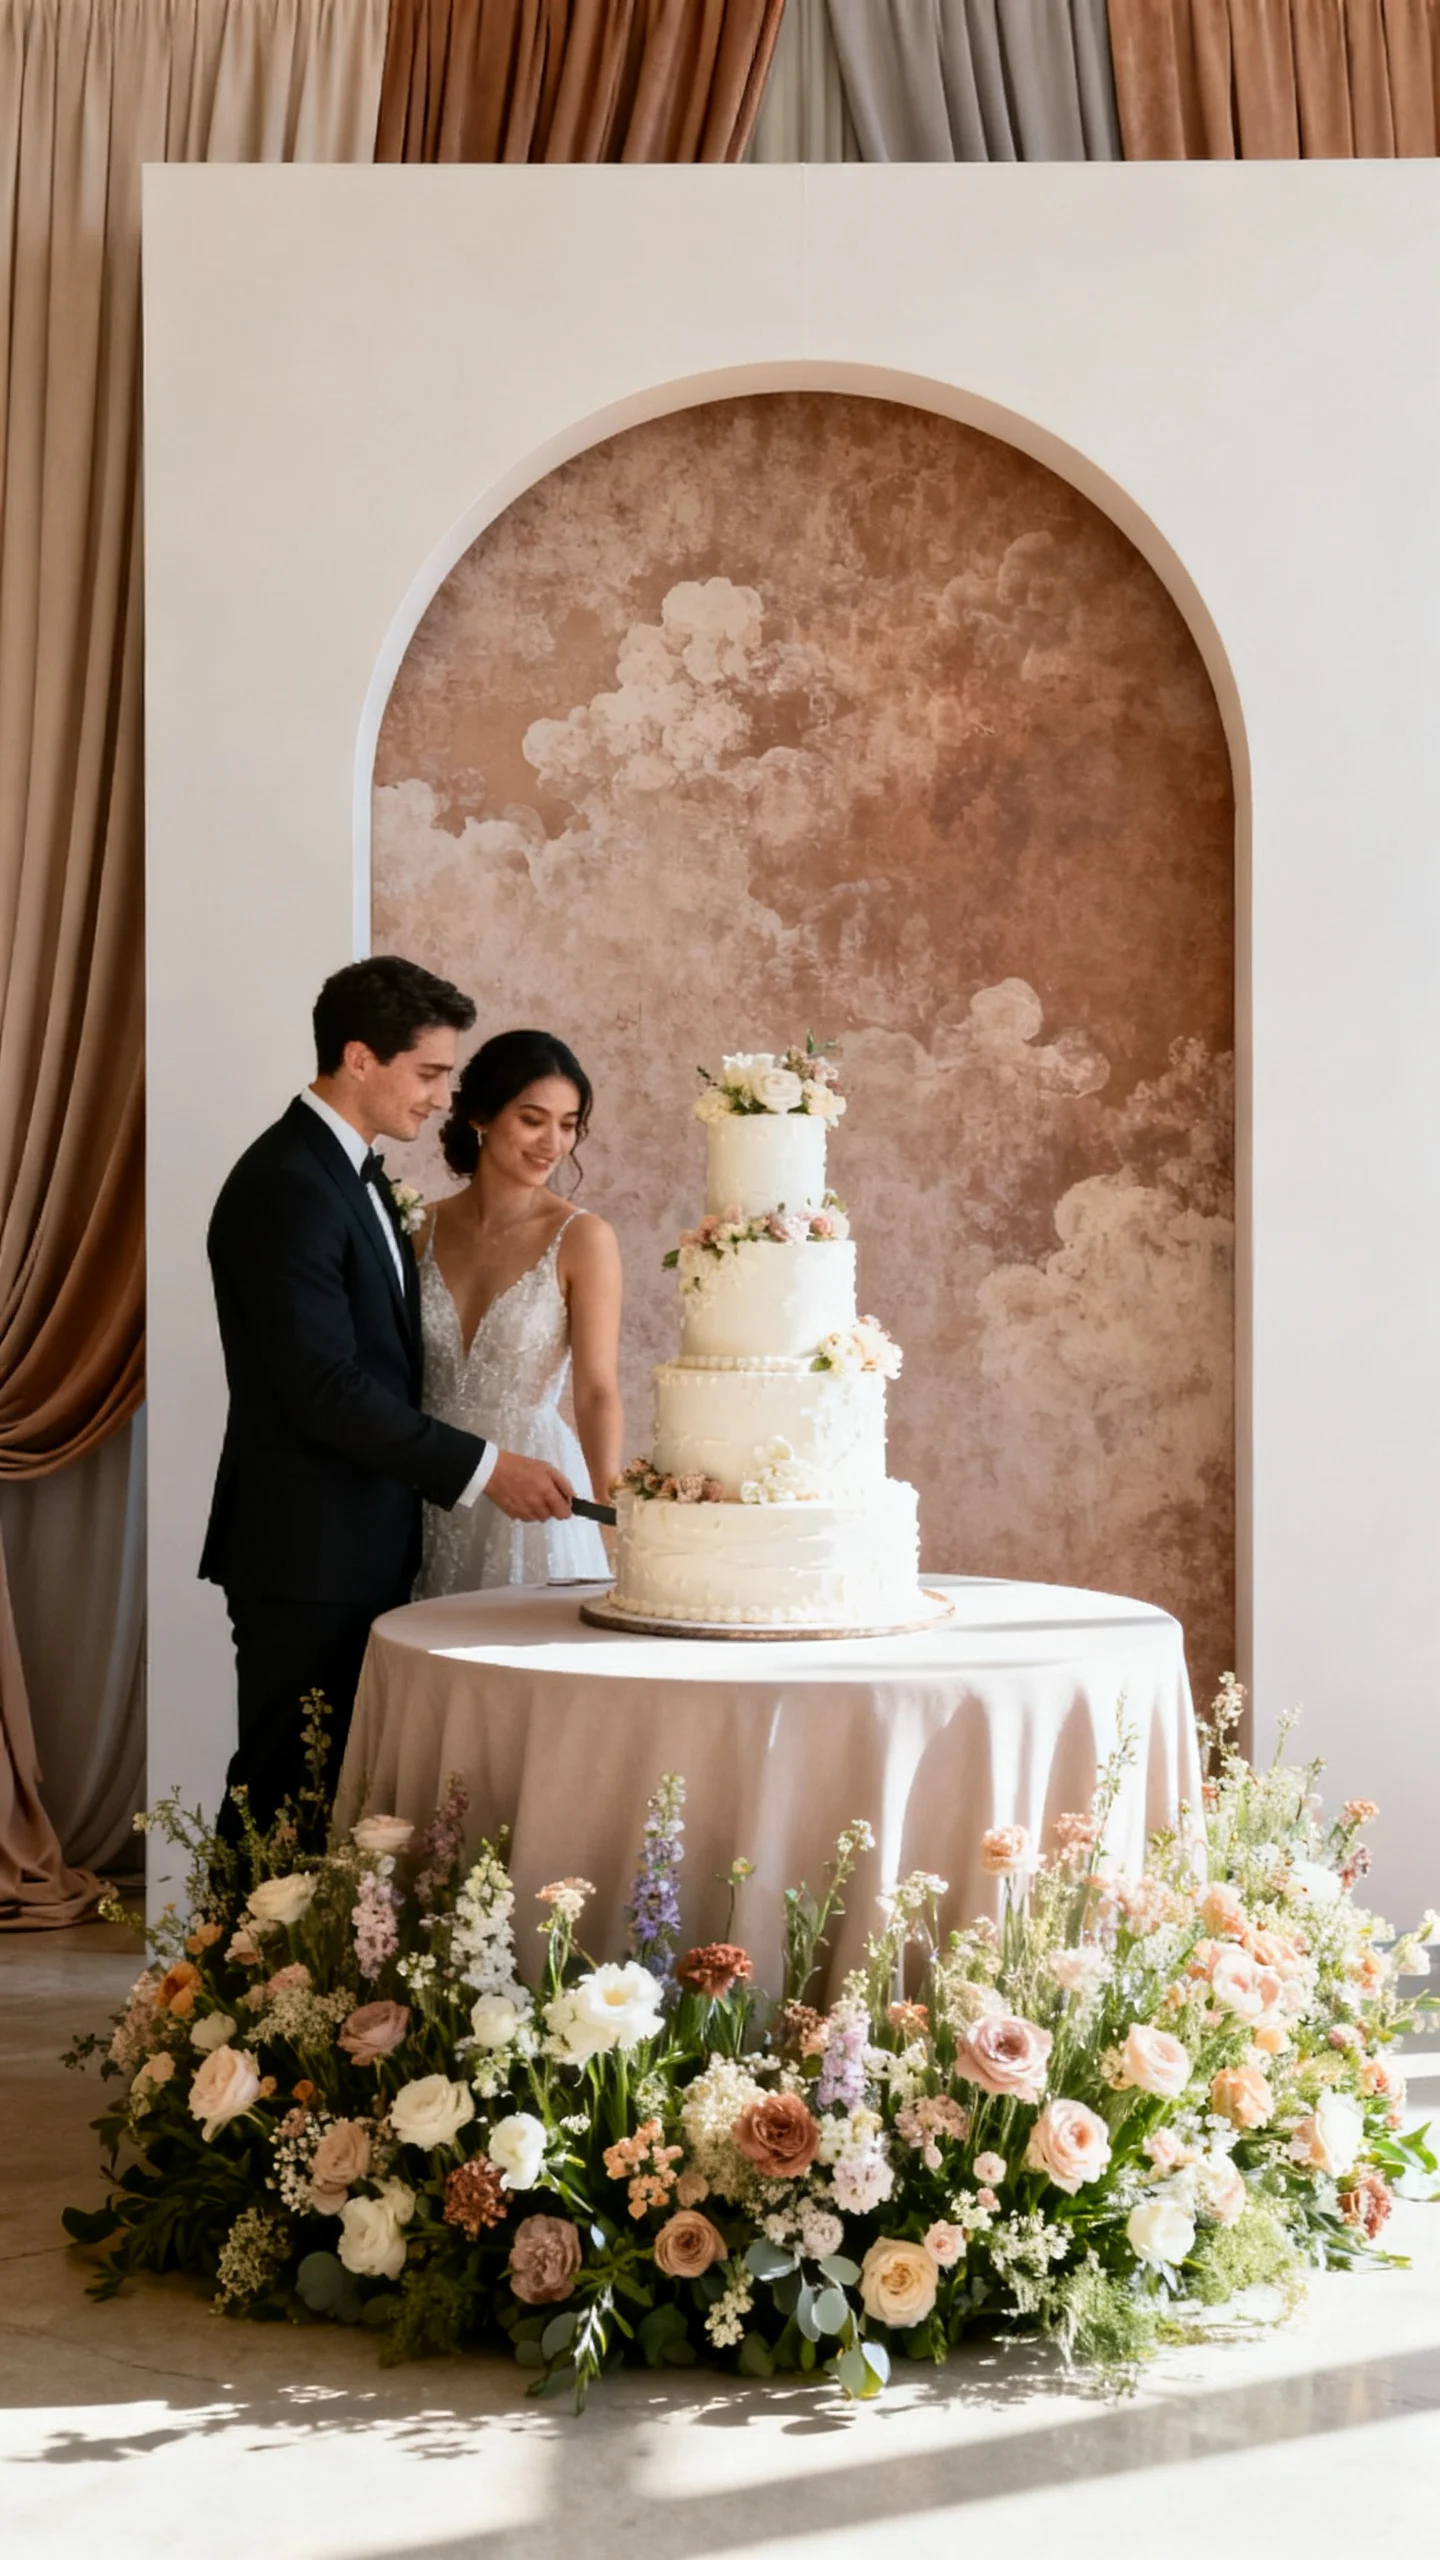
Choose a statement backdrop that frames the cake
A backdrop instantly tells guests, “This is the moment,” and it gives photos a clean, intentional background. Try a draped fabric panel, a floral meadow at the base, a textured wall rental, or a simple arch that echoes your ceremony shape. This works especially well for venues with busy walls, mirrors, or service doors behind the table. Keep the palette tied to your florals so the cake doesn’t disappear against the backdrop or clash with it. For modern weddings, use a solid neutral or tone-on-tone texture; for romantic styles, soft draping or a flower cloud reads dreamy. Mistake to avoid: placing a detailed cake in front of a heavily patterned backdrop—choose one “hero” and let the other be supportive.
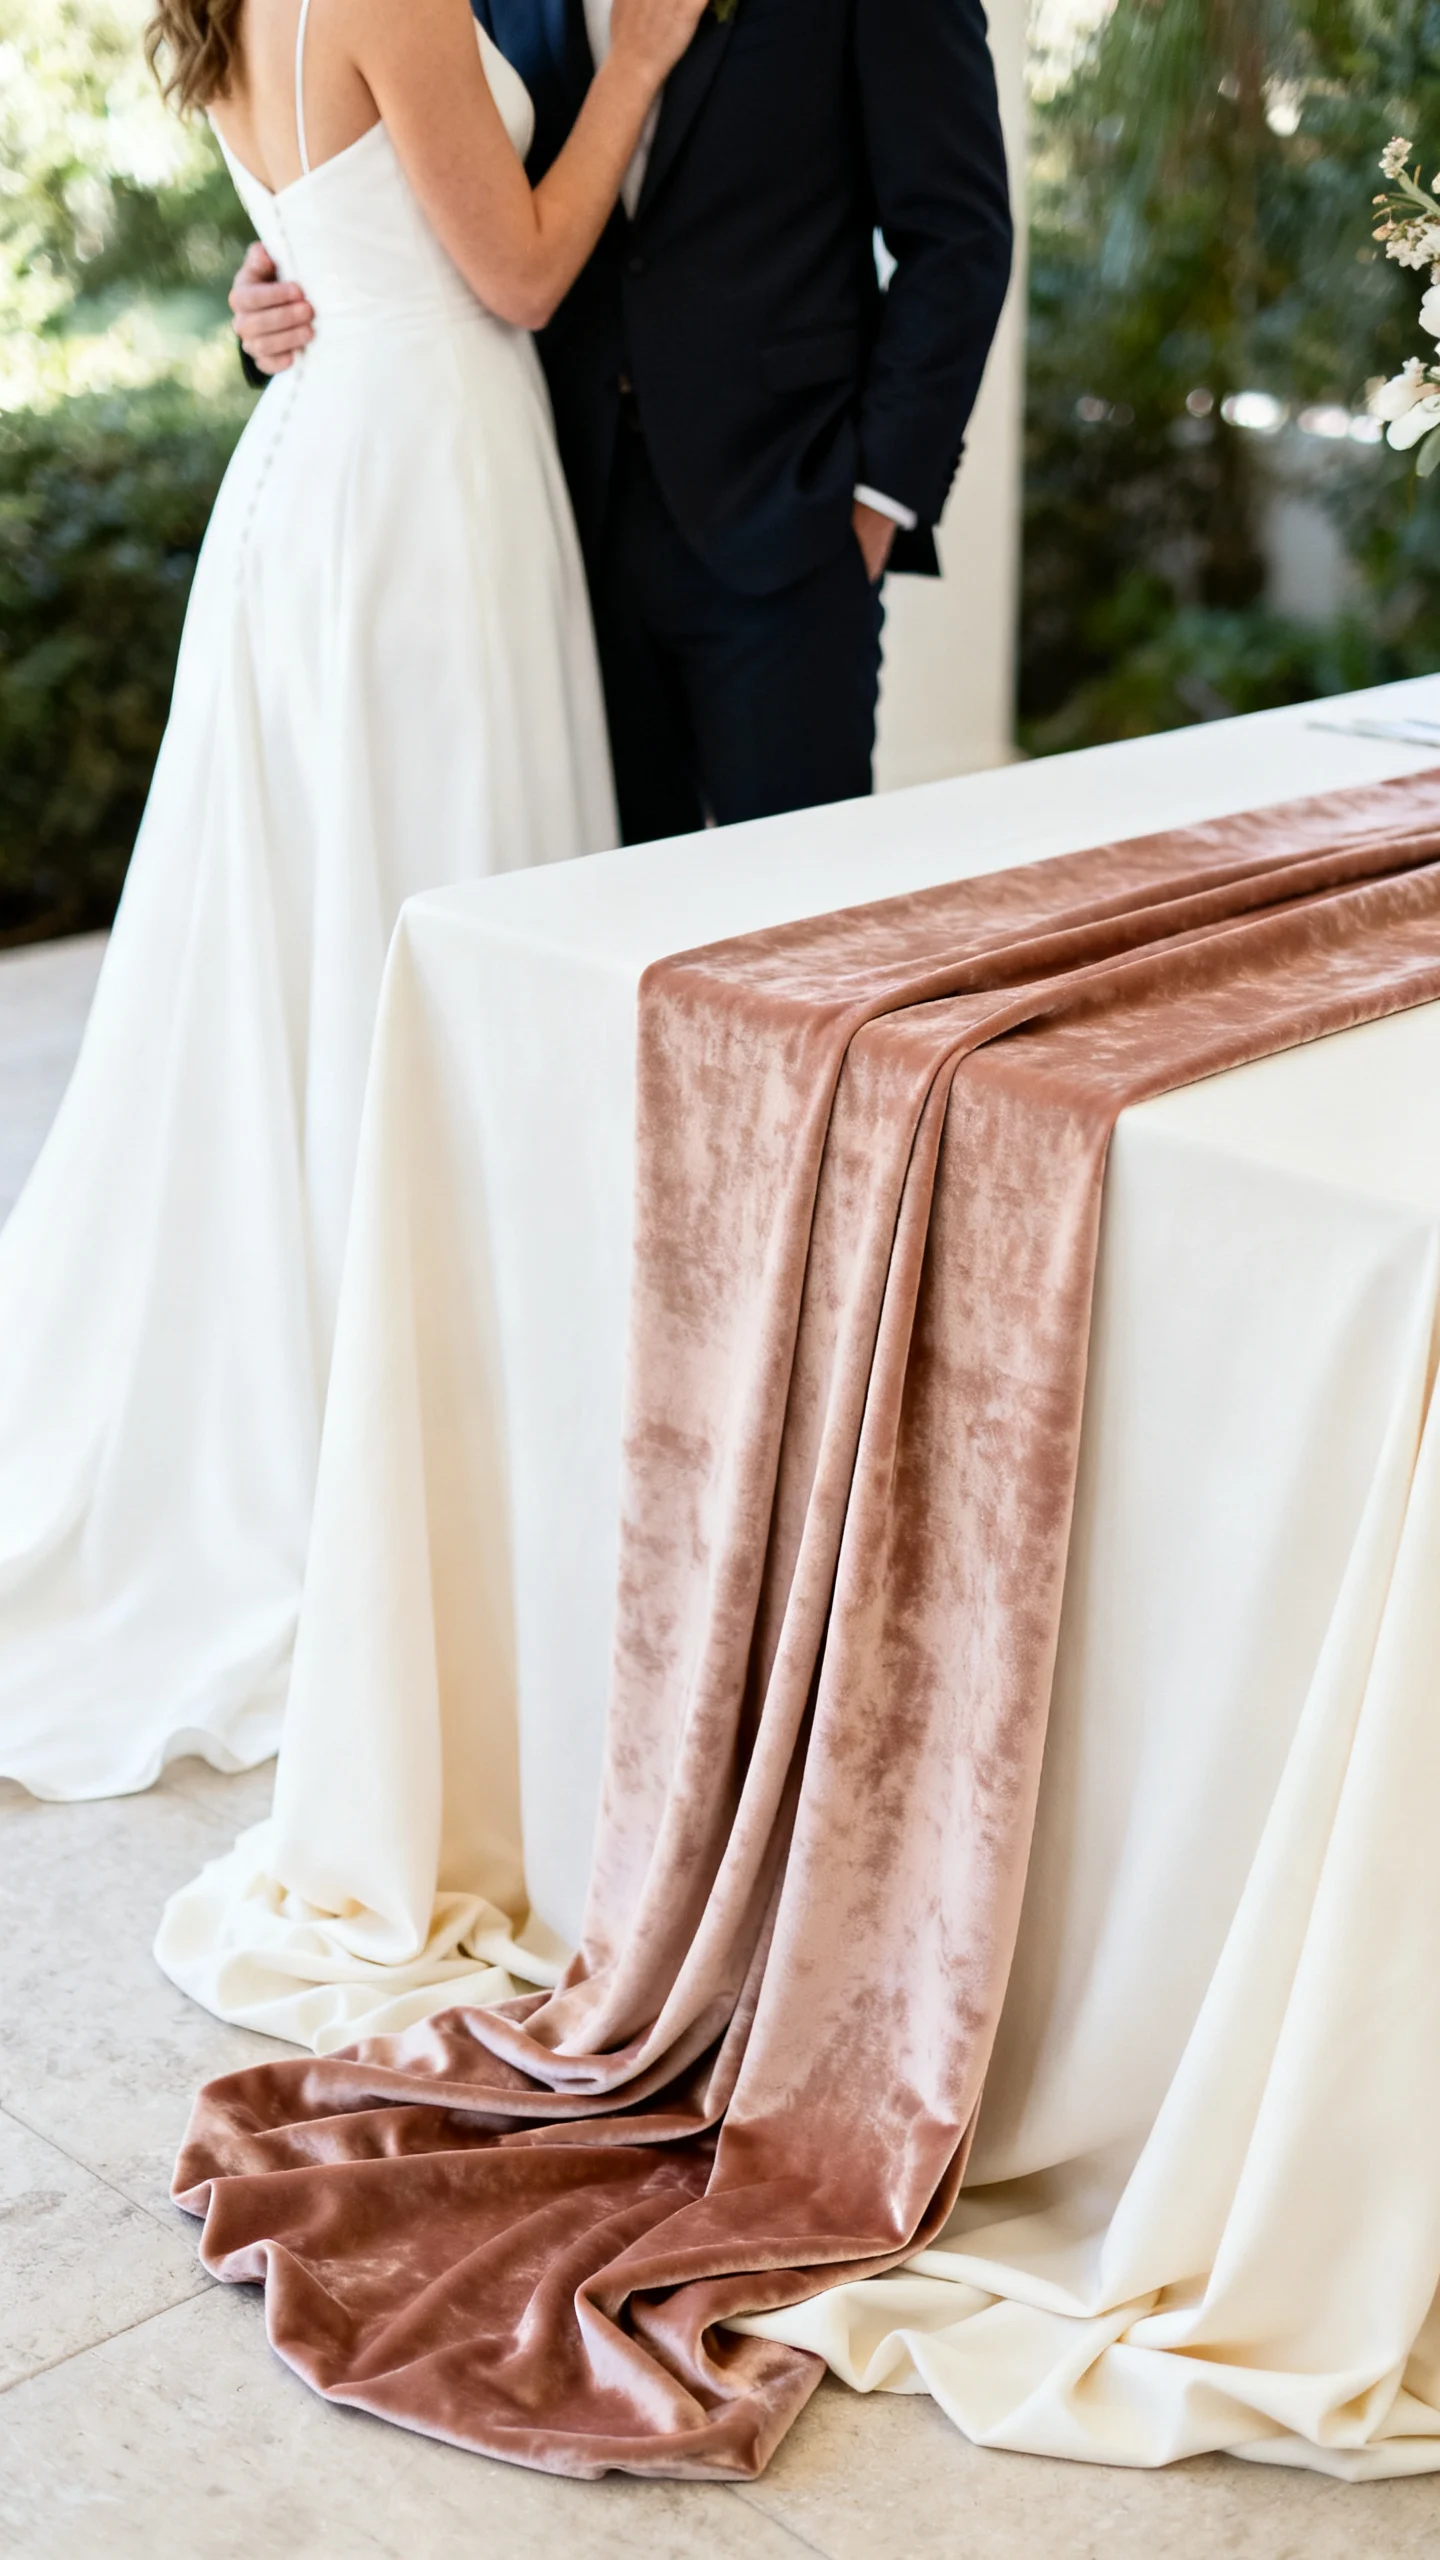
Layer linens for depth, not just coverage
Linens are the quickest way to make a basic table feel styled, and layering creates dimension that photographs beautifully. Start with a floor-length base linen, then add a topper or runner in a complementary texture like gauze, velvet, or embroidered organza. This approach is perfect for couples who want a luxury look without adding more props. Keep the top layer slightly off-center or softly gathered so it feels intentional and editorial rather than stiff. Match undertones: warm whites (ivory) pair best with champagne and blush, while cool whites shine with crisp gray, black, or icy pastels. Mistake to avoid: a runner that’s too narrow—aim for enough width that it reads from across the room.
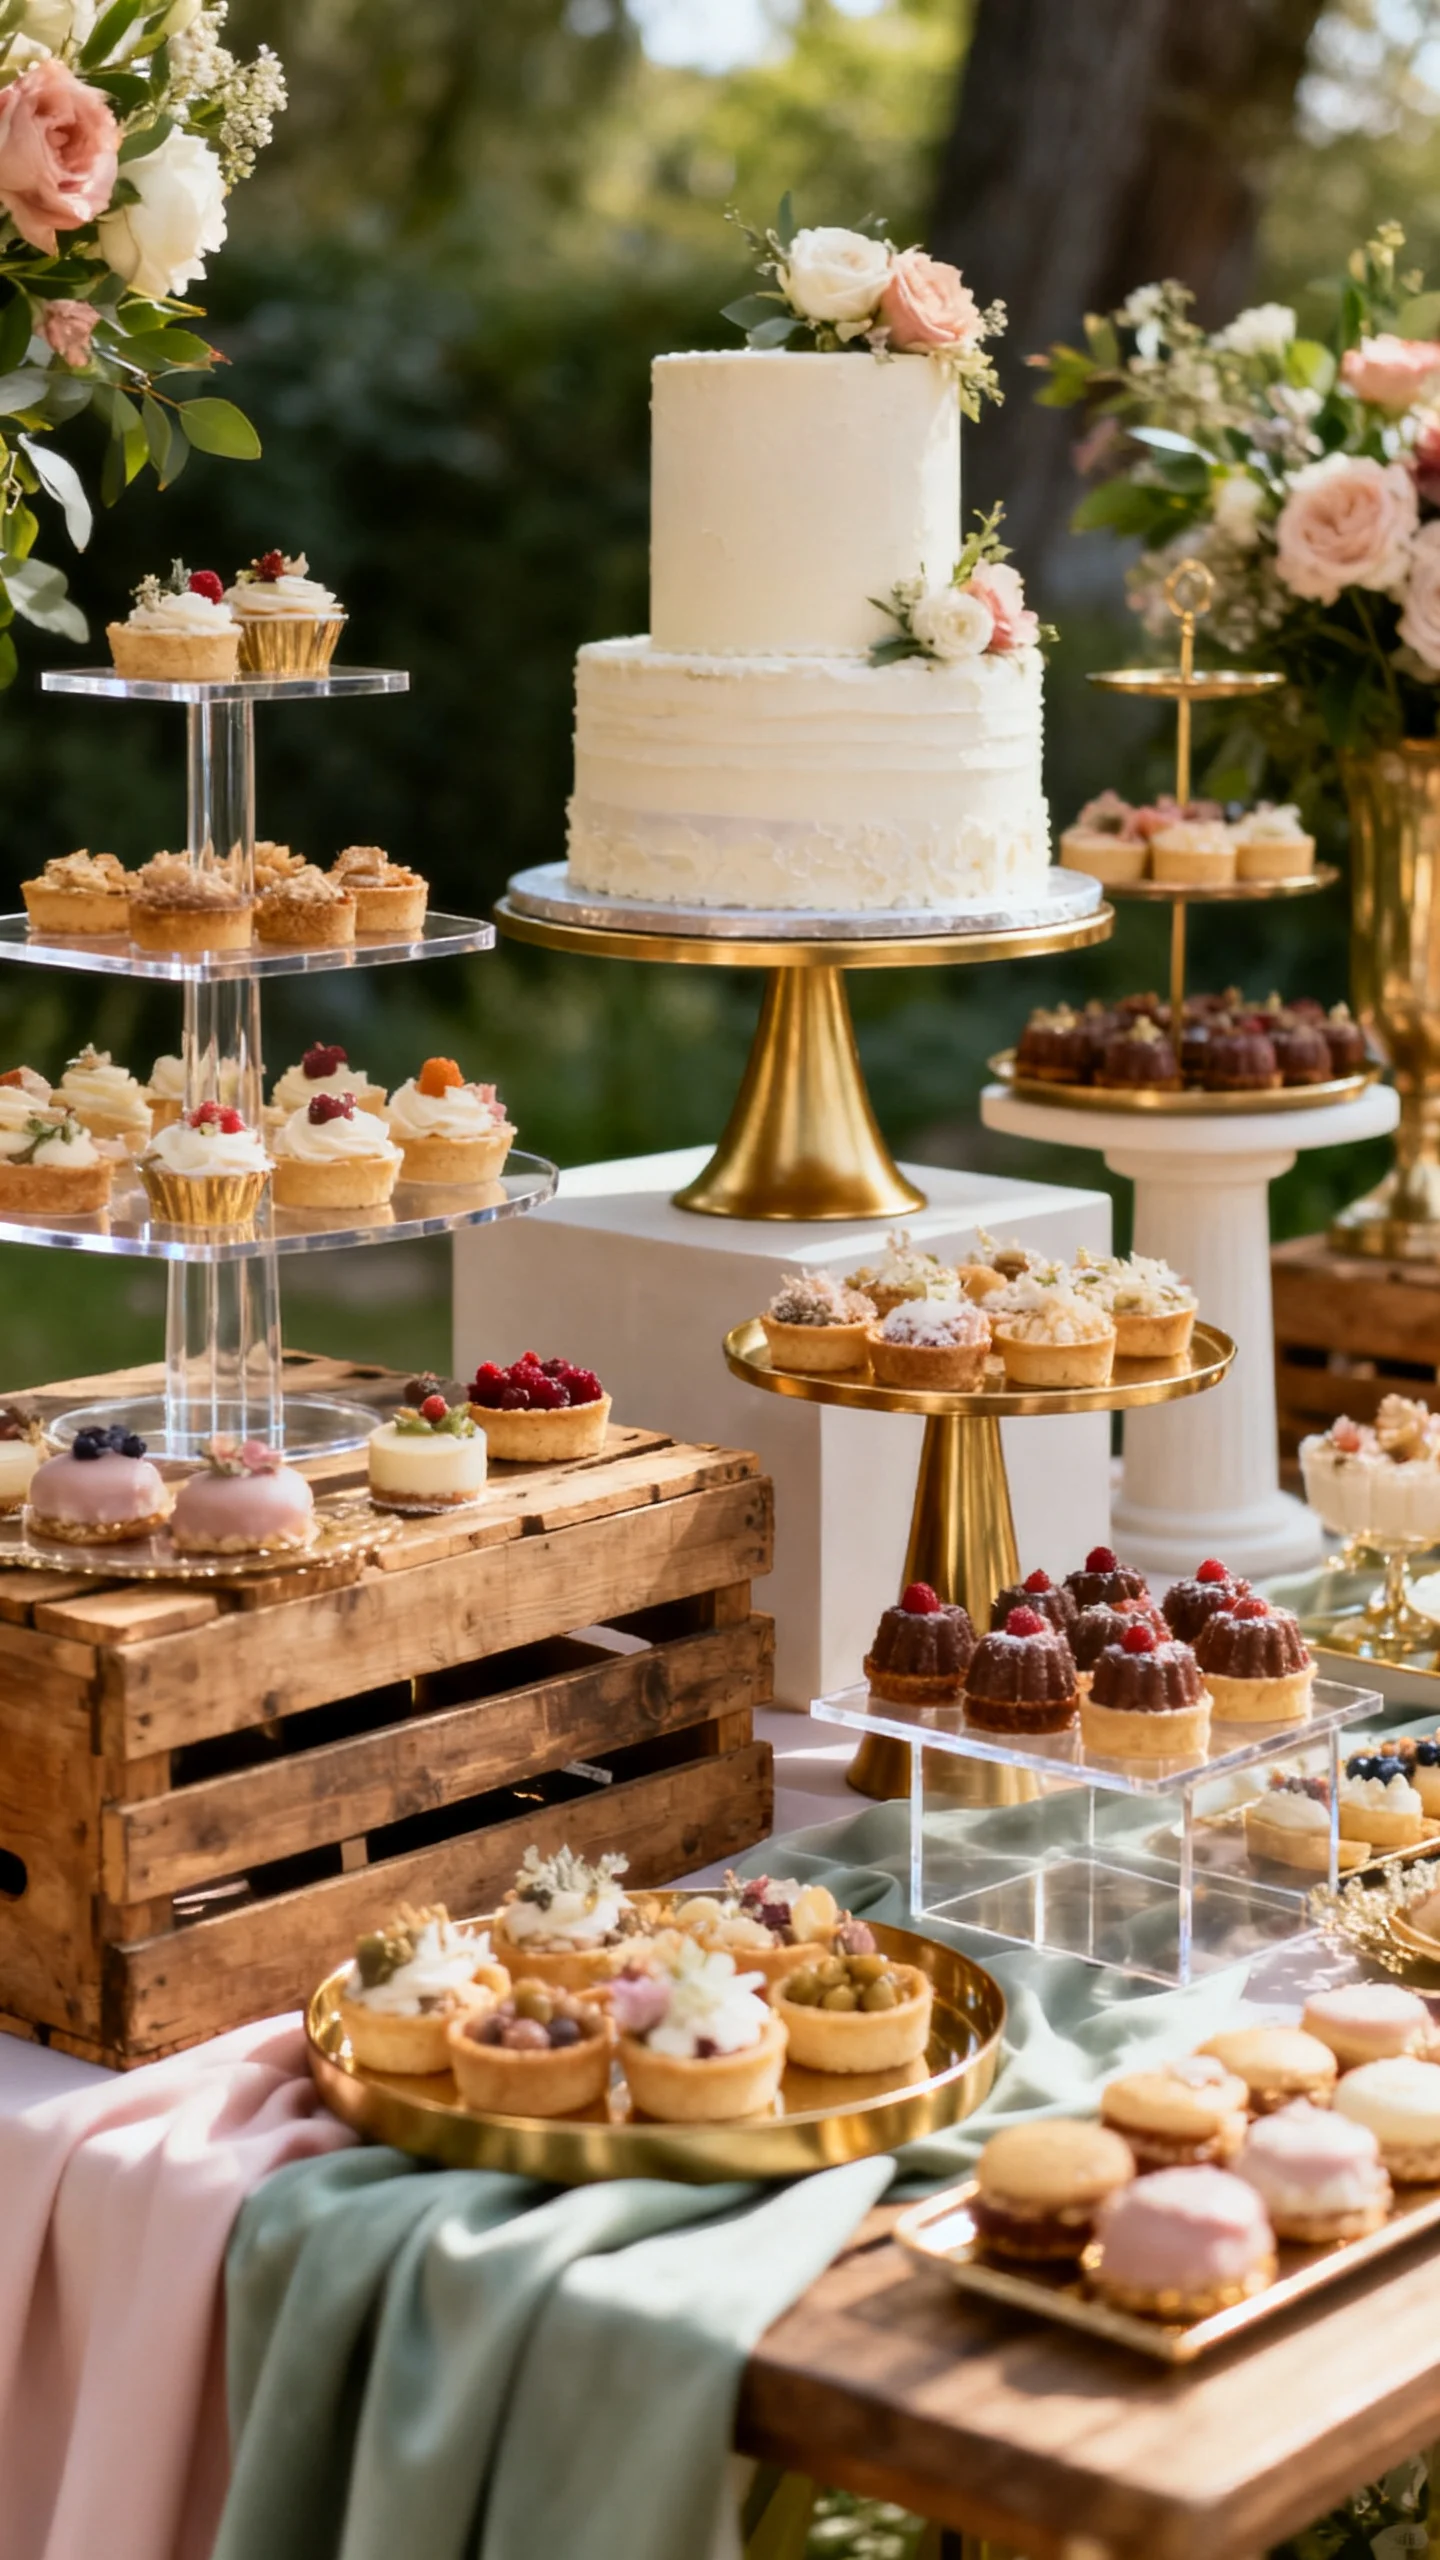
Build height with risers, pedestals, and tiers
Height variation makes a dessert display feel abundant and designed, even if you’re serving fewer items. Use cake stands, acrylic risers, wood crates, or pedestal plinths to create a gentle “skyline” with the cake as the tallest point. This is a great solution for long banquet rooms where guests will view the table from far away. Keep materials consistent—mixing three different metal finishes can quickly look chaotic. Place taller items toward the back and lower items toward the front so every treat stays visible and reachable. Mistake to avoid: unstable stacking (like plates on boxes); test and secure risers so nothing wobbles during cutting and serving.
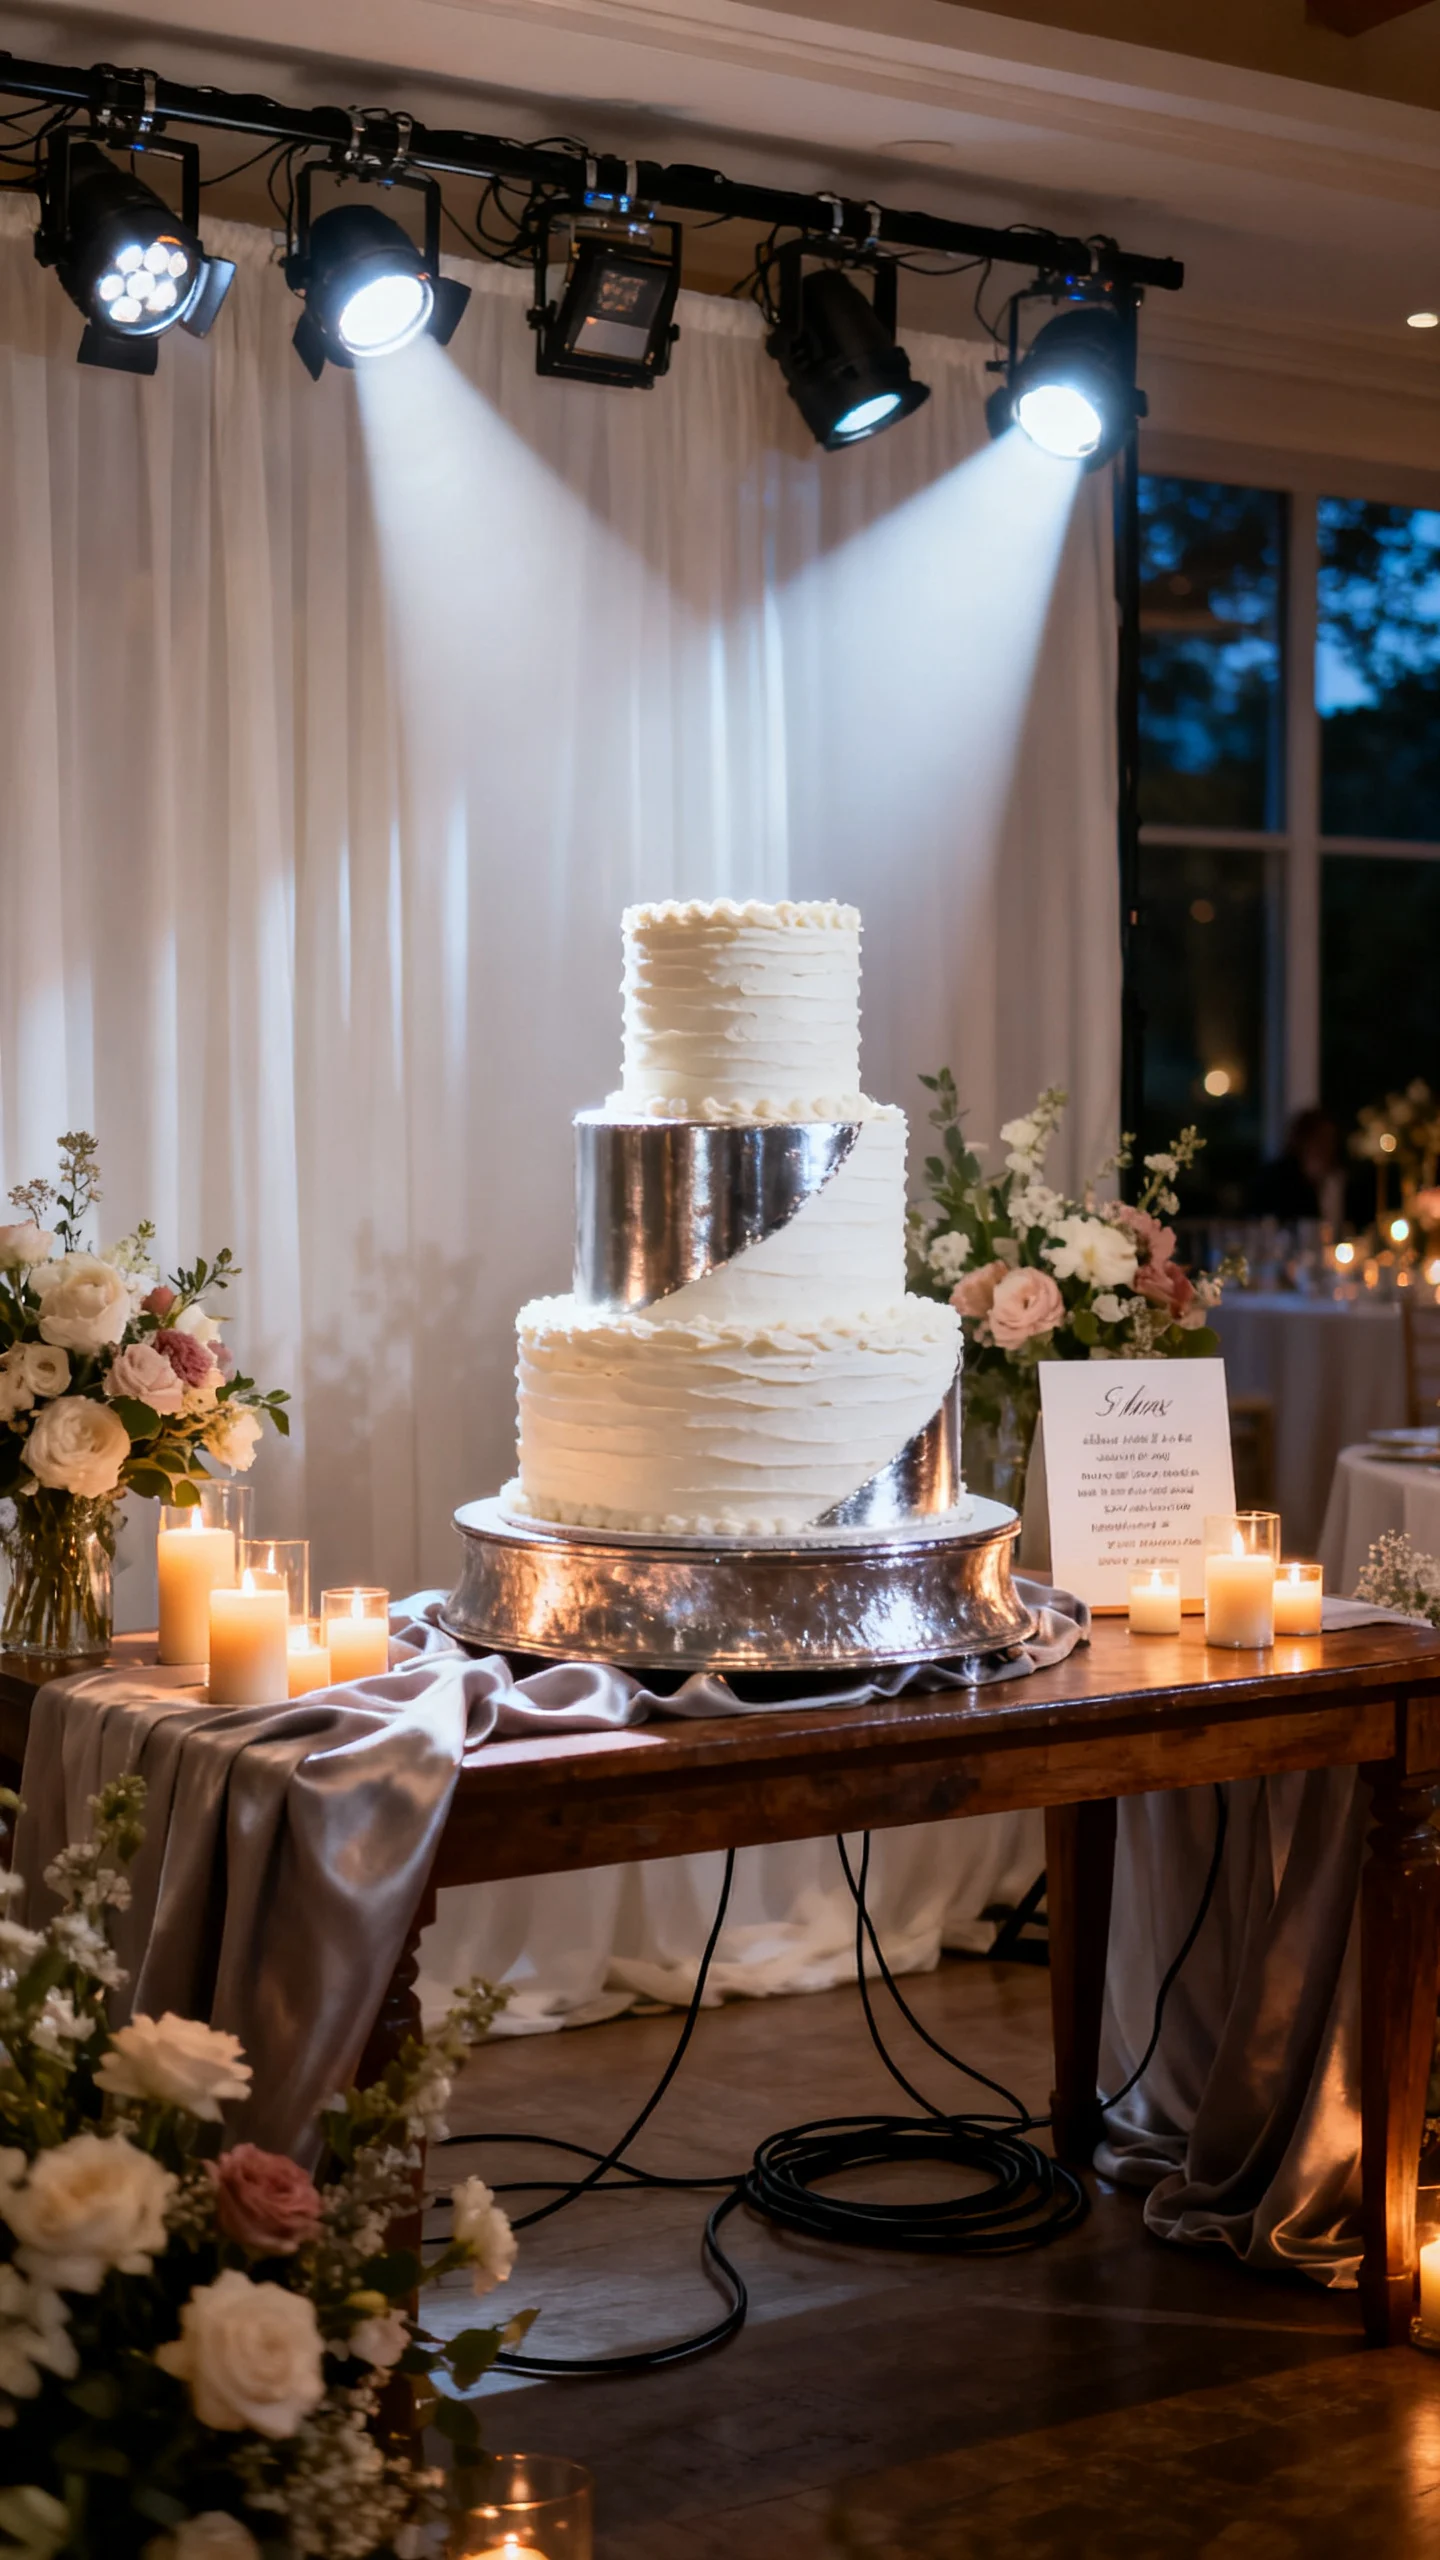
Add focused lighting for a soft, photo-ready glow
Lighting is the secret ingredient that turns a pretty cake table into a standout moment, especially at evening receptions. Consider pin-spotting from the venue, battery-powered picture lights above a backdrop, or warm LED candles for a romantic glow. This works best for candlelit, moody, or ballroom weddings where overhead lighting can flatten details. Aim for warm temperature light so whites look creamy, not blue, and metallic accents feel rich. Keep cords hidden and choose fixtures that blend into the design rather than becoming the main character. Mistake to avoid: using harsh uplighting directly behind the cake, which can create unflattering shadows and make frosting look dull.
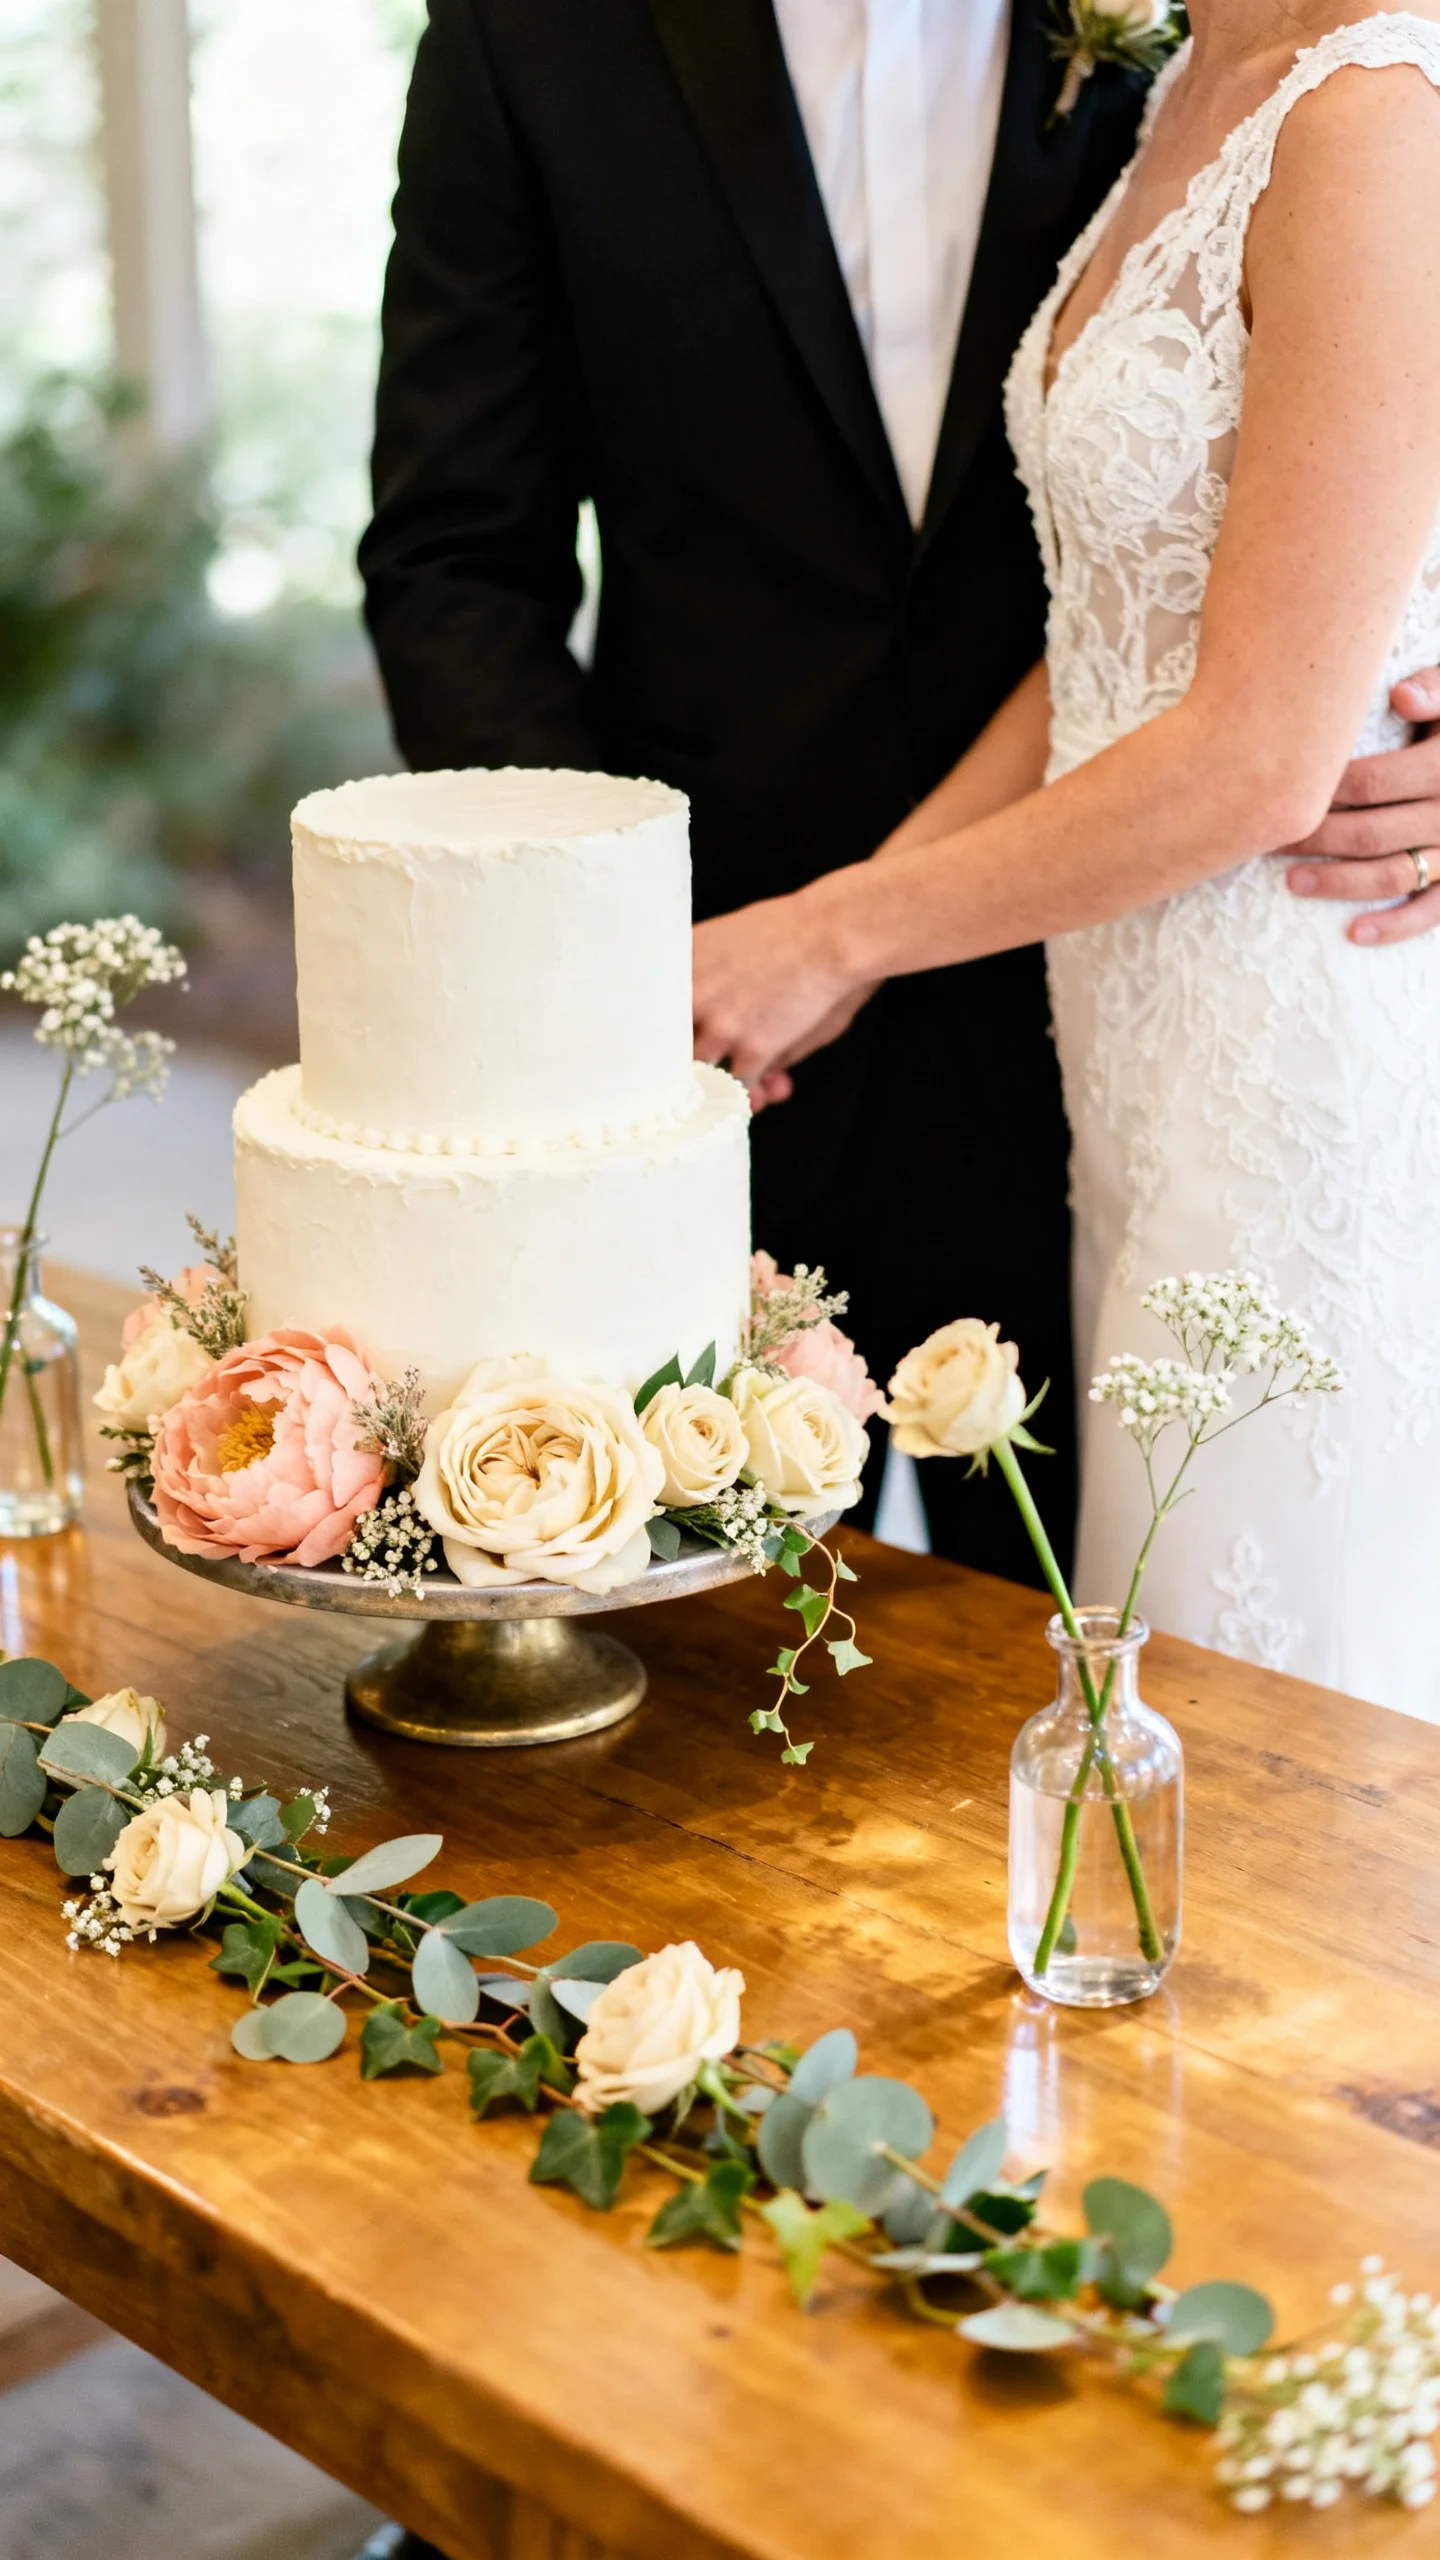
Style florals strategically—small, intentional placements win
You don’t need a huge floral install to make an impact; a few well-placed arrangements can look high-end and cohesive. Use a low compote or meadow-style cluster at the cake base, plus one or two bud vases to extend the design across the table. This approach is perfect for couples working with smaller floral budgets or venues that already have visual character. Keep flowers slightly below cake height so the dessert remains the focal point, and repeat a few blooms from your bouquets for continuity. Add greenery sparingly—too much can overwhelm small desserts and look messy in close-up photos. Mistake to avoid: placing strongly scented flowers too close to uncovered desserts.
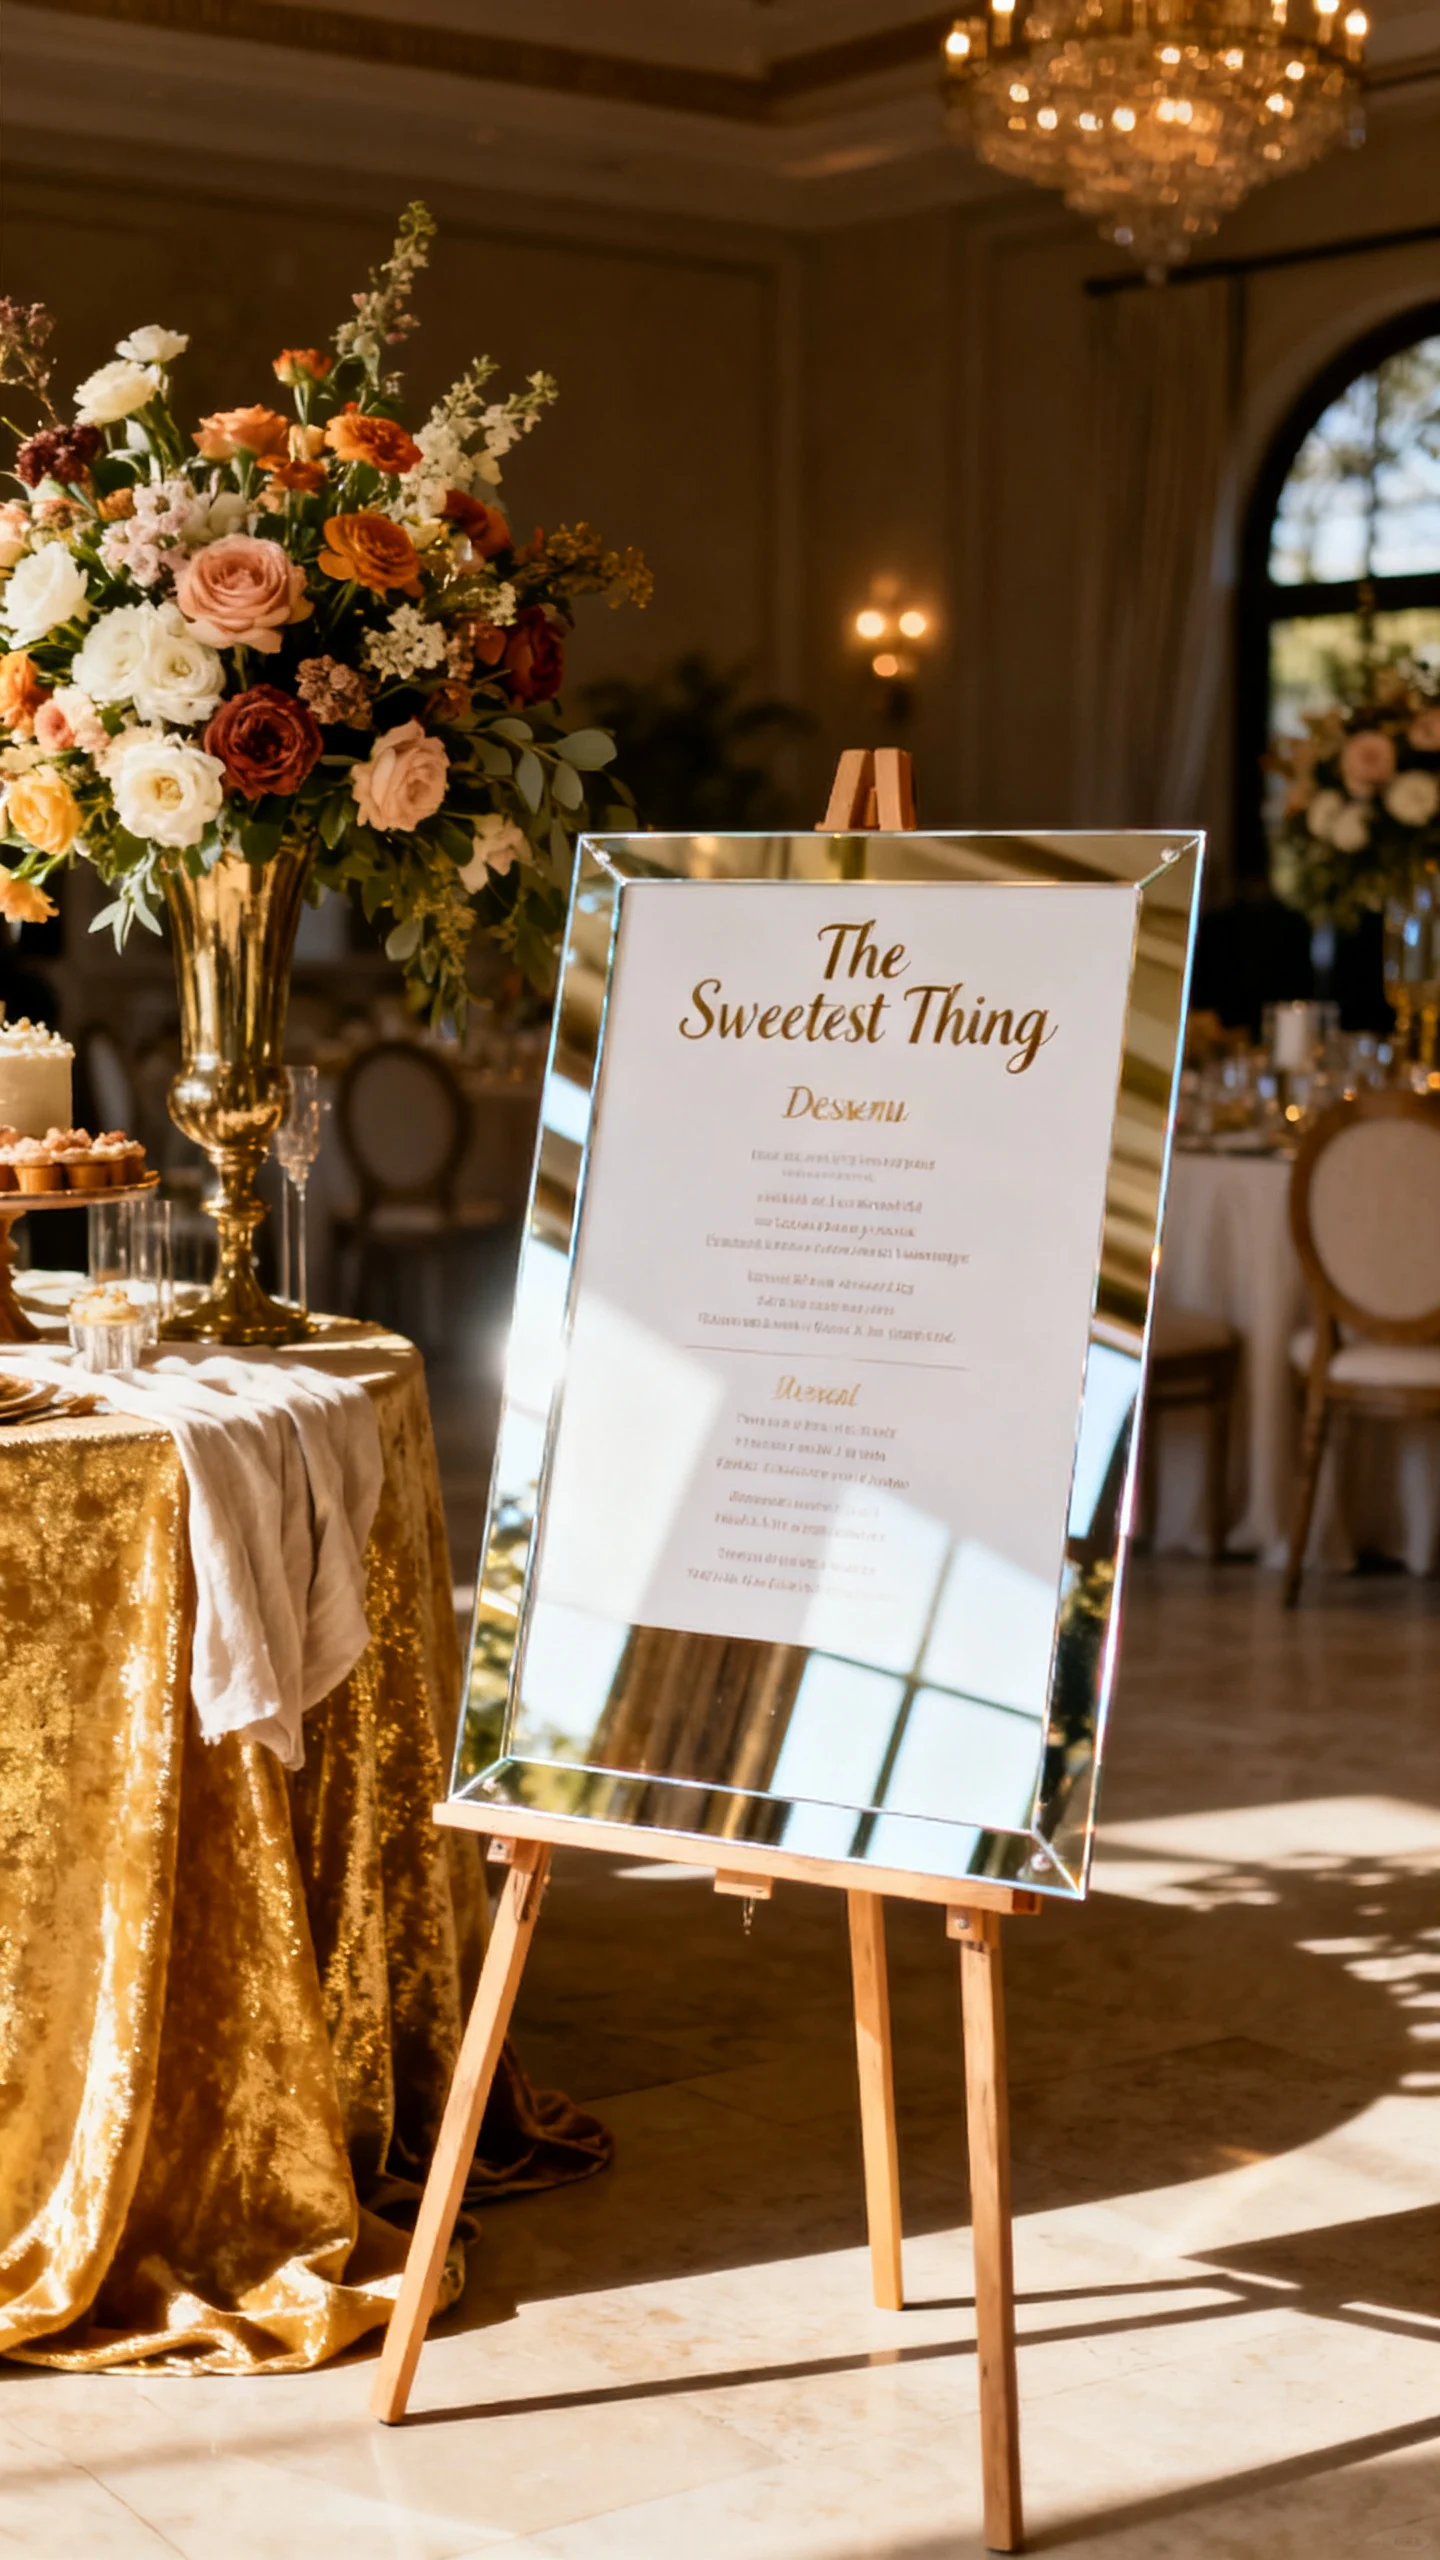
Use signage that feels like part of the décor, not an afterthought
A well-designed sign can guide guests and add polish, whether it’s “The Sweetest Thing,” a menu of desserts, or a note about flavors and allergens. Choose a material that matches your vibe: acrylic for modern, linen or handmade paper for romantic, wood for rustic, and mirrored for glam. This is especially helpful when you have multiple dessert types or a specialty cake flavor guests will want to know about. Keep fonts consistent with your invitation suite so the cake table looks intentionally branded to your wedding. Place the sign on a small easel or frame so it’s visible without blocking desserts. Mistake to avoid: signage that’s too small to read from a few steps away—scale up for real-world visibility.
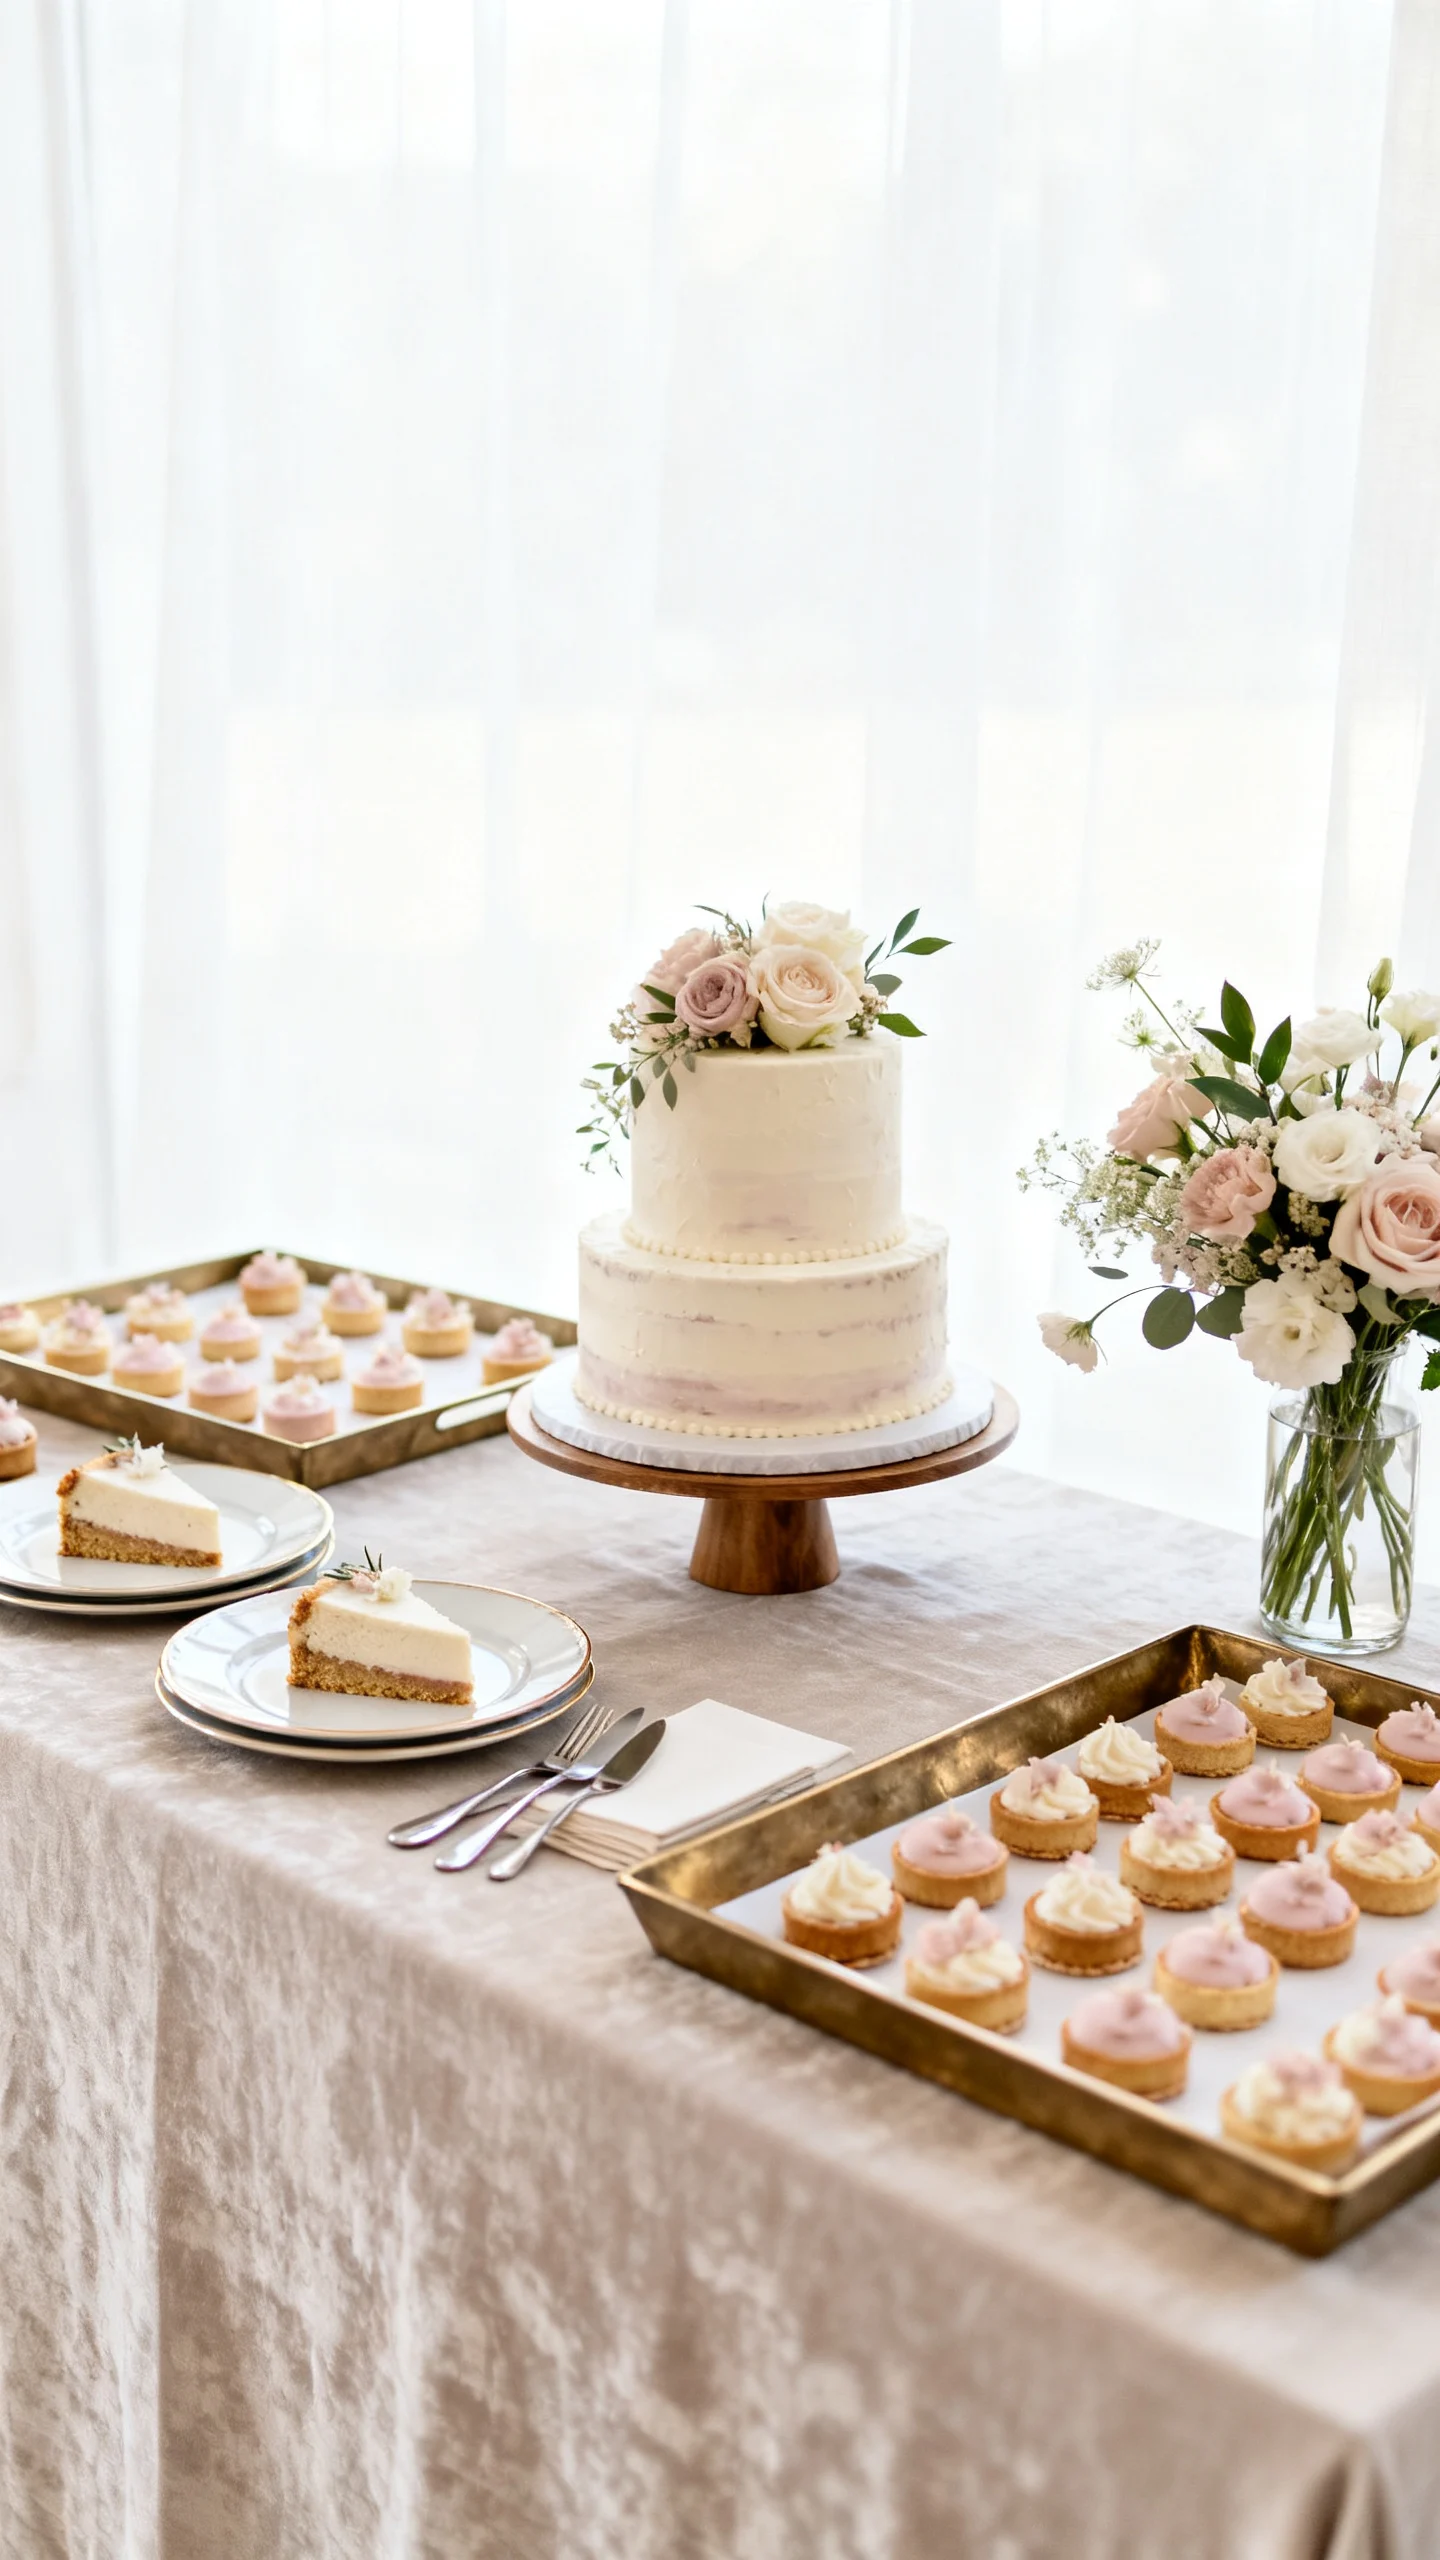
Curate a cohesive dessert arrangement with “zones”
Instead of scattering treats randomly, organize the table into zones: cake centerpiece, plated slices area, bite-size desserts, and serving essentials. This keeps the display looking neat even after guests start serving themselves. It’s best for larger guest counts or dessert bars where traffic can get chaotic. Use matching trays to group items and leave breathing room between zones so hands have space to reach in. Keep the most delicate desserts away from the edge where people lean and chat. Mistake to avoid: placing napkins and plates at the far end—guests will cross in front of the cake and disrupt the look (and the line).
Bring in a hero accent: metallics, glass, or natural textures
A single hero material can elevate the whole cake table—think brass candlesticks, cut-crystal coupes, marble boards, or woven rattan chargers. This works well when your cake design is simple and you want the table to do a little more style work. Pick one primary accent finish and repeat it two or three times so it feels intentional rather than mismatched. Glass and mirrored surfaces add sparkle and reflect candlelight, while wood and stone add warmth and grounded texture. Keep the accent pieces in the same style family as your venue (sleek for modern spaces, antique for historic venues). Mistake to avoid: mixing too many statement textures at once; one hero plus supporting neutrals looks far more expensive.
Highlight the cake with a base that feels designed
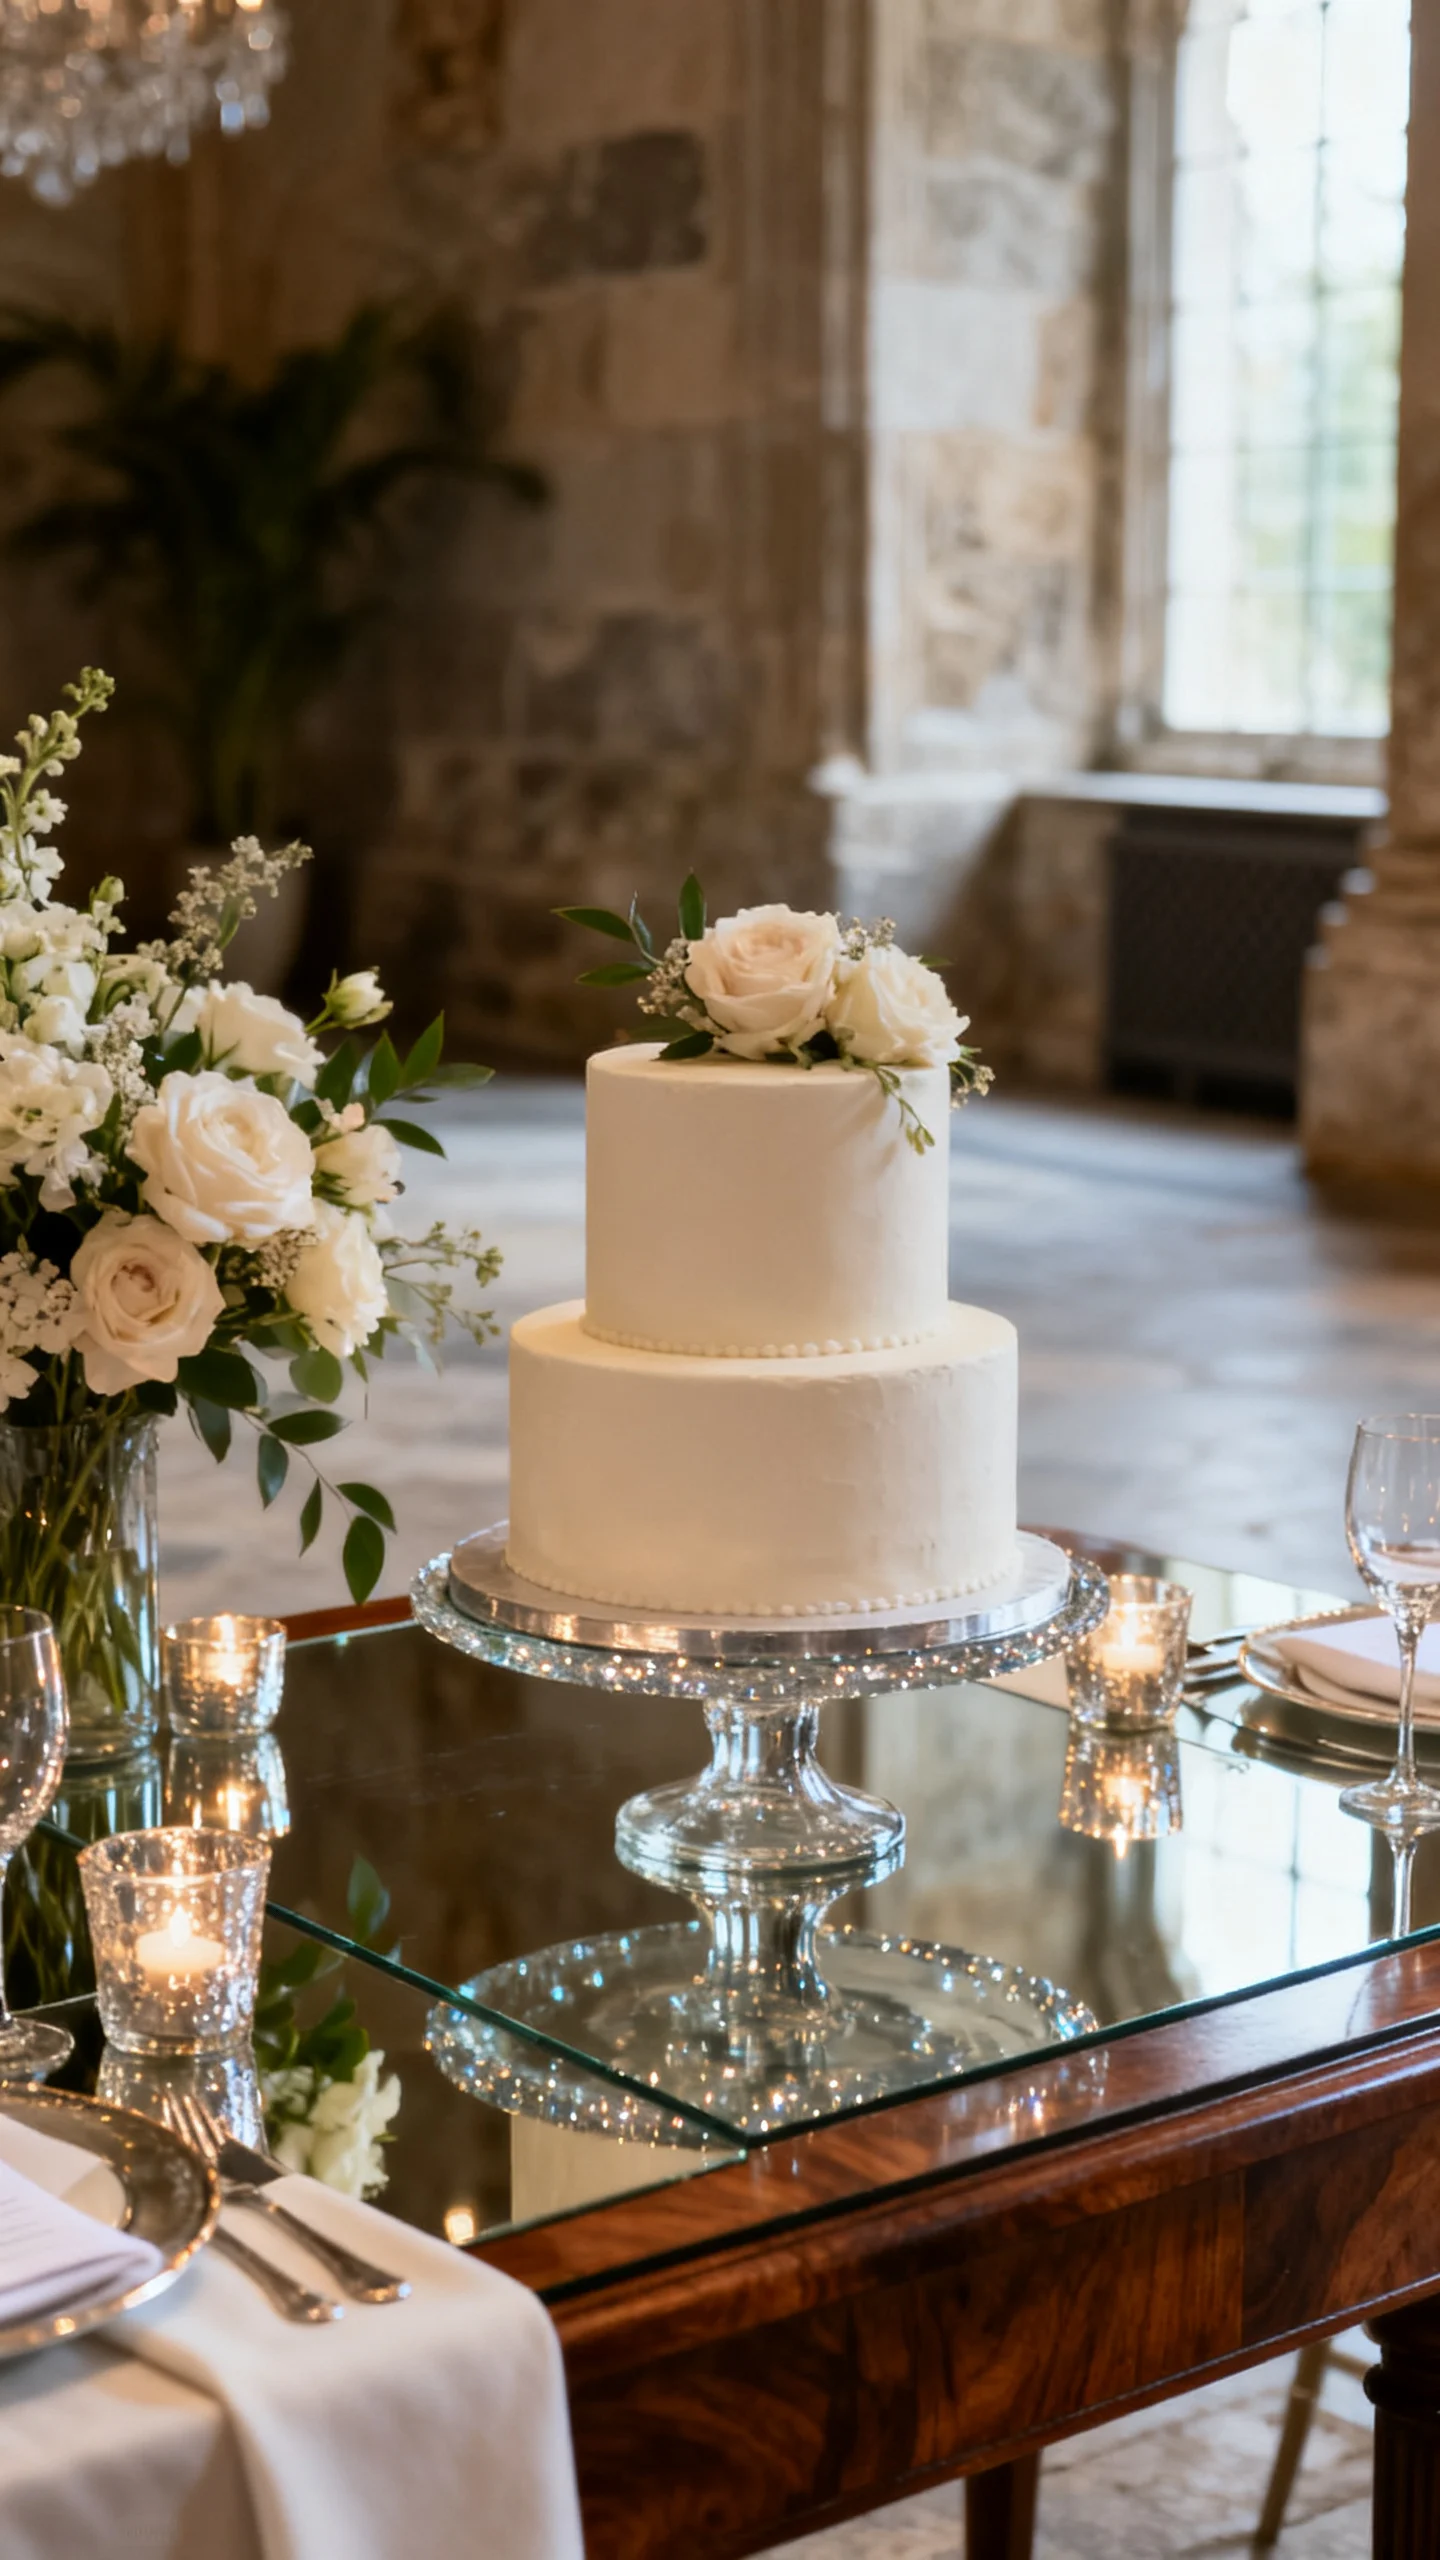
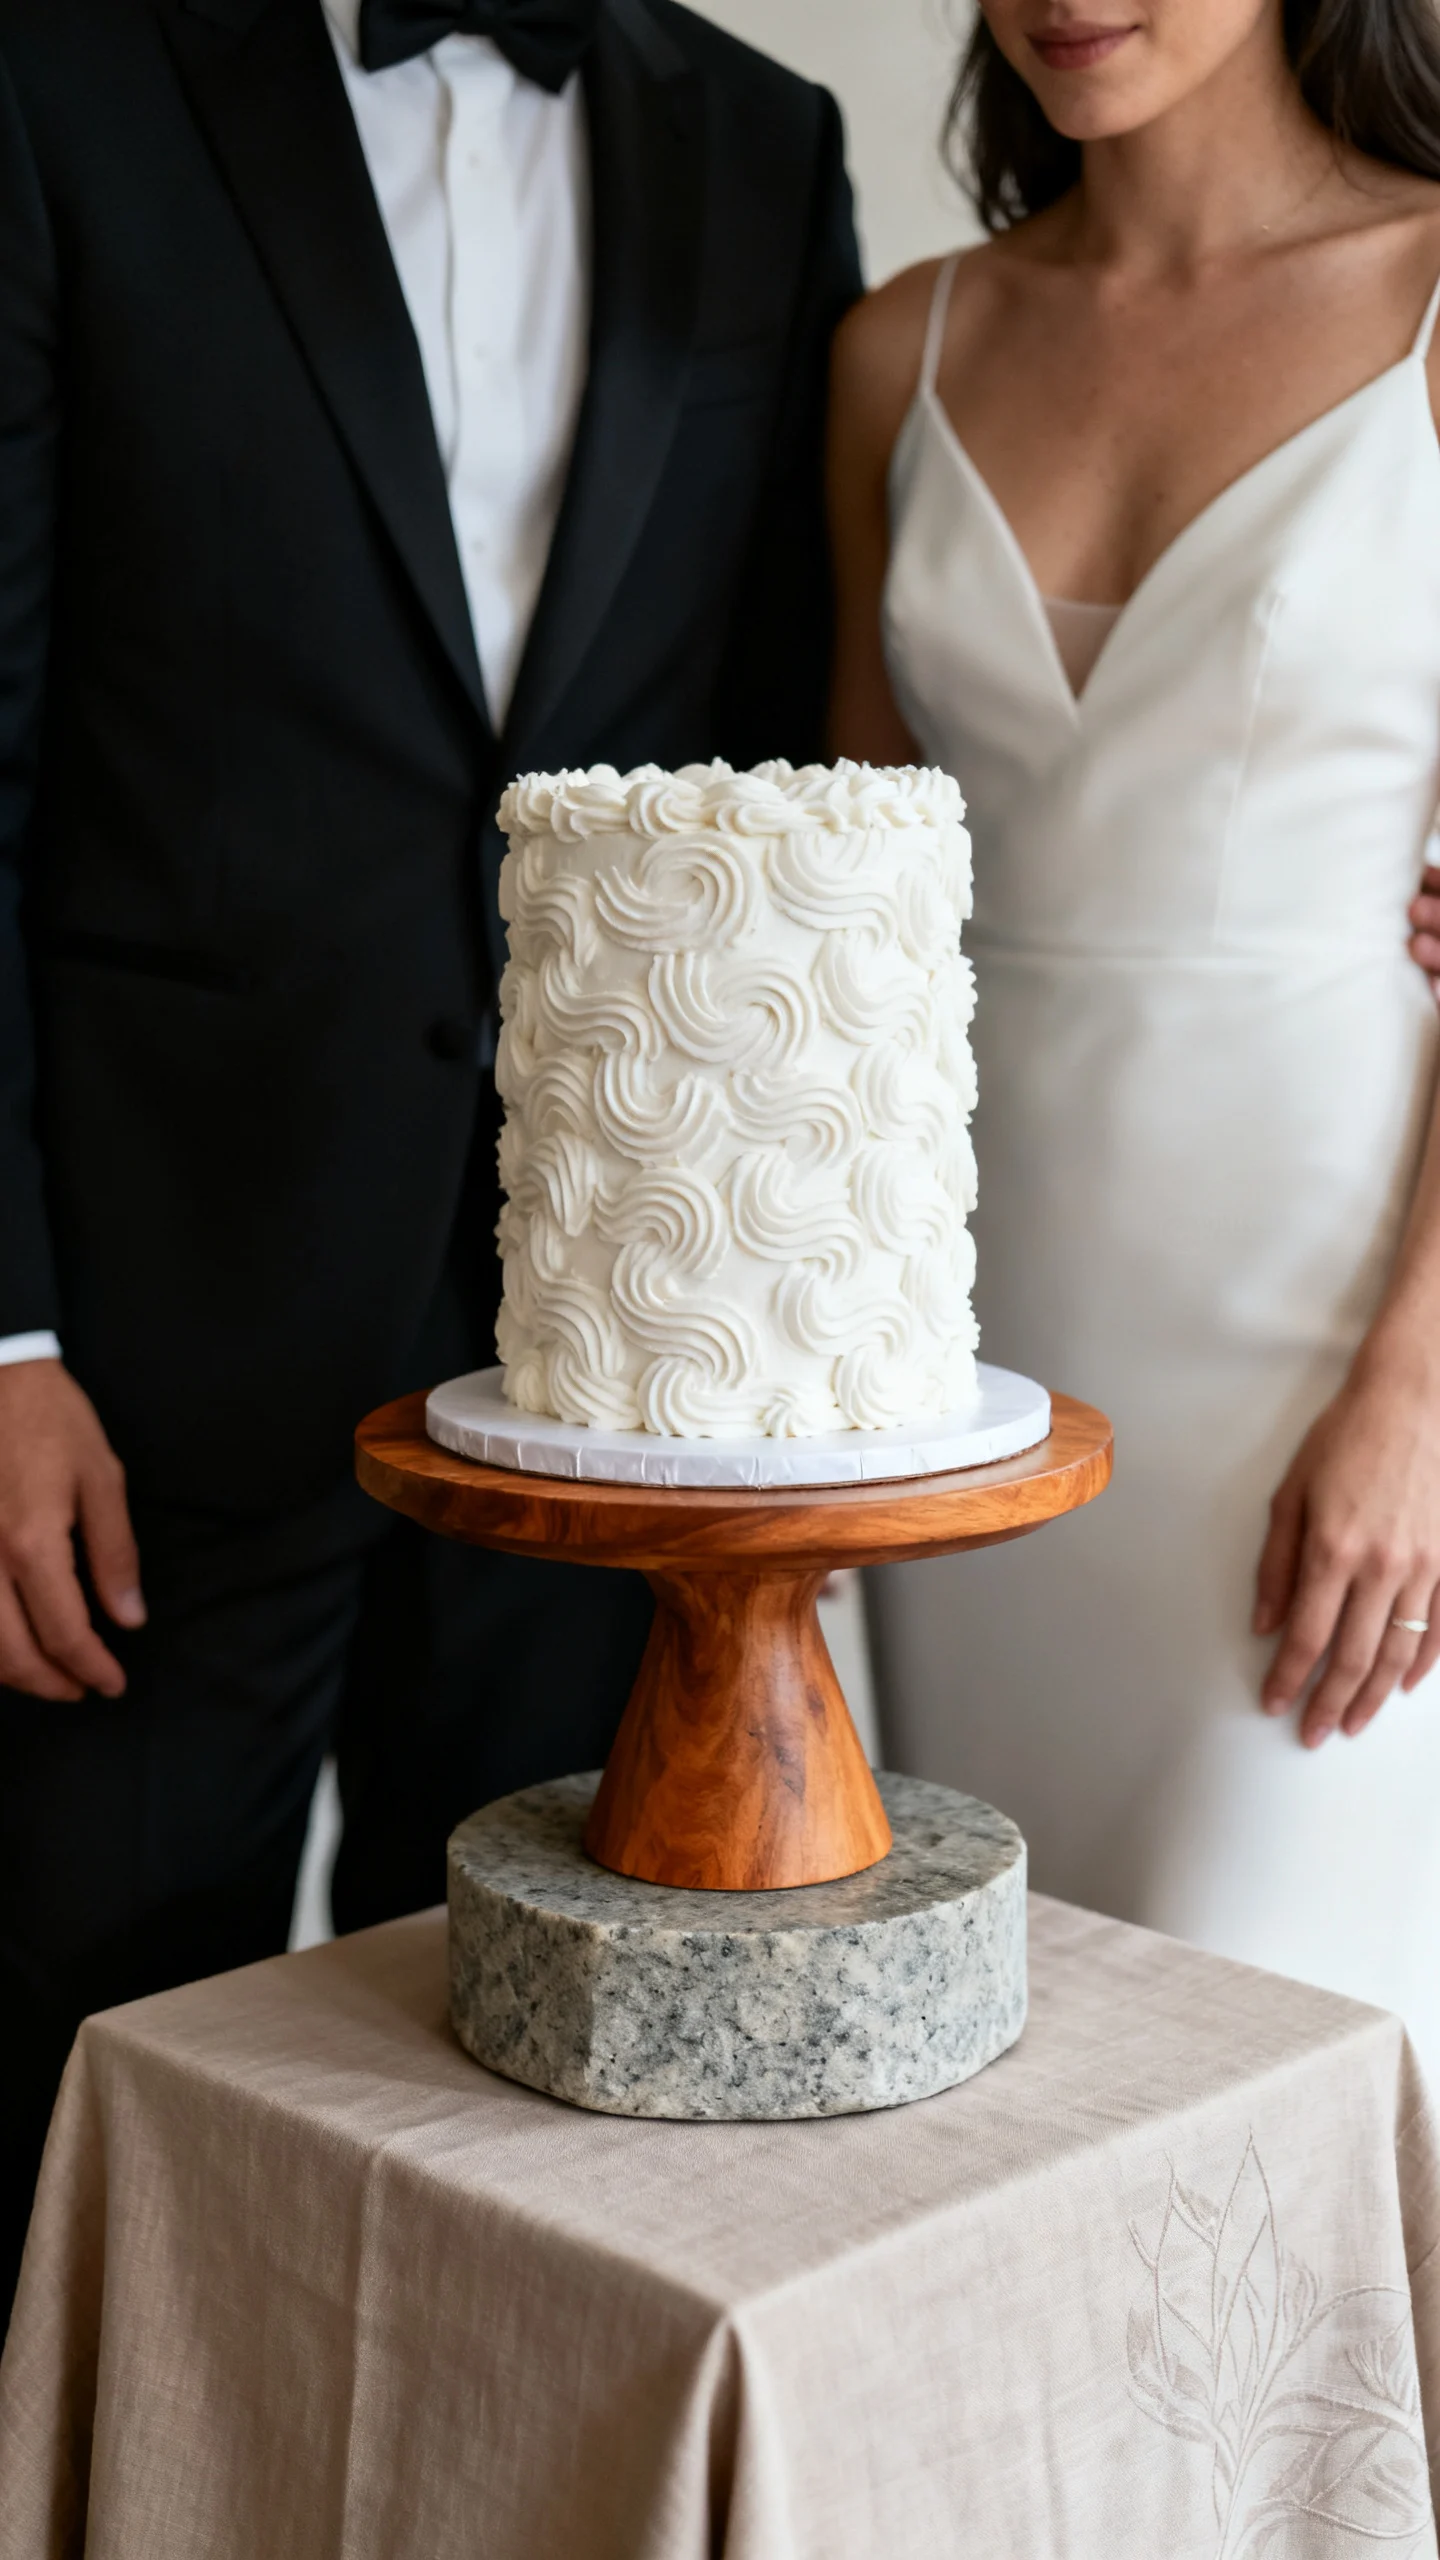
What the cake sits on matters as much as the cake itself: a pedestal stand, a linen-wrapped platform, or a clean plinth instantly makes it feel gallery-worthy. This is ideal for couples who chose a sculptural cake shape or detailed piping and want it to be the main focus. Choose a base that contrasts just enough—white cake on a white stand can look washed out, while white on stone or warm wood pops beautifully. If you’re using a patterned linen, keep the cake base solid so the silhouette stays crisp. Make sure the base height works for cutting photos; slightly elevated is flattering, but too tall can feel awkward. Mistake to avoid: a cake stand that’s smaller than the cake board—always size up so edges don’t look cramped.
Make it guest-friendly with smart serving details
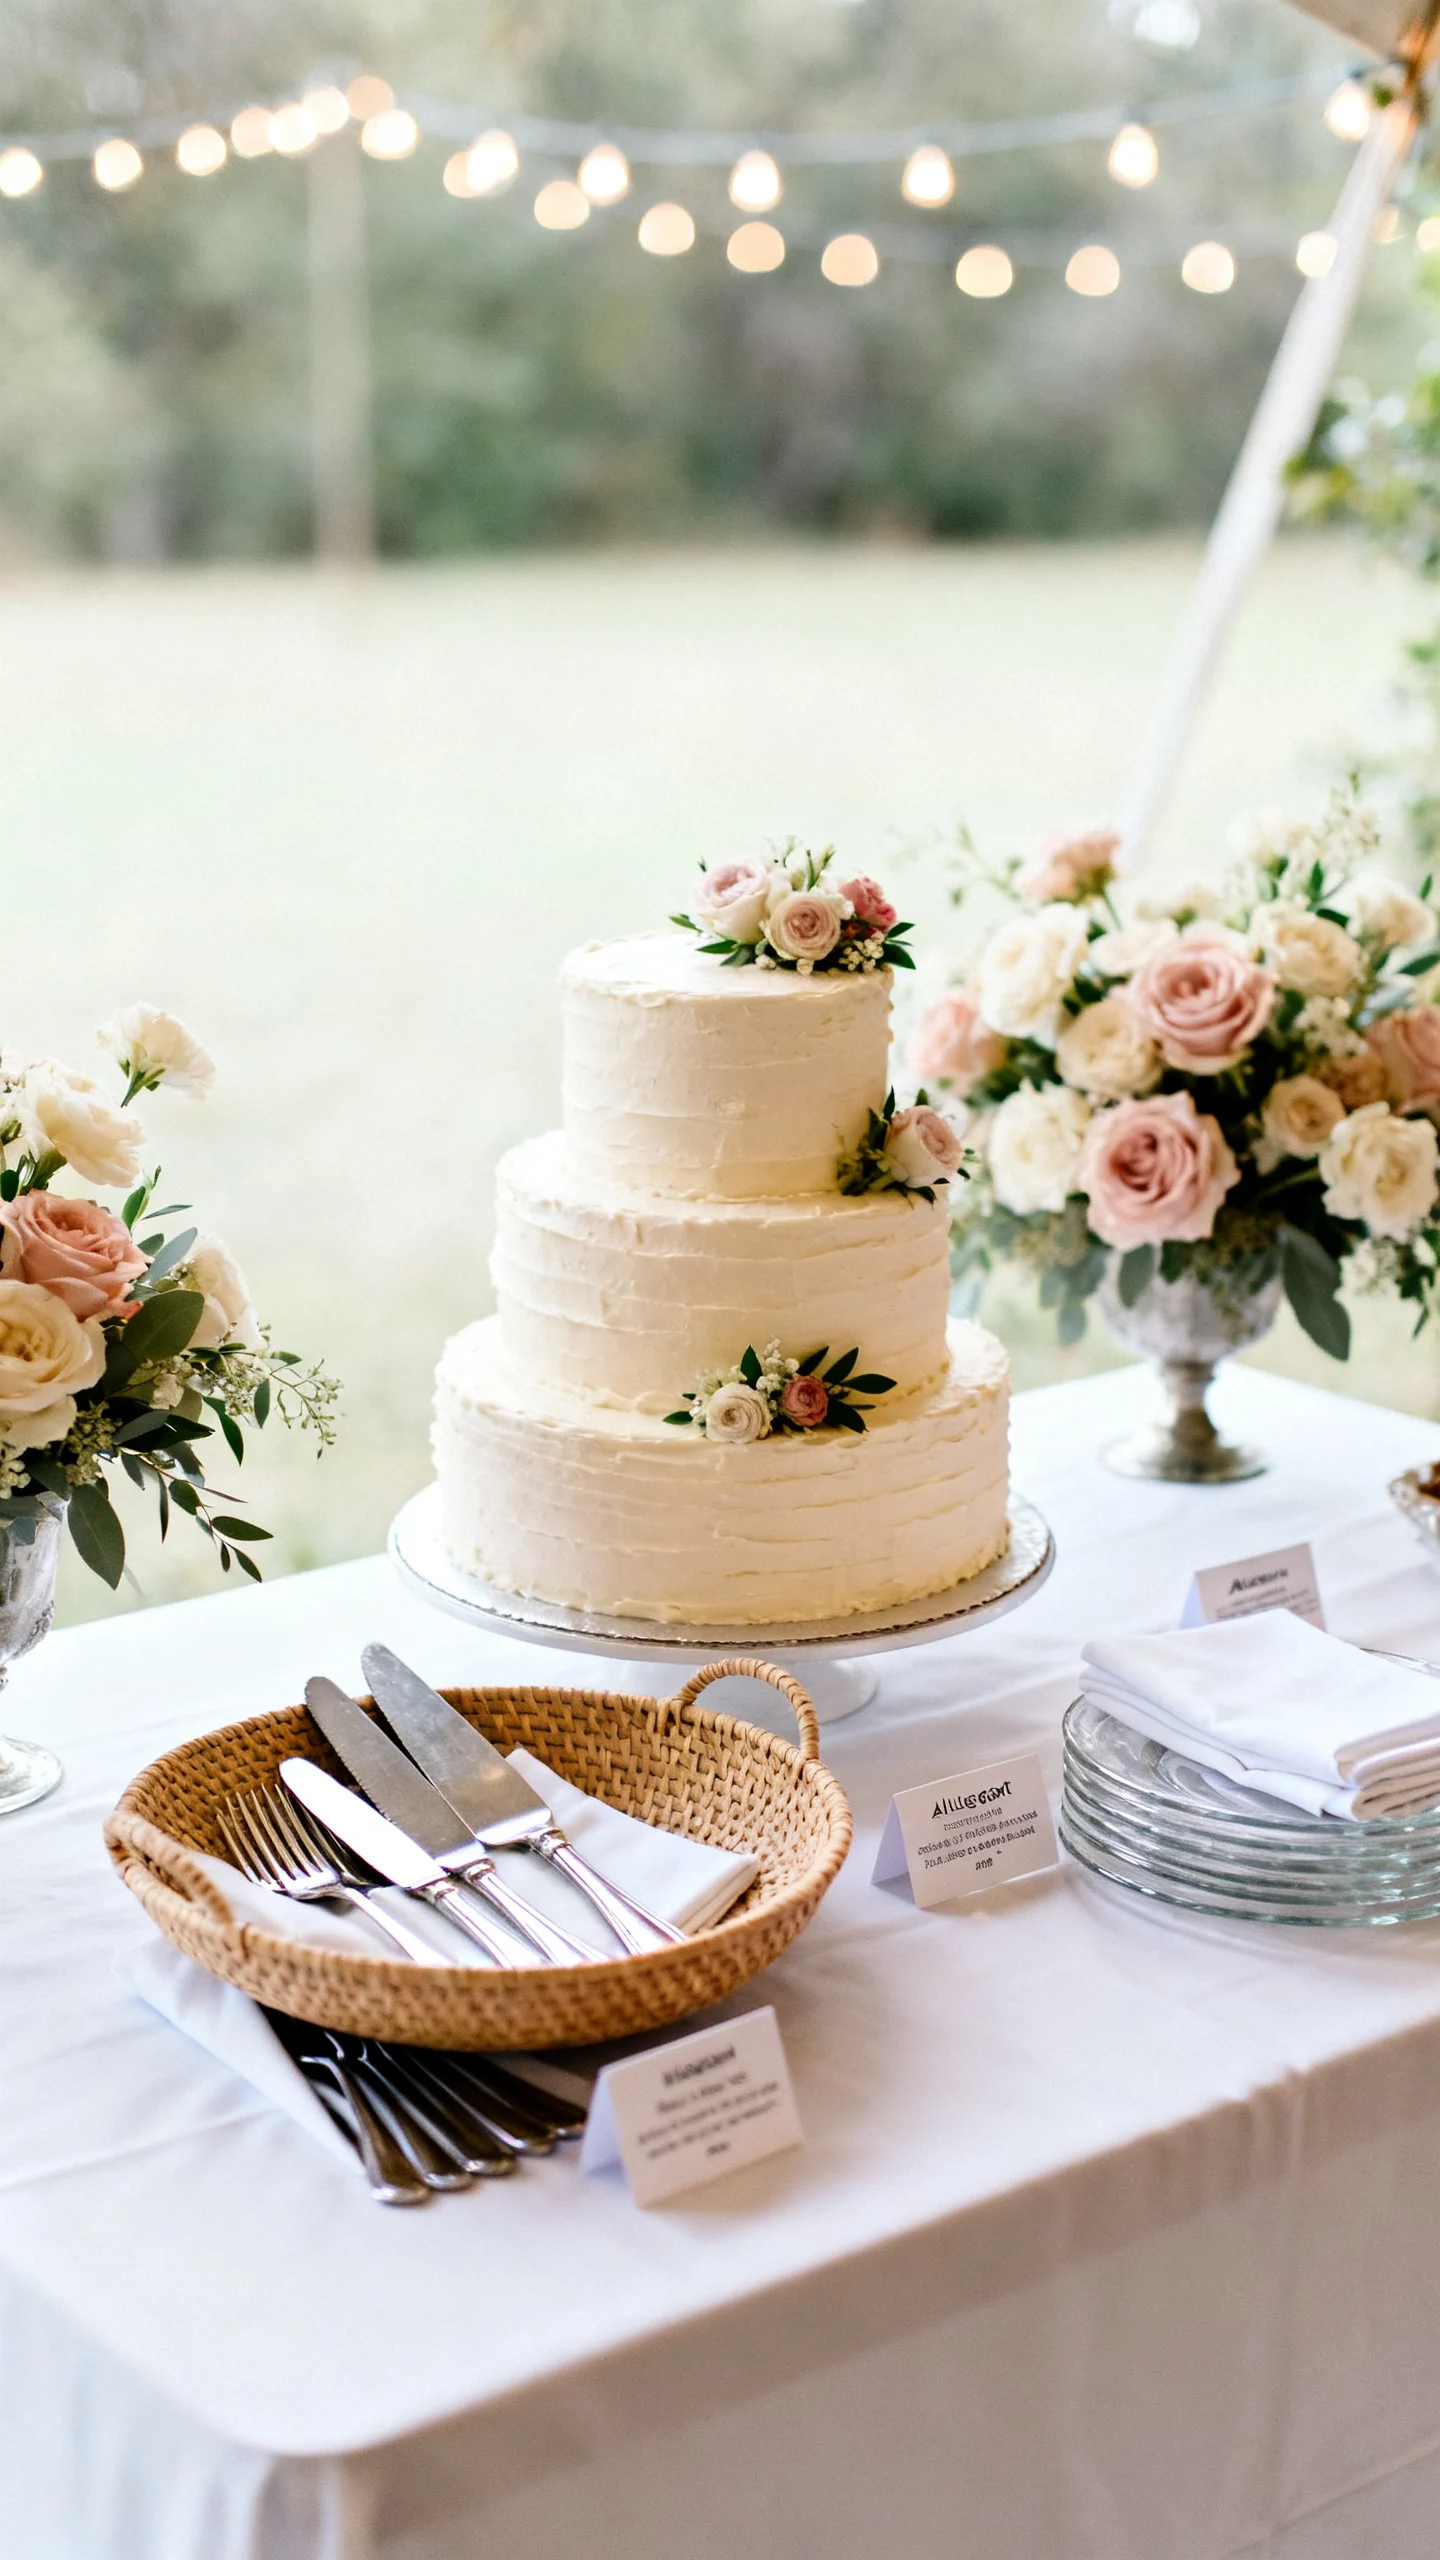
Pretty matters, but practicality keeps the cake table looking good all night. Provide coordinated cake knives, servers, plates, forks, and napkins in a neat setup that blends into your décor. This is especially important for outdoor weddings where wind, heat, and unexpected bugs can create chaos. Use small trays or a shallow basket for utensils, and keep extras tucked underneath the table for quick refills. If you’re serving multiple desserts, label allergens discreetly to avoid constant questions and to help guests feel cared for. Mistake to avoid: placing messy items (like extra frosting or empty boxes) on the visible tabletop—stash them behind or under the linen.
Final Planning Notes
Plan your cake table like a mini “set”: decide what the focal point is (cake, dessert tower, or backdrop), then build supporting layers around it. A quick checklist helps—backdrop, linen, height pieces, florals, lighting, signage, and serving supplies—so nothing is forgotten during setup. If you can, do a simple mock layout at home with boxes standing in for stands and plates; you’ll spot spacing issues immediately. Give your planner, coordinator, or a trusted bridesmaid a photo reference so the table is styled the way you pictured, even if you’re not present for setup.
Timing matters, too: ask your venue when desserts will be placed out, and confirm whether lighting will be dimmed later in the night. If you’re outdoors, consider shade for frosting stability and have a backup plan for wind (heavier décor pieces, covered desserts, and secure signage). Keep the table accessible but not in a traffic bottleneck—near the dance floor is fun, but too close can lead to accidental bumps. Most importantly, leave a little negative space; it’s the difference between “styled” and “stuffed.”
FAQ
How big should a cake table be for a wedding?
For a single cake moment, a 4–6 foot table often works well, especially if you’re adding a small dessert spread. If you’re doing a full dessert bar, an 8-foot table (or two tables) helps keep the layout airy and prevents crowding. Your caterer can confirm space needs based on portioning and serving style.
Should the cake table match the sweetheart table or reception tables?
It should coordinate, not copy. Repeating one or two elements—like linen color, floral varieties, or metallic finish—creates cohesion while letting the cake table feel like its own feature. Matching everything exactly can make the room feel flat.
What’s the easiest way to make a simple cake look more impressive on the table?
Add a strong base and a clean backdrop. A pedestal stand or plinth plus a fabric drape or arch behind it will elevate even a minimalist cake. Finish with one small floral cluster or a pair of candles to frame it without overwhelming it.
How do I keep the cake table from looking messy once guests start serving dessert?
Use zones and keep extra supplies hidden under the table. Ask your coordinator or caterer to do a quick “reset” once the first round of dessert is served—wiping crumbs, straightening trays, and removing empty platters. Choosing trays that are easy to swap also helps.
Do I need signage on the cake table?
Not always, but it’s helpful if you have multiple desserts, unique flavors, or allergens to note. A small dessert menu sign adds polish and reduces guest questions. If your vibe is ultra-minimal, you can skip signage and rely on a strong backdrop and styling instead.